A Completion & A Start

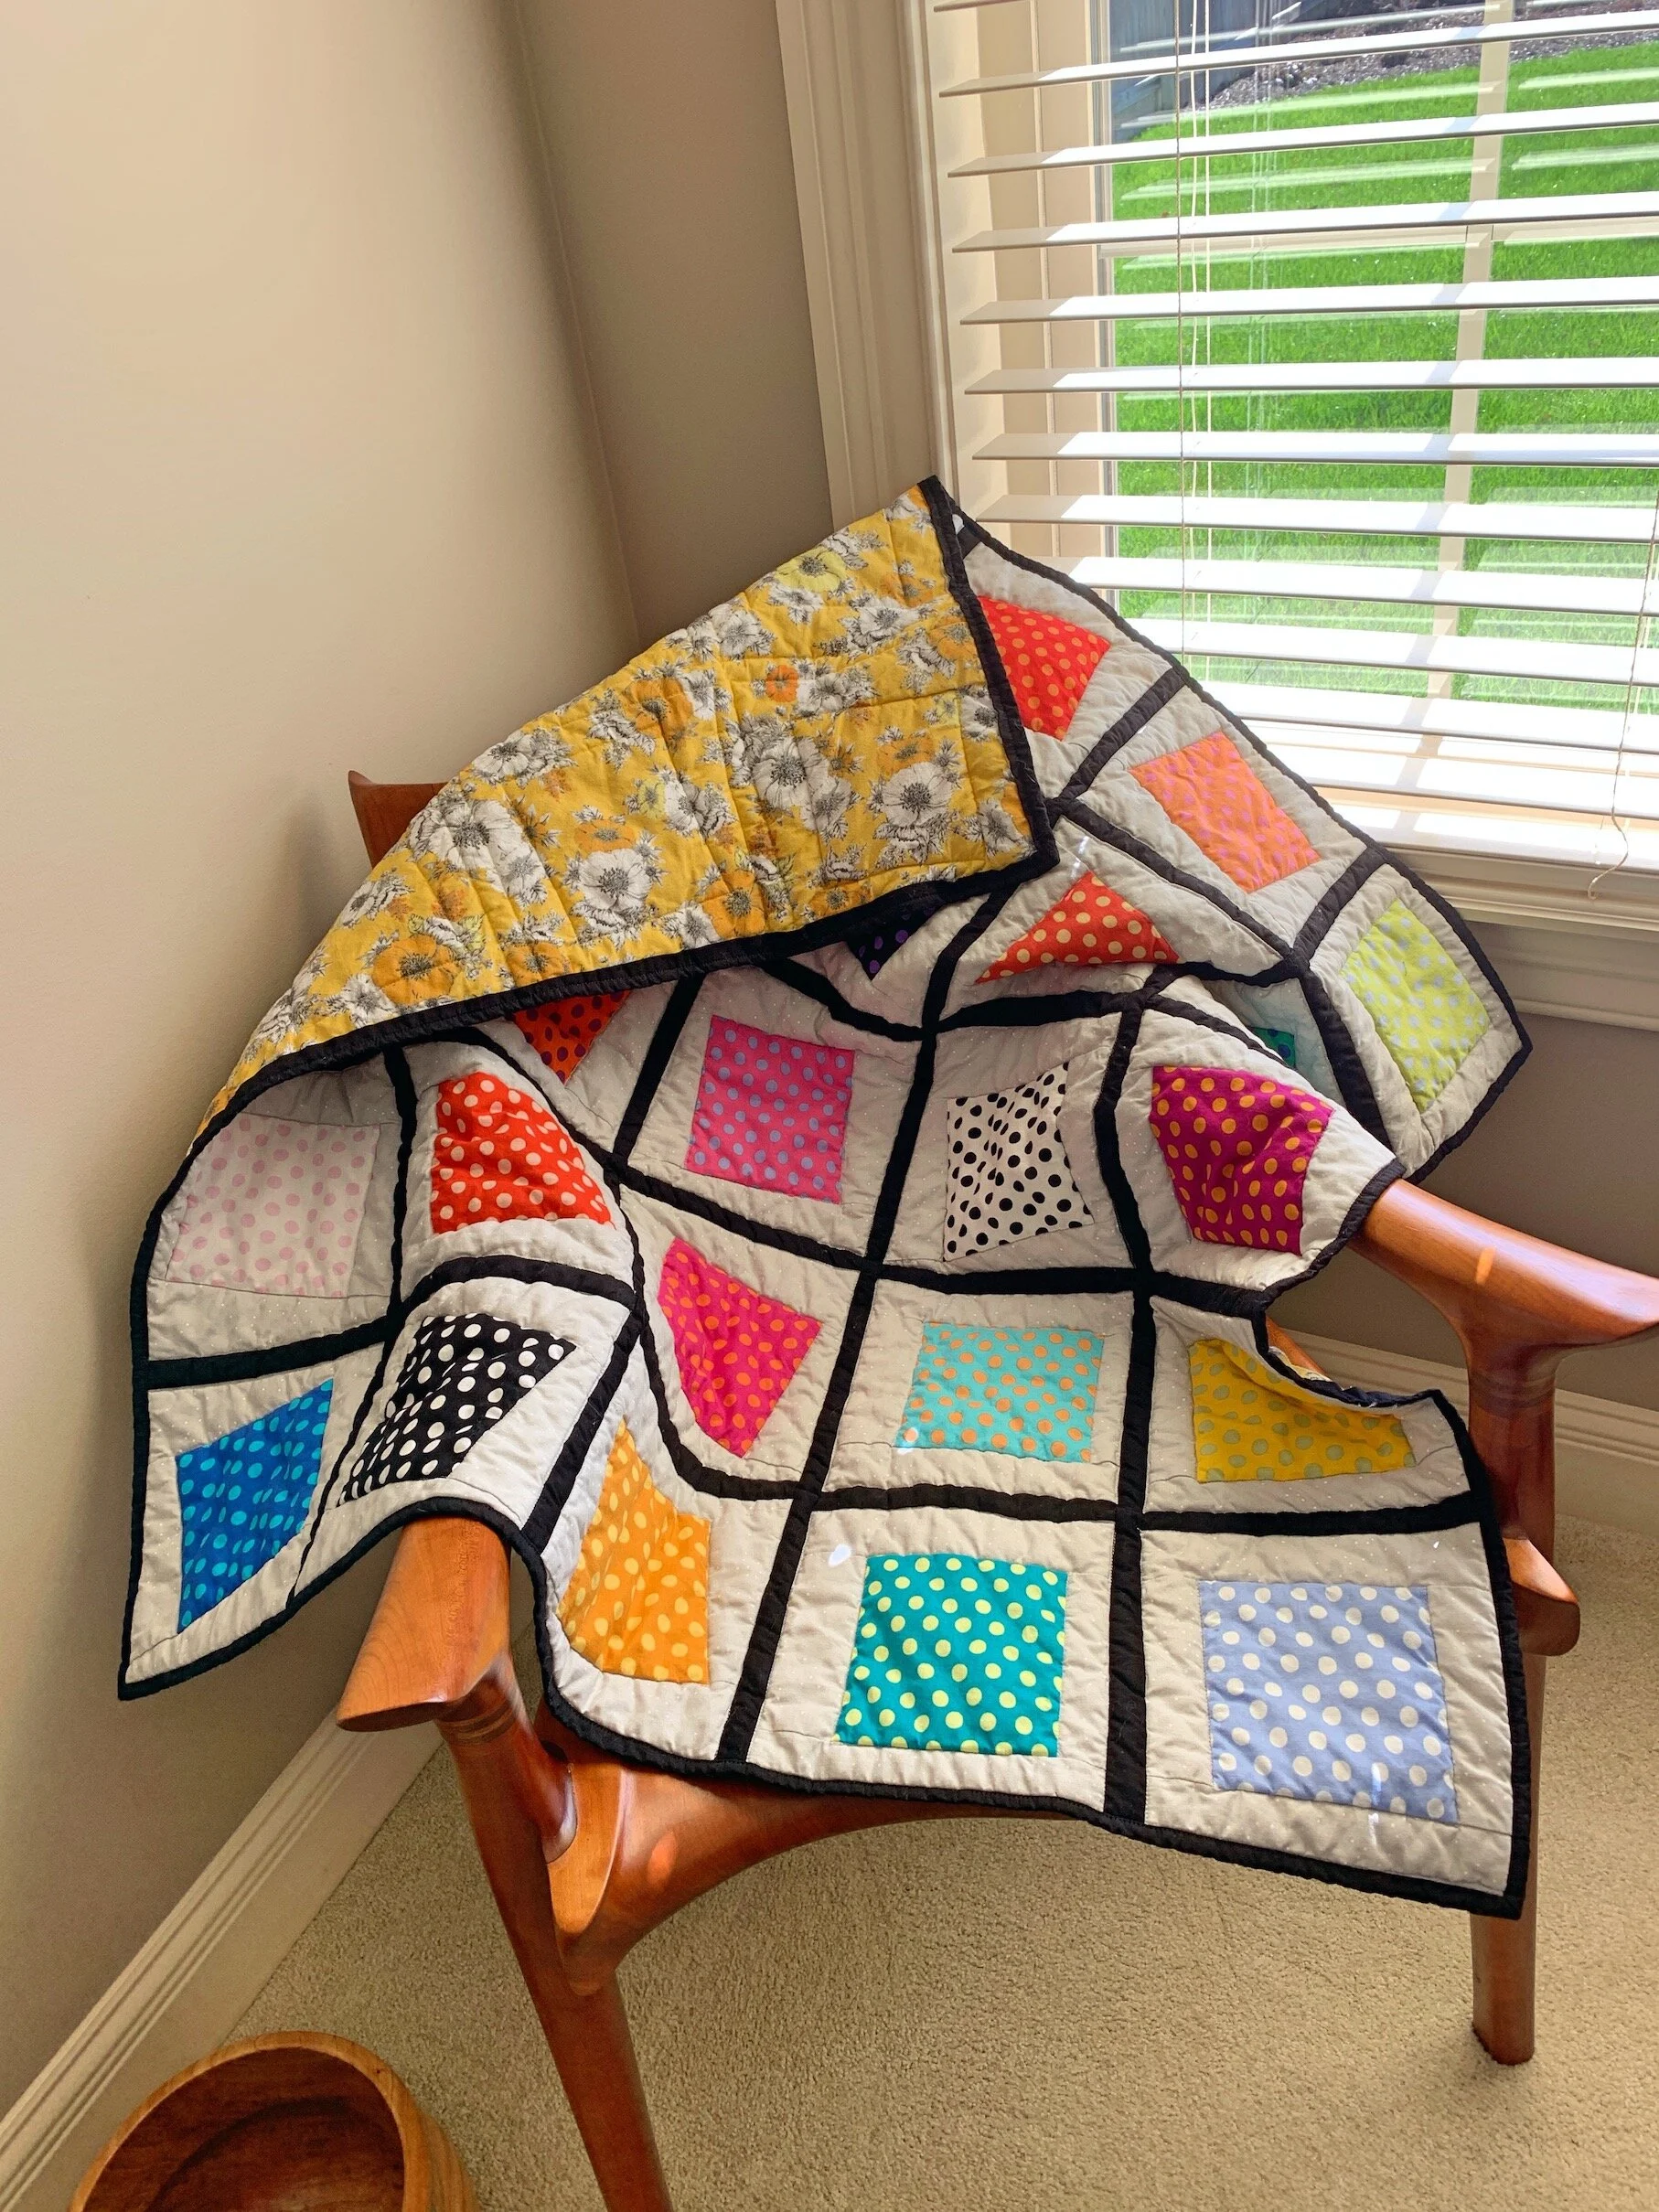
The bow tie quilt is complete !! So far, we’ve been draping the quilts on the back of chairs but I wanted another way to display them. I researched a couple of ways to display quilts and decided on the curtain rod ! This quilt is in my sewing room and I can easily change the quilts out — just unclip one and clip another onto the rod.

Bow Tie Quilt Complete.jpg

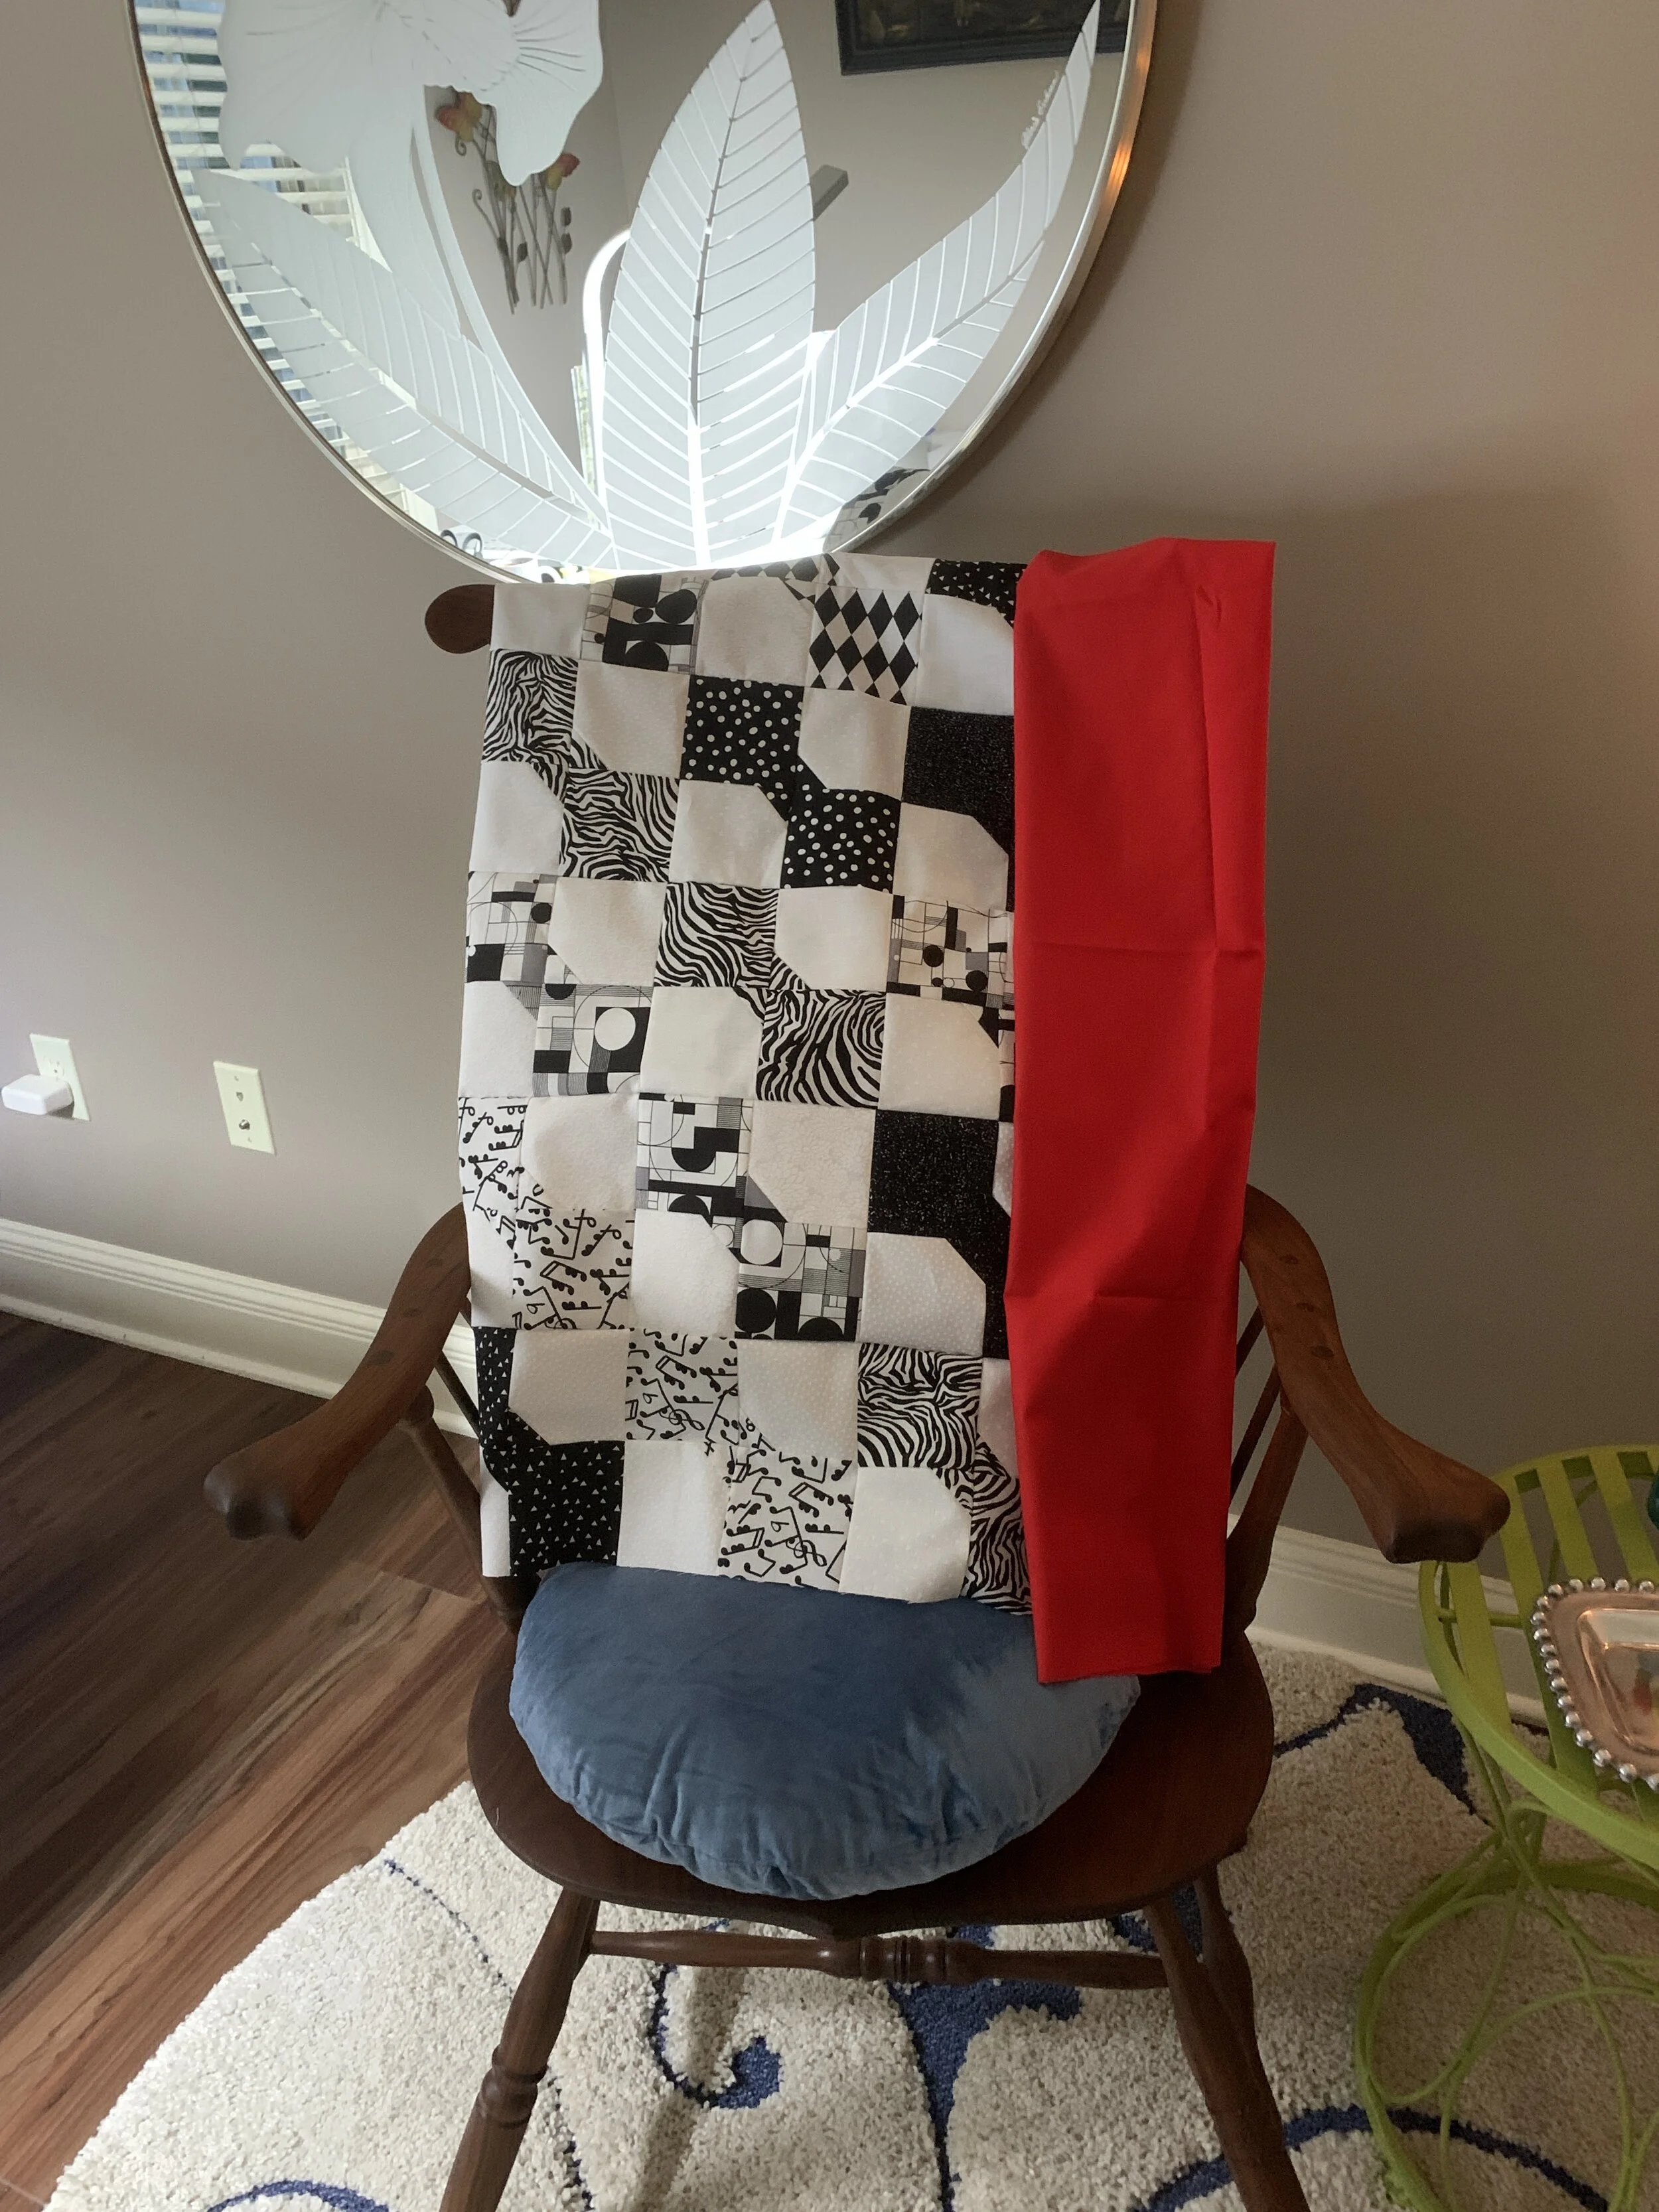
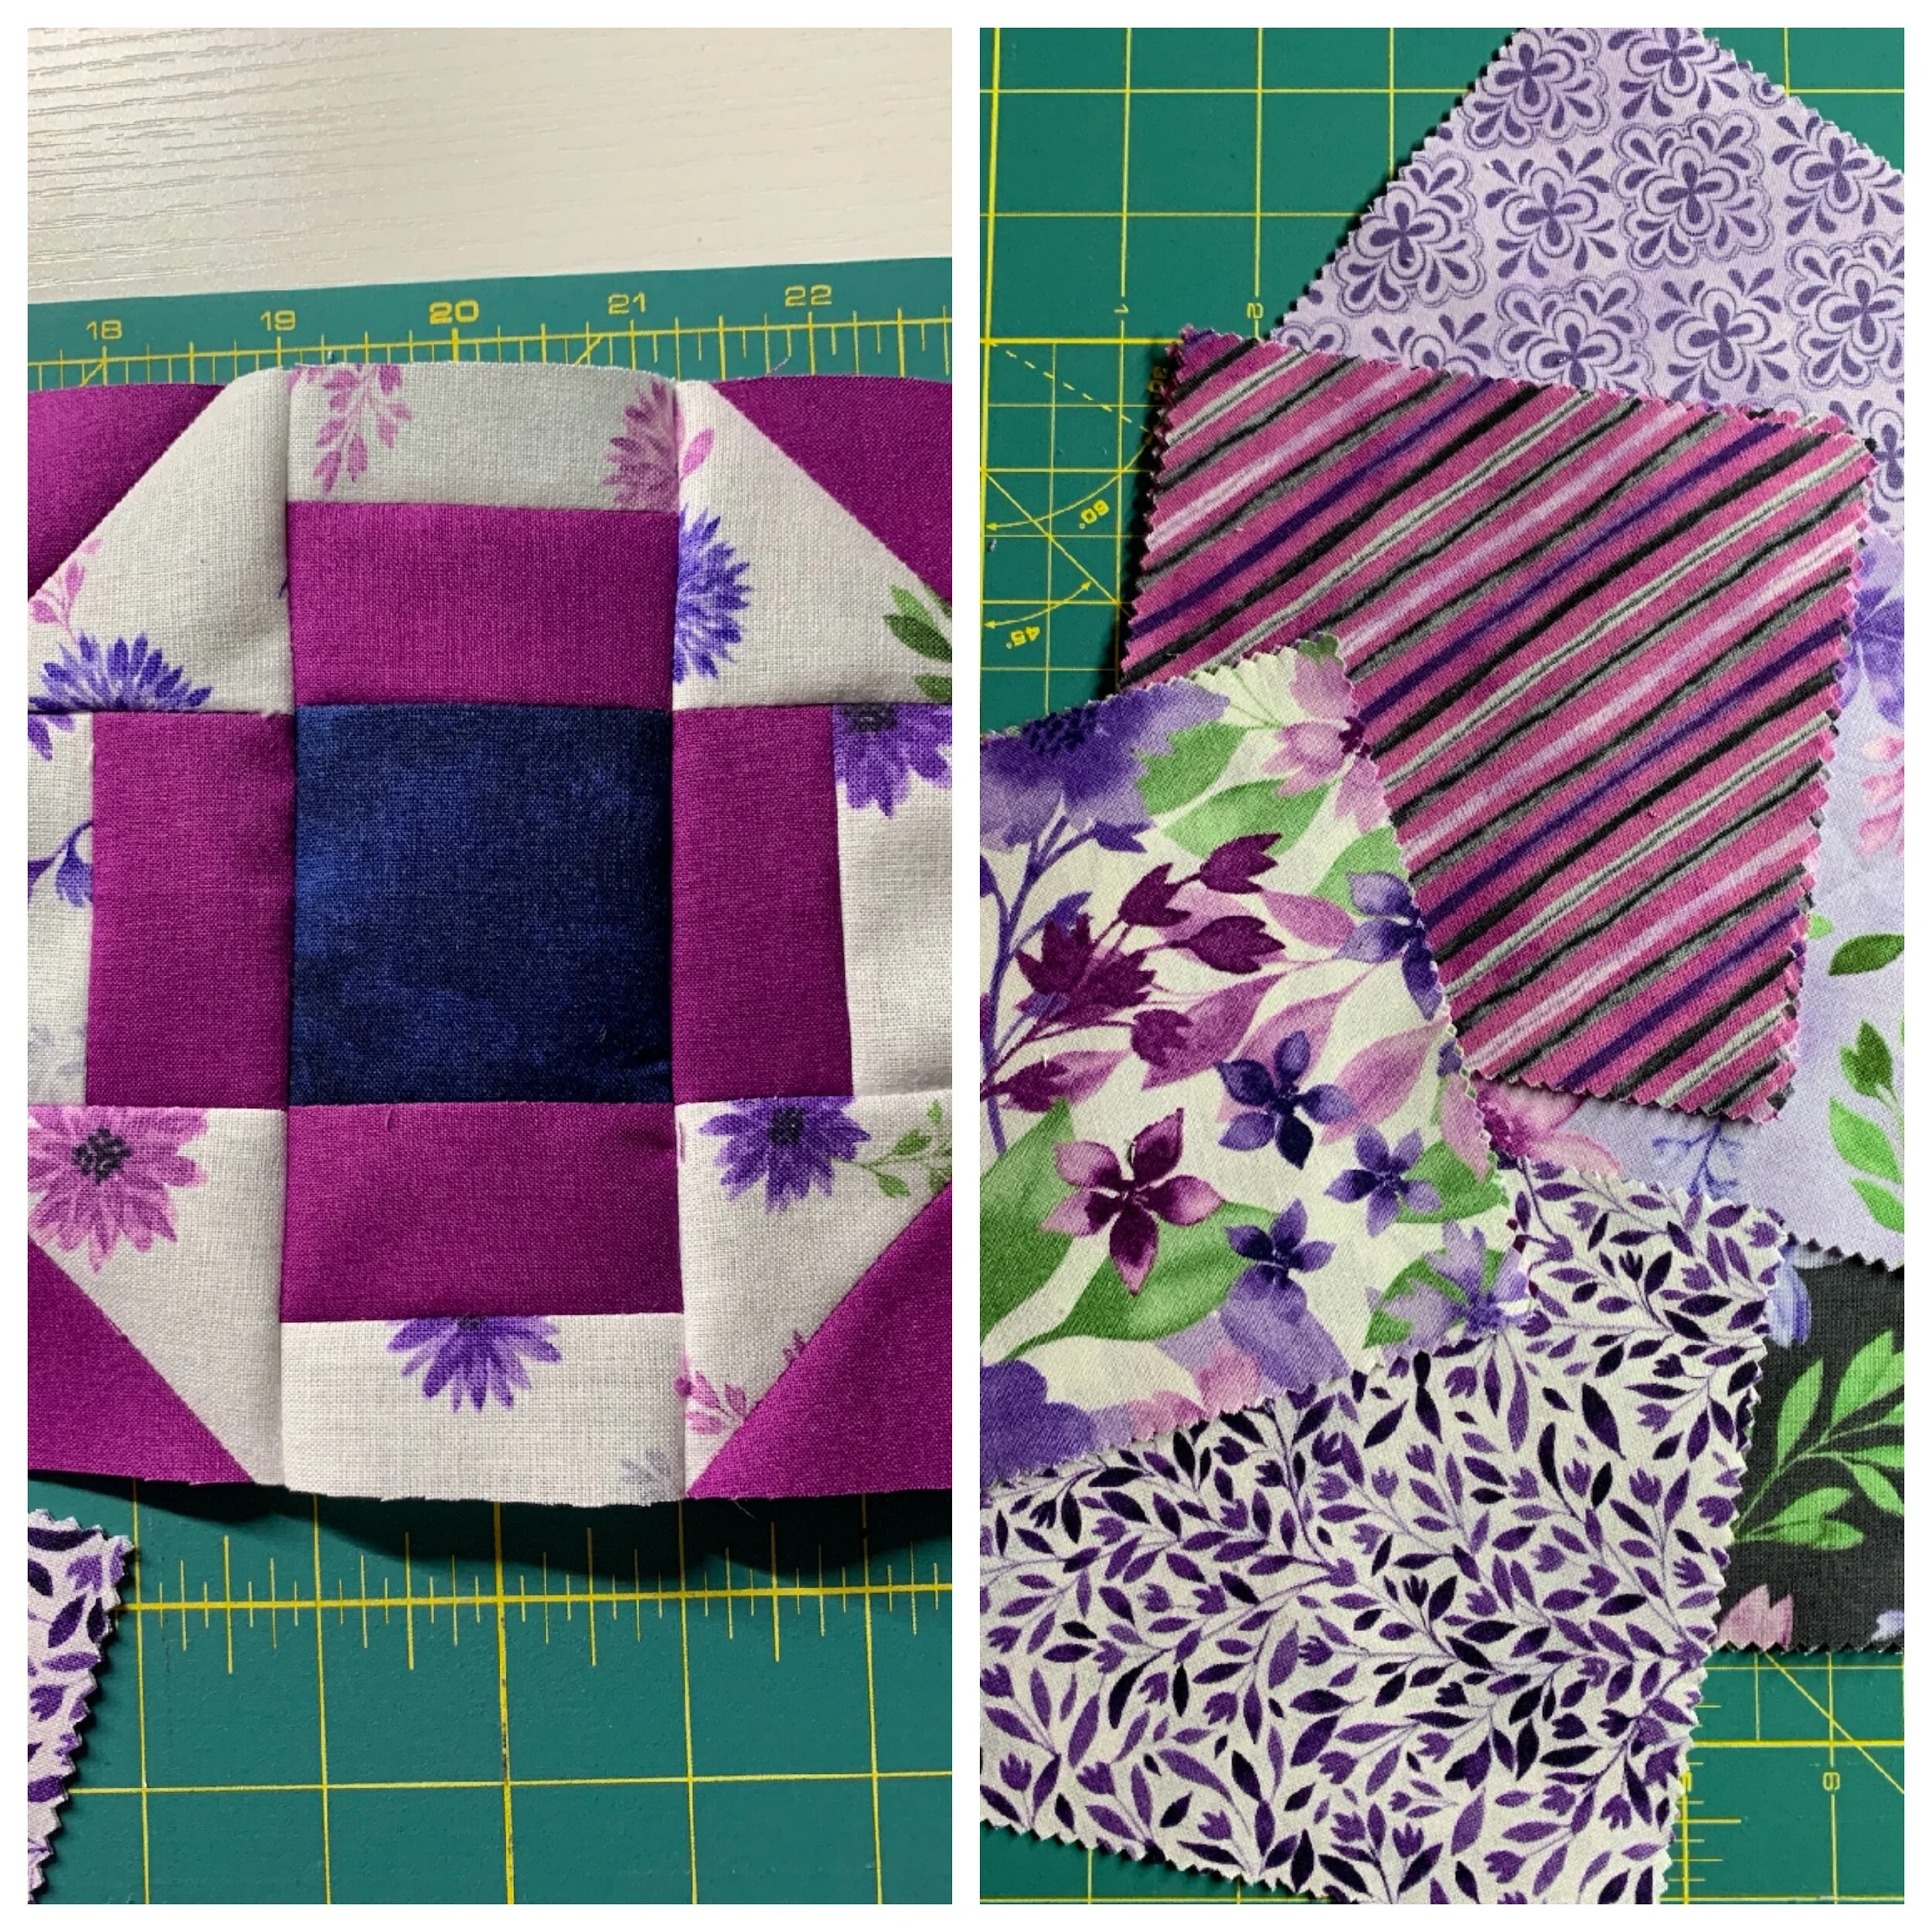
I’ve begun working on a Christmas quilt (yes, I know it’s September but time flies !). On the left is the inspiration for the quilt and on the right is the Christmas fabric I’ll use.

Christmas Quilt 1 Collage.jpg

WIP: Bow Tie Quilt

Well, the quilting process is almost complete ! I did use the echo quilting — outlining the white sections of the blocks in black thread. I think that worked very well to highlight the bow tie. The picture shows the quilt top, with the backing fabric on the left and the red fabric I’ll use for the border on the right.

Quilting almost finished.jpg

WIP: Bow Tie Quilt

The quilt top is complete !! Happy dance 😁😁 Here’s a picture of the top folded in half over a chair in my sewing room with the red binding fabric I’ll be using. The binding will be narrow and not nearly as wide as the picture shows.

I’ll be echo quilting (outlining) the white almost-squares with black thread. I haven’t selected the backing fabric yet, but that will probably happen tomorrow.

Quilt Top Complete.JPG

WIP: Bow Tie Quilt + Side Project

I’ve been cutting and sewing — that’s what quilters do !! The bow tie blocks are almost done. Here’s the completed stack; the turquoise strips separate groups of ten. I have three or four more blocks to sew and then I can play with the quilt top block placement.

Bow Tie Blocks 07-31_Fotor.jpg

I’m also working on a side project to replace the very first placemats I quilted. The quality of those placemats are awful - but, hey, they were my first ones. Among the first orders I placed for fabric were the “cats” 10” squares. I love the fabric and thought they’d make good placemats. The picture below is the quilt sandwich; you can barely see the black backing, then the batting and the top layer, the cat fabric. The binding on the red mat will be turquoise and black for the blue.

Cat Placemat Collage.jpg

New Project - Bow Tie Quilt

So a new project starts. On the left is the inspiration quilt - a lovely, modern-looking bow tie quilt. According to Discovering Vintage America, the bow tie — a new style of necktie — entered the male fashion scene in the 19th century and by the 1880’s it was a staple in a man’s wardrobe. Quilts had to follow, of course. Many bow tie blocks are very too “scrappy” in my opinion and don’t really display the bow tie well. But I fell in love with the inspiration quilt and decided to do it in black and white (fabric on the right). I was able to find fat quarters (fabric measures about 22” by 18”) and I also bought a quarter of a yard of several others.

This quilt will be about 36” wide and 42” long — crib size.

Bow Tie Collage - Inspiration & Fabric.jpg

Miscellaneous - Applique + Quilt Label

I’ve been waiting for some black fabric to arrive so I haven’t made any progress on the Stars & Stitches quilt. More on that in my next post.

I’m ready to add my name now to quilts that I create so I ordered quilt labels like the picture below. These are folded in half and stitched into the quilt binding.

My Label.JPG

While I’m waiting for the fabric I turned my attention to appliqué. The pictures below are my first attempt and I’m pretty pleased with the steps and the outcome. The first picture is the pattern and the second is the finished block. I used this fantastic tutorial by Julie from The Crafty Quilter — thanks for her clear instructions with lots of pictures. I want to use appliqué in a small way on some baby quilts - perhaps and elephant or a giraffe or . . .

Tulip Pattern.JPG
Tulip Block.JPG

WIP - Stars & Stitches

The quilt top is complete (whoop, whoop) and I’ve chosen the backing (bottom picture). I bought the backing fabric at our local quilt shop; the person helping me and I shared a quiet laugh about having to explain what a “record” is.

This is the largest quilt I’ve made — it is 50” by 50”. Quilt fabric is usually 42” wide, so I’m going to have to piece the backing, something I’ve never done before. I’ve had to order some extra black fabric and when it comes in I’ll create the backing, build the quilt sandwich and then quilt the whole thing together.

WIP Collage 2020-05-31.jpg

WIP - Stars & Stitches

All the blocks are complete and I’ve laid out the quilt top on my “design wall” (aka our living room floor). The single blocks will be grouped in a large single block of four. Between each large block will be black sashing. I’ve begun sewing the single blocks together and I expect to have that completed in the next post. Perhaps I’ll have completed the quilt top, but that might be a bridge too far. We’ll see. . .

Initial Color Layout.jpg

WIP - Stars & Stitches

I’ve done a LOT of cutting in the last two weeks and I’ve also done a fair amount of sewing. The picture on the left shows the block segments labeled A - E on the templates. I cut most of the segments and started sewing the segments together to create the blocks (pictured on the right). I have a lot more sewing to do !

WIP Collage 2020-05-02.jpg

New Project - Stars & Stitches

This project edges toward “crazy” quilting which were very popular in the late 1800s and are an icon of the Victorian era. The last couple of years crazy quilts have had a resurgence with the “2020 Crazy Quilt Challenge”. According to the challenge guidelines, you are to create a crazy quilt with 2,020 items. To my eye this is far too much but I like the more understated crazy quilts.

My new project is to create a quilt like the picture below. I love the vivid colors and look forward to using some of the decorative machine stitches I have. Jennie at Missouri Star Quilt Company has a tutorial on this quilt which you might like to watch.

Stars & Stitches with Jenny.png

Complete !

The Cathedral Windows table topper is complete — and looks very nice on our foyer drop-down secretary. This was a quicker project than I expected . . .

Completed Cathedral Windows.jpg

Cathedral Windows Table Topper

I was intrigued by several quilts I saw with the block “cathedral windows”. Sooo since I’m still in “try anything” mode, I decided to make a table topper for our secretarial desk that Mike built.

I used a cream colored background with a layer cake (42 10” squares) from Moda called “Clover Meadow” by Jan Patek Quilts. I’ve only use a couple of the 10” squares, so the balance will go into my stash of quilt fabrics. The topper is in progress. Here’s a picture; the left is a closeup of the window and the right is a long shot of the entire topper. I’m likely to finish this in the next couple of days. . . .

Cathedral Windows Collage.jpg

Wonky Block Quilt - Complete !!

The wonky block polka dot quilt is complete !! I really enjoyed working on this quilt. This is my first experience with sashing and it went pretty well, I think the black sashing and binding add a lot of pizzazz to the quilt. I found a particularly good video (from the Missouri Star Quilt Company) about binding and for the first time, I was pleased with the binding. For the moment, it lives in our bedroom on a chair. . .

The first picture shows the front of the quilt; the second shows a bit of the backing. . .

Completed Wonky Polka Dot Quilt Resized 60%.jpg
Quilt with Backing showing Resized 60%.jpg

"Wonky" Block Quilt

After I completed the 25 blocks for this quilt I laid the blocks on my “design wall” (aka the living room floor) and rearranged them until I got the most pleasing layout.

Design Wall - Cropped 40%.jpg

I then sewed the rows together adding narrow black sashing between blocks and rows. Putting the quilt top together went more quickly than I expected.

Now I’m off to create the quilt sandwich and then on to the quilting. . .

Completed Wonky Block Quilt Top 40%.jpg

"Wonky" Block Quilt Begins

My next quilt will be a “wonky” block quilt using a polka dot charm pack (pre-cut five inch squares). I was inspired by this blog post and loved the look of the tilted blocks. Here’s a picture of the fabrics I’ve chosen. The polka dot fabric has about ten different colors, so this will be another bright quilt.

Wonky Block Fabric Selection.jpg

Table Topper Complete !

The table runner/topper is complete ! I finished the quilting on February 23, 2020. My husband, who requested this, is delighted !! He designed and built the dining room table and thinks the topper enhances the cherry wood he used.

Table Topper - Complete.jpg

Table Topper WIP

I’m making good progress on the table topper. I have all the blocks sewn together and am ready to create the sashing (the horizontal fabric between the blocks) and the border (the fabric around the edge of the topper). We thought this yellow-green would be a nice contrast but it’s too much of a contrast; I’ve ordered some blue-green fabric since our local fabric stores didn’t have anything I thought would work.

The picture on the left shows the blocks, with the proposed background fabric, laid on the table and the right is a close-up of a couple of the blocks. I really like the yellow-green fabric, so I might use it as the backing and possibly as the quilt binding.

WIP 1&2 Collage.jpg

Churn Dash Table Topper Begins

You might recall that the fabric we’d chosen for the table topper (aka table runner) was a muddy colored mess when I put together the sample block. I went off to the fabric store and selected the fabric you see below.

Churn Dash Collage- Sample Block.jpg

On the left is the sample block that I created to see if the colors were right - and they were ! On the right is a selection of fabric I’ll use to create the blocks.

I have a lot of cutting and sewing to do - there are three rows in each block, each of which has six elements to be cut and sewn together. This is the most intricate block I’ve created in my short time as a quilter. I’ll report back as I move through the project. . .