WIP: Boxes of Colour + Mystery Quilt + Block Challenge/Swap

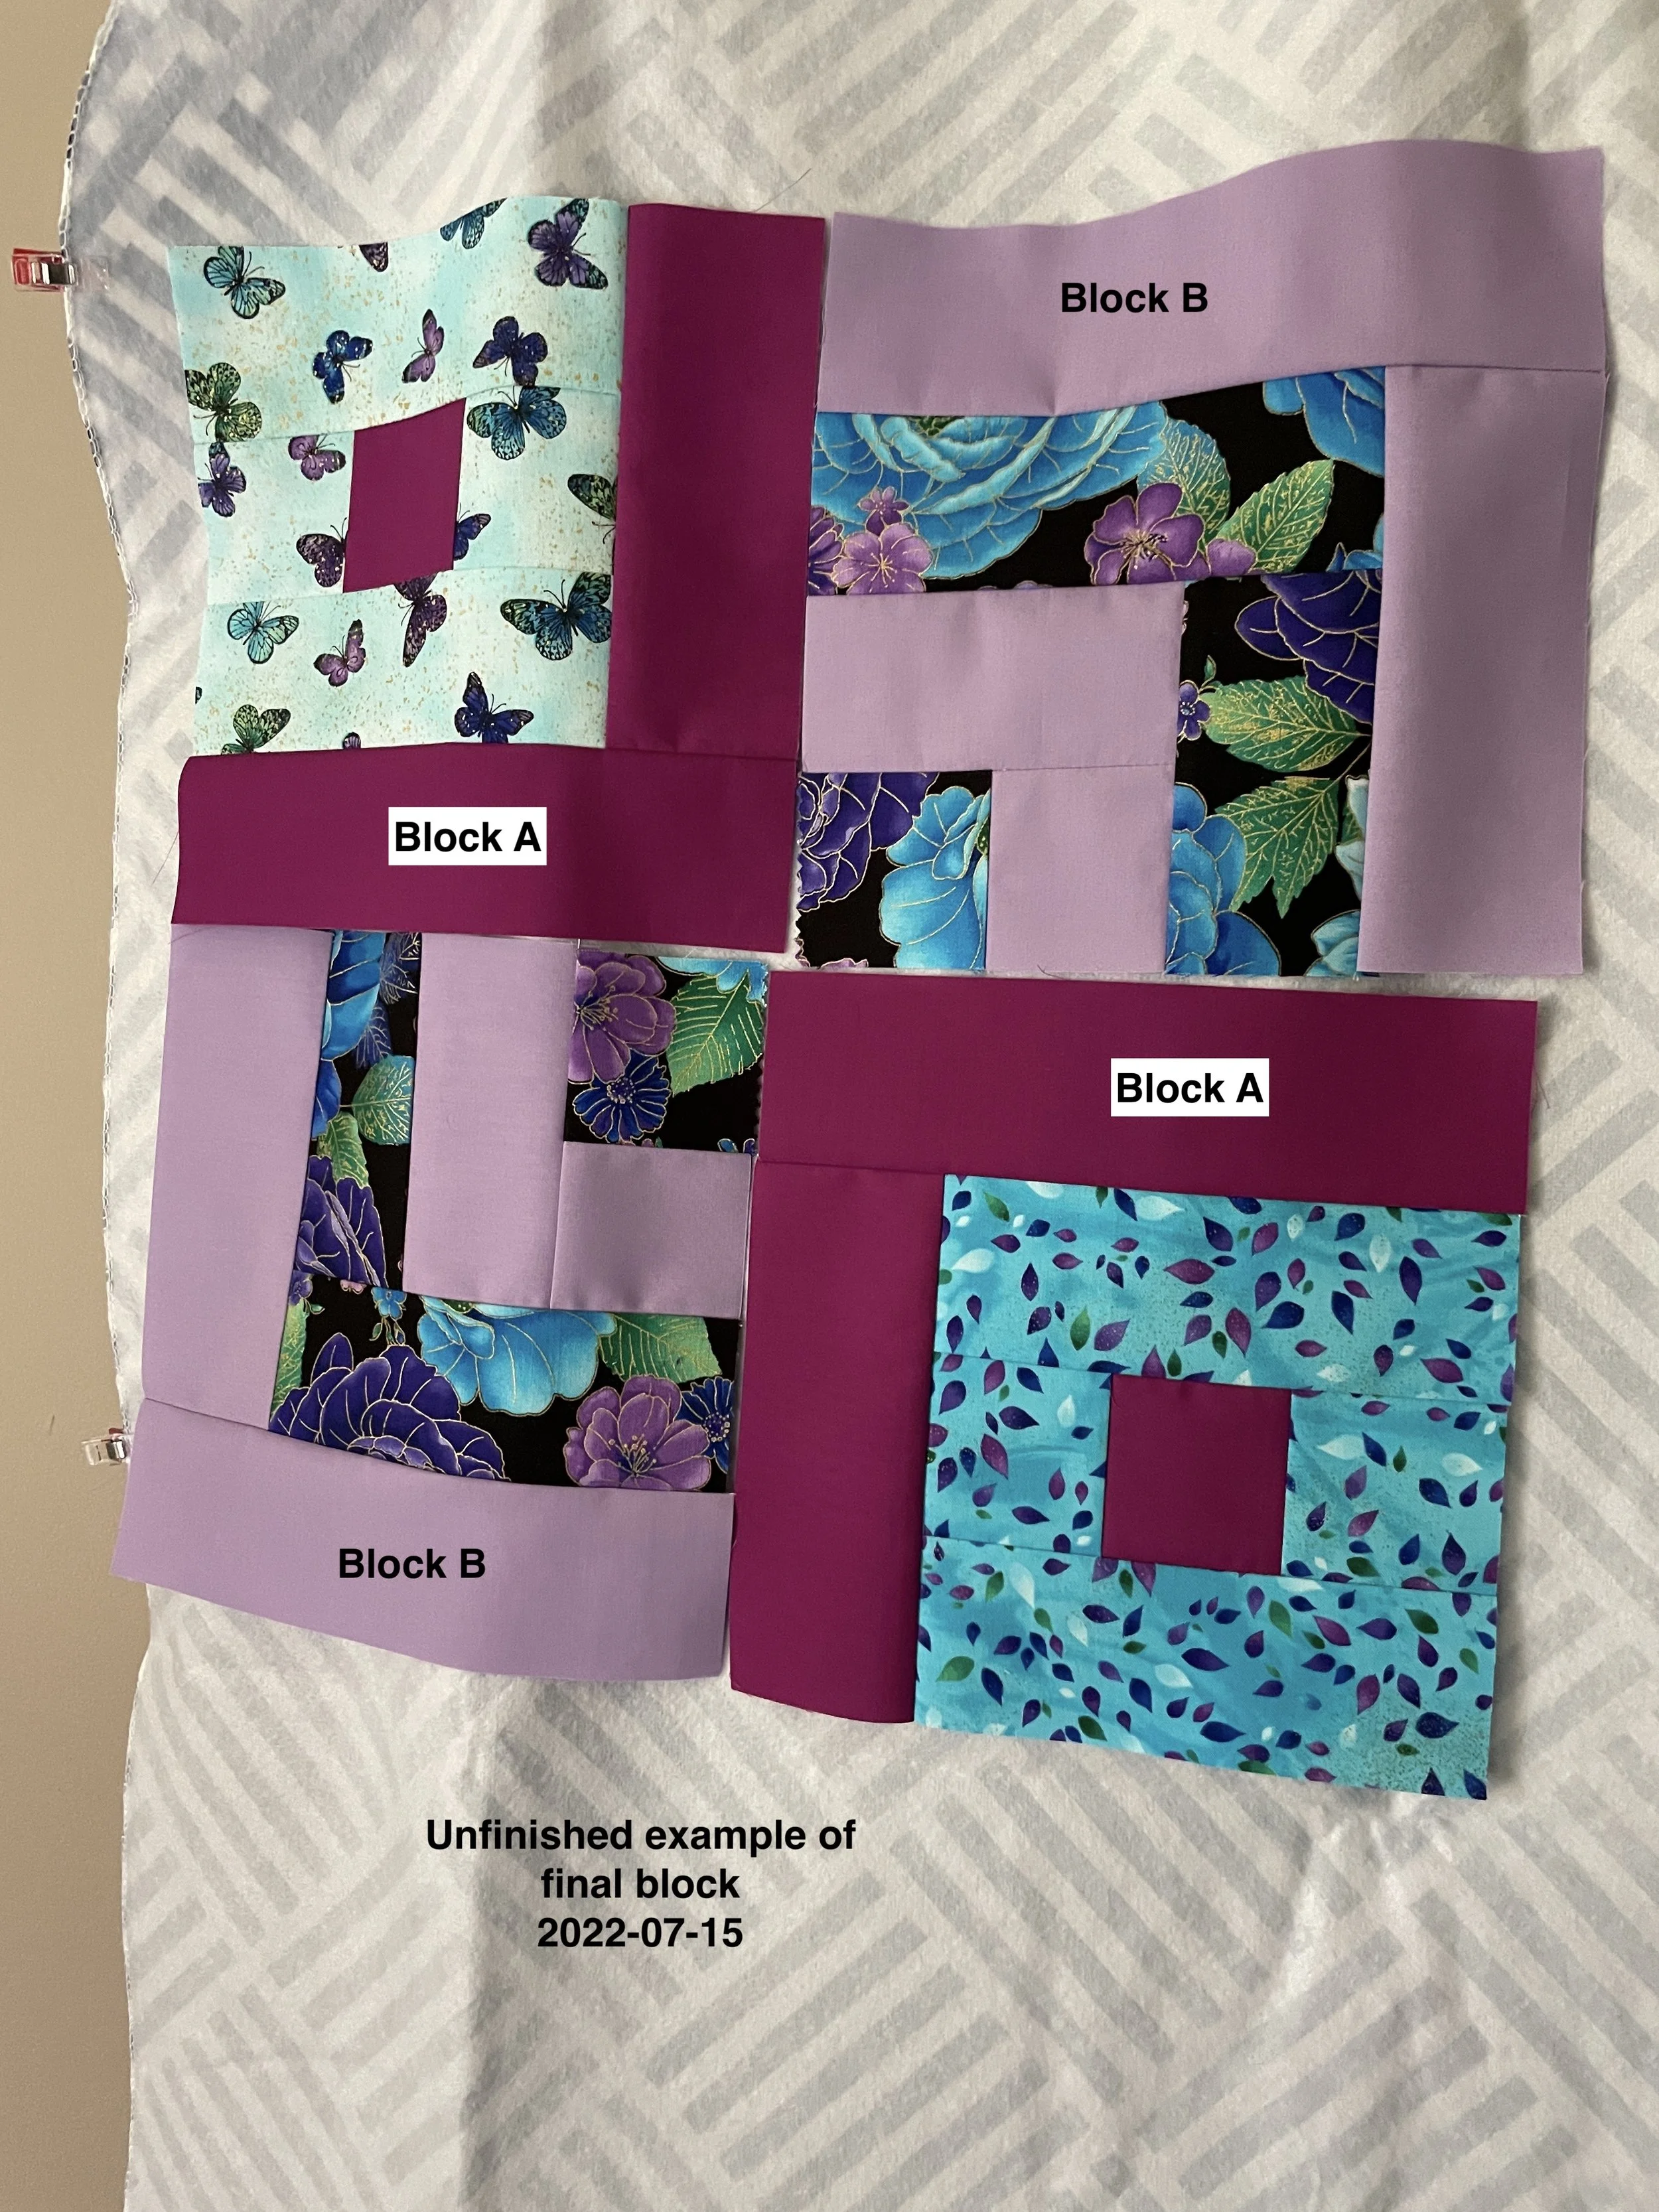
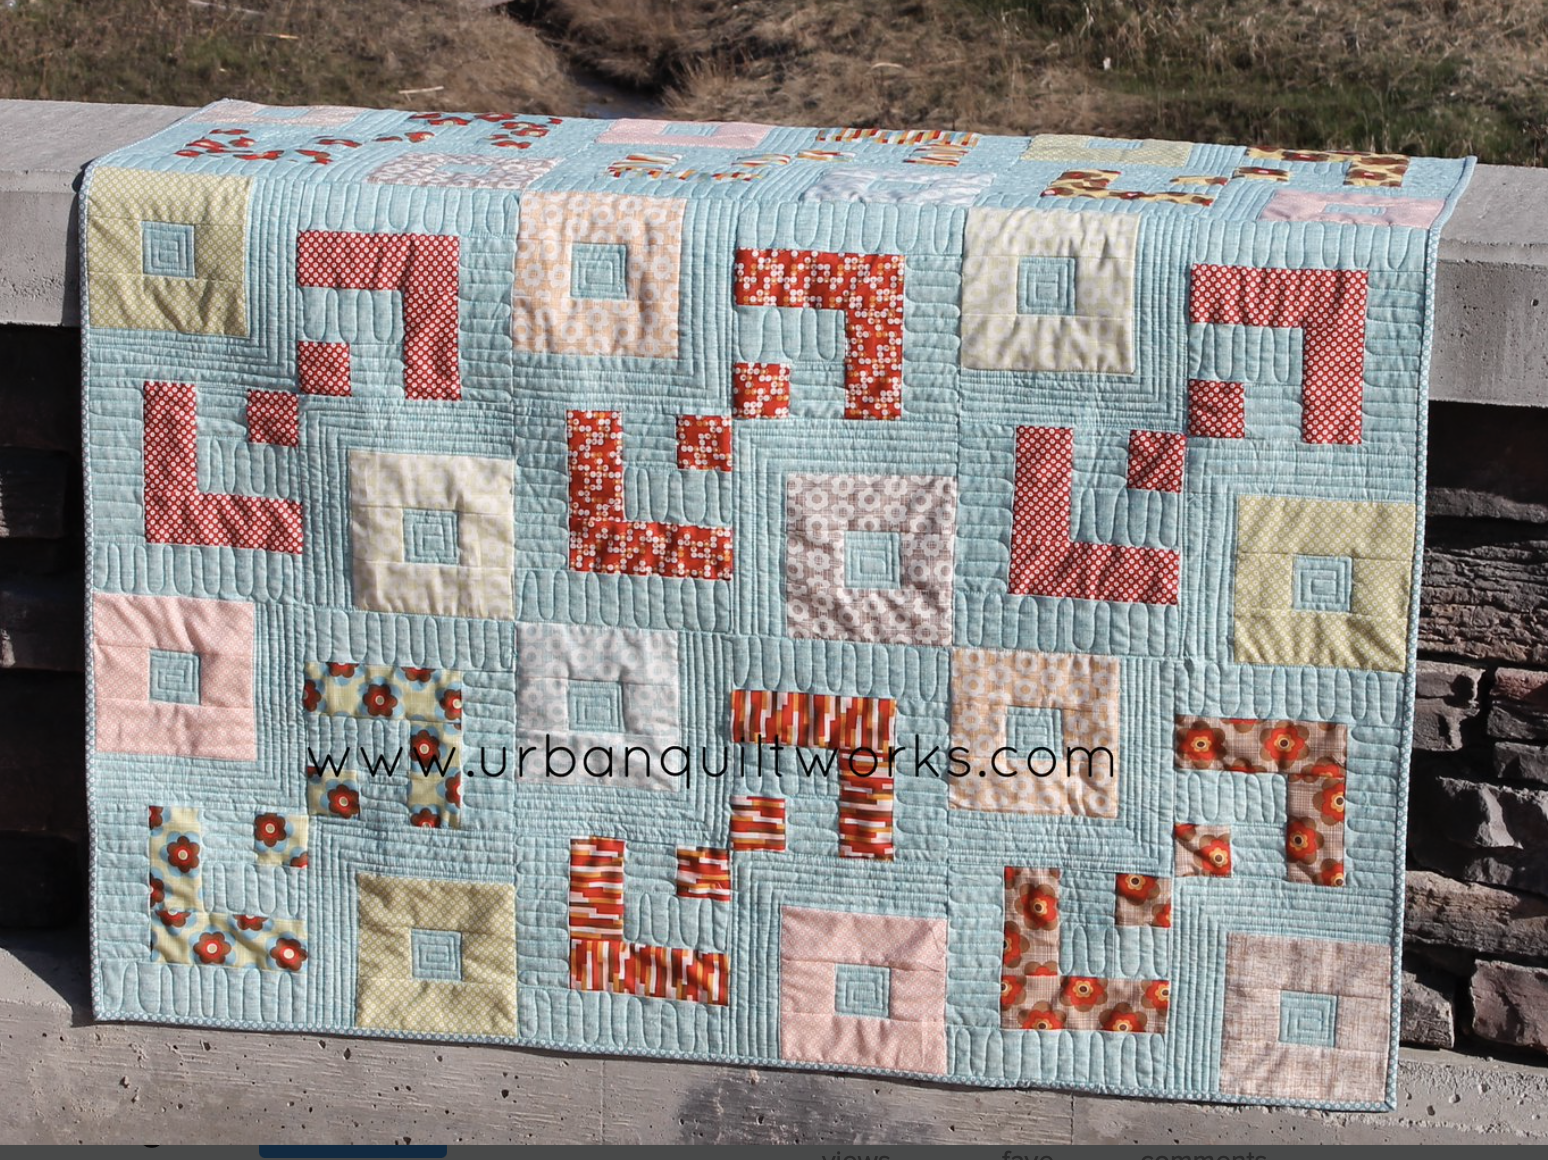
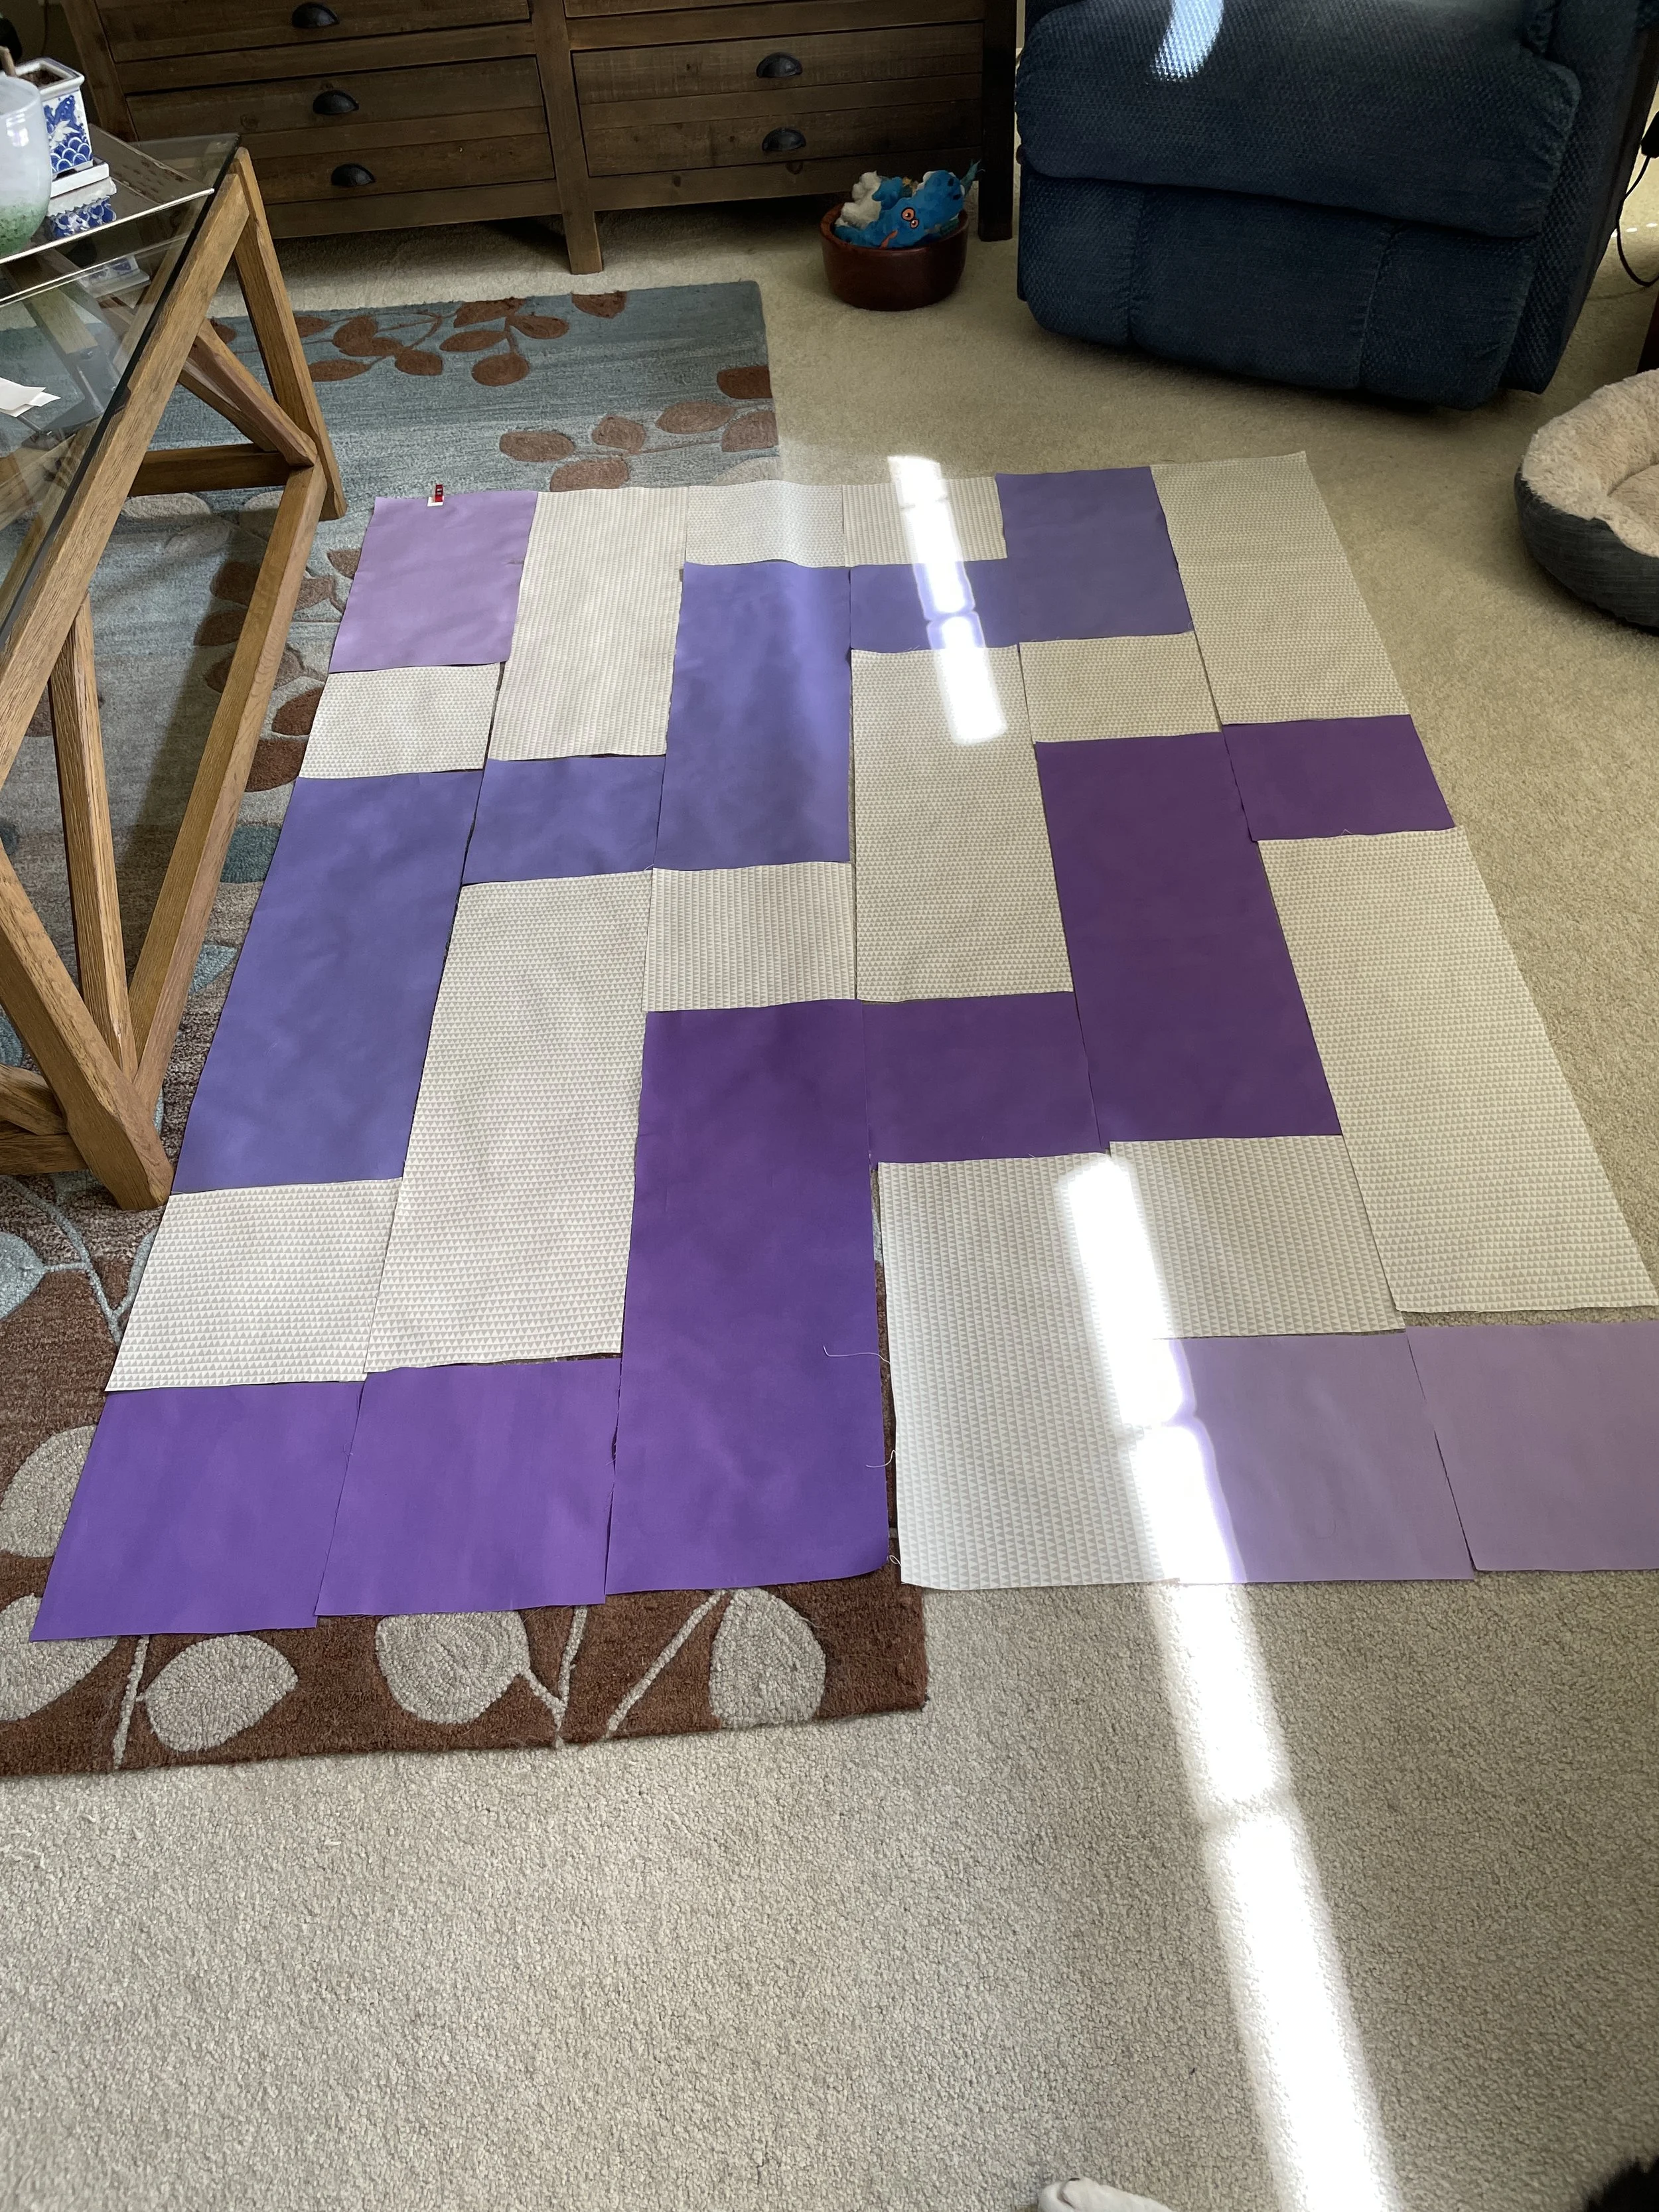
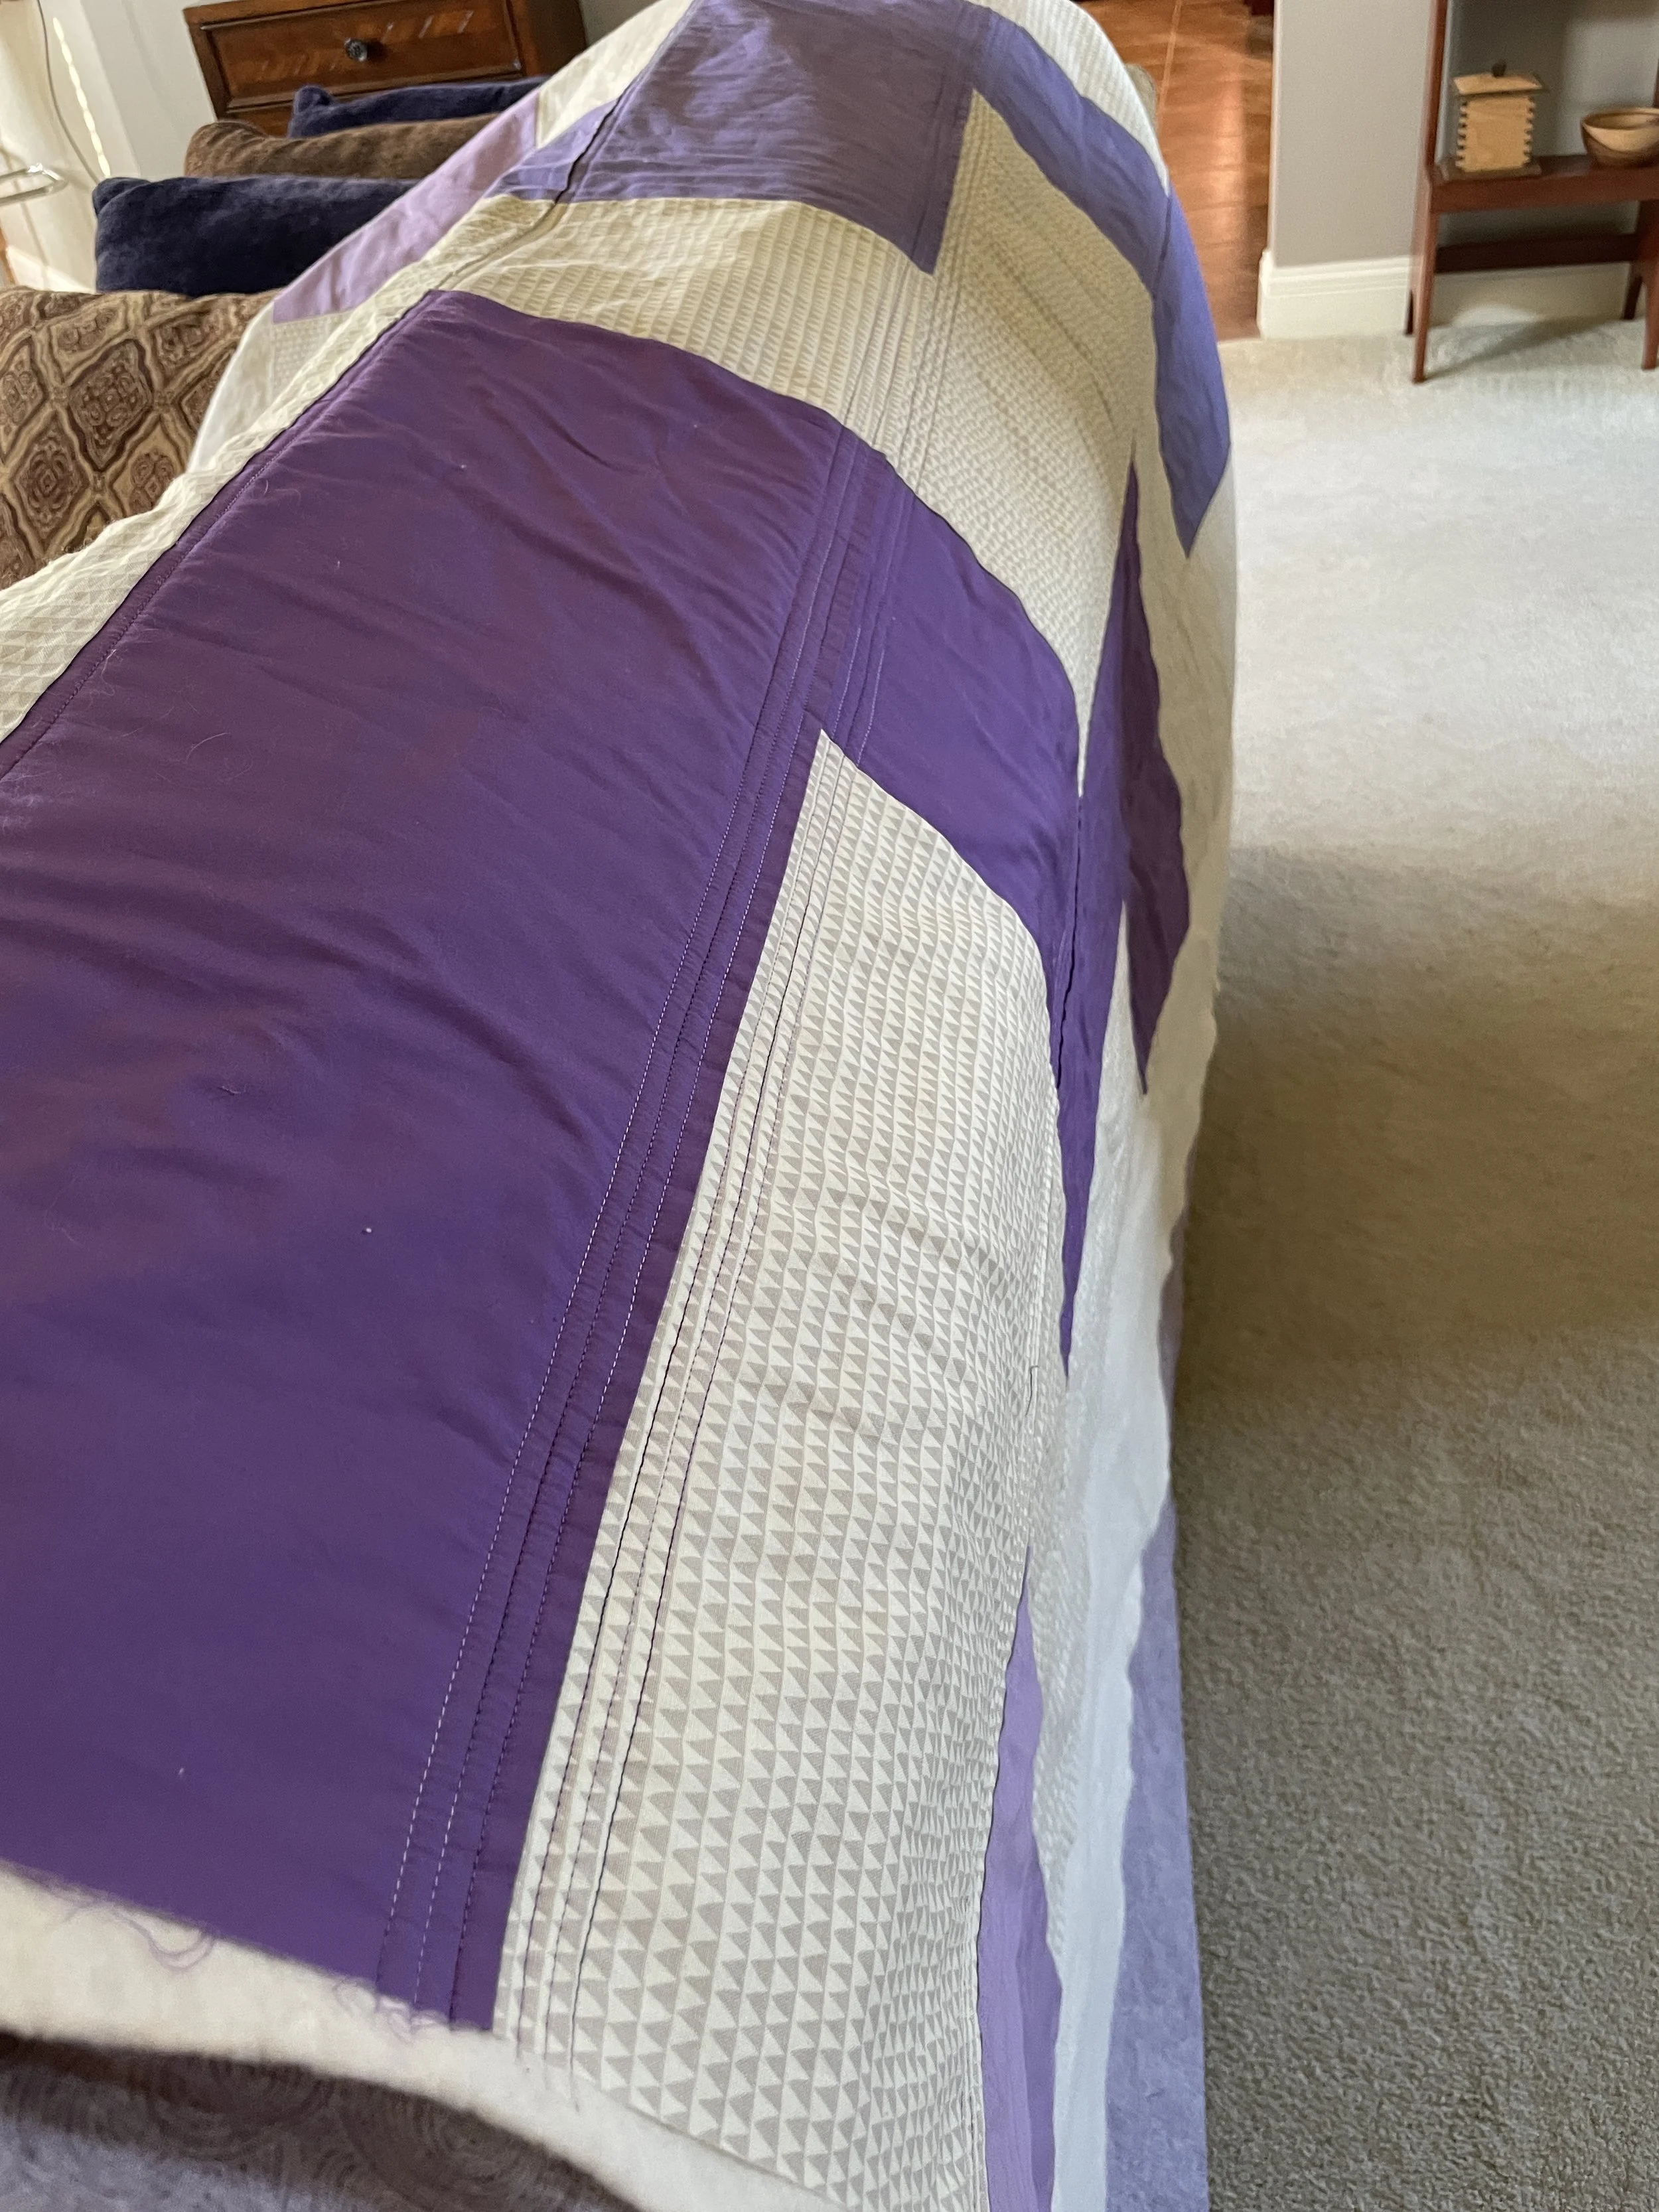
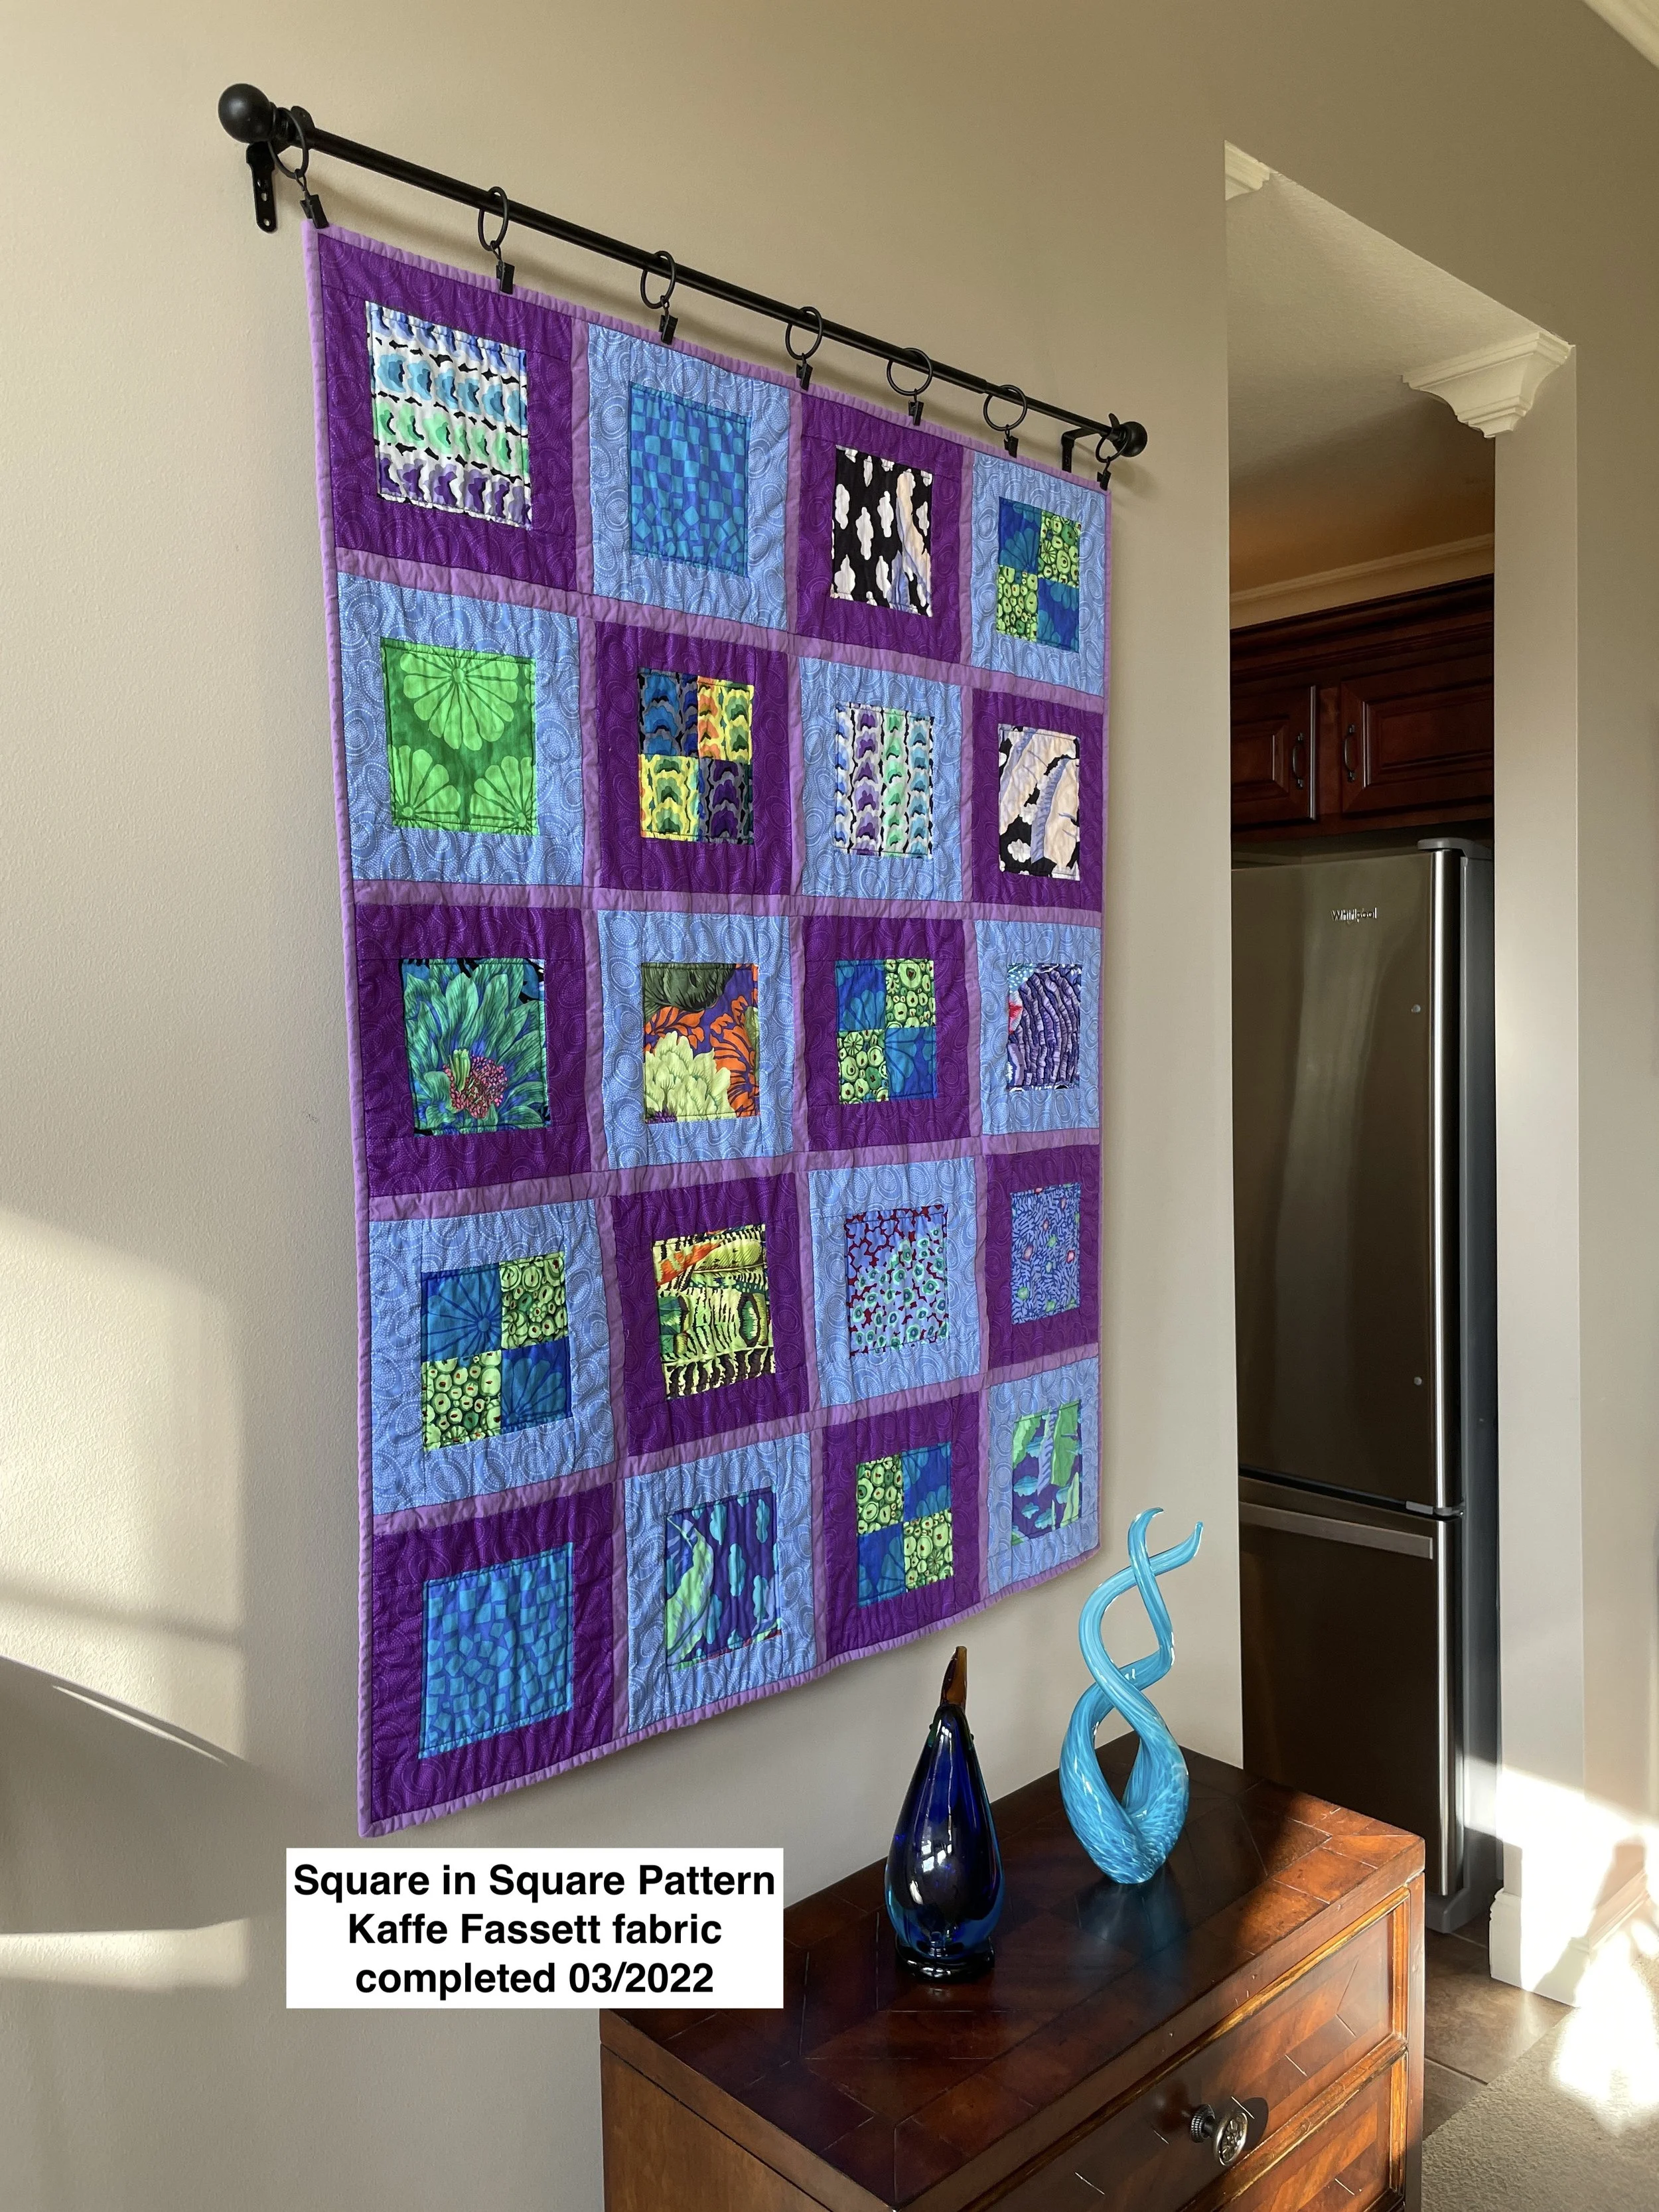
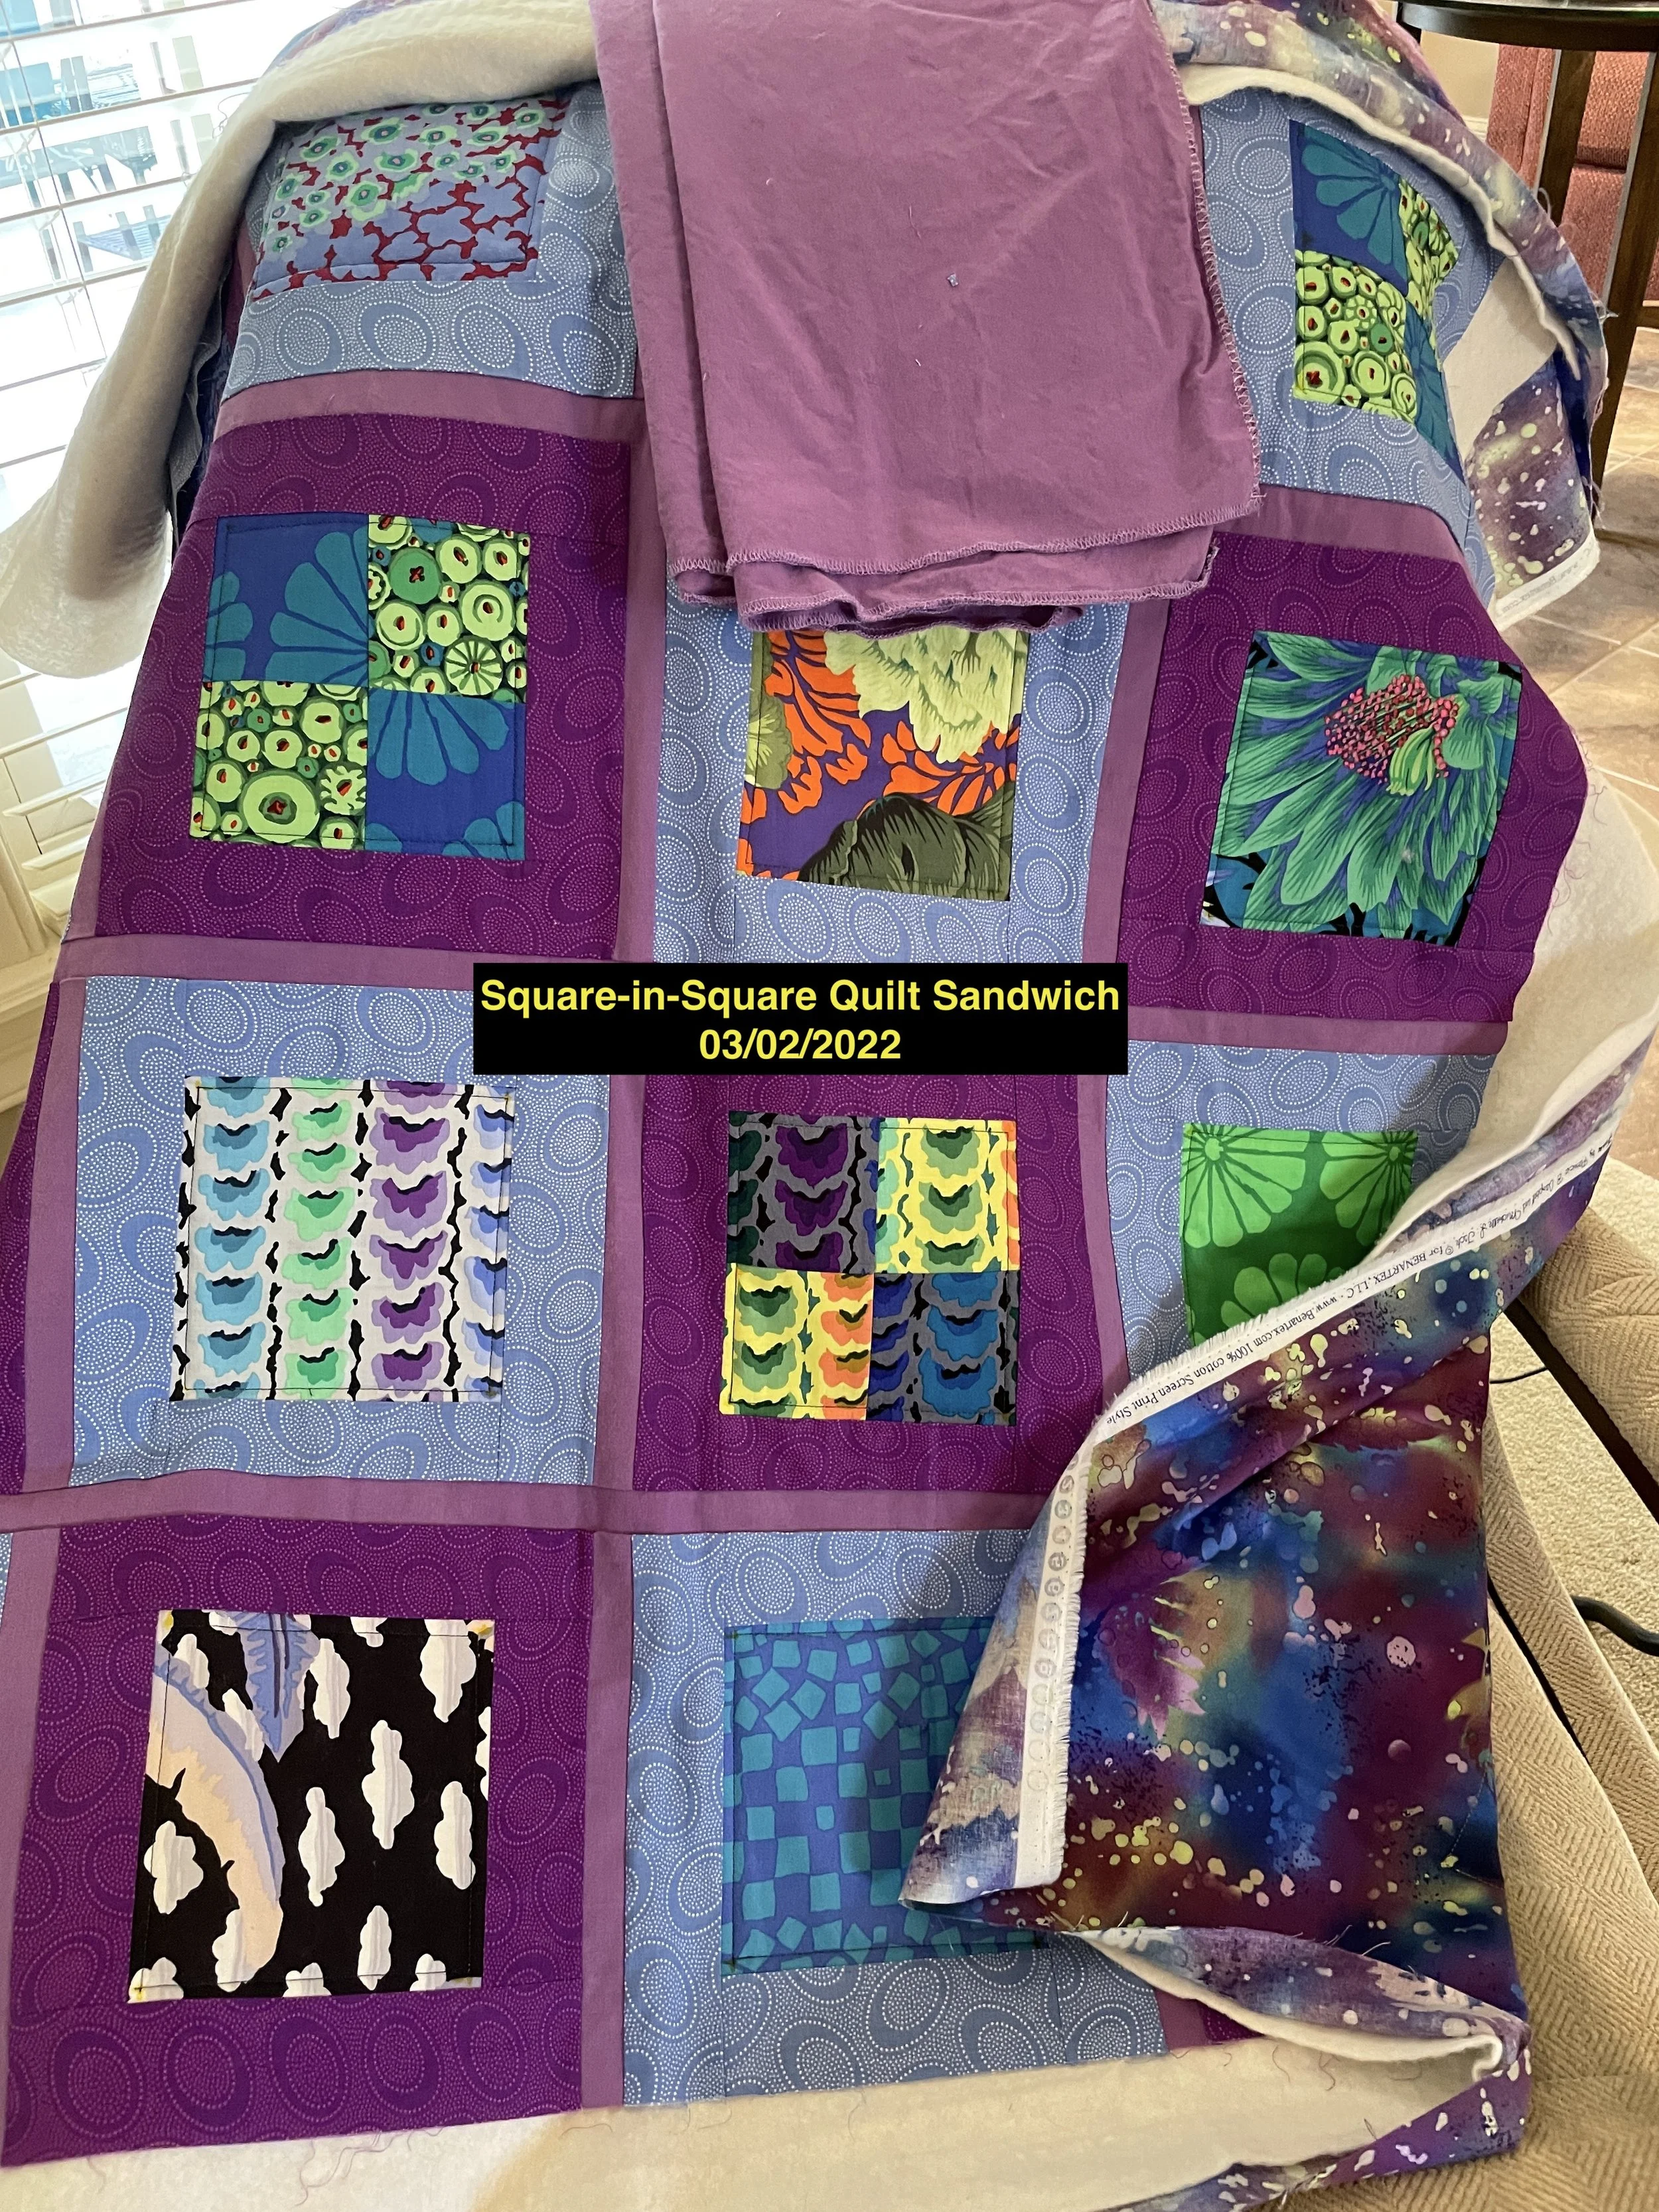
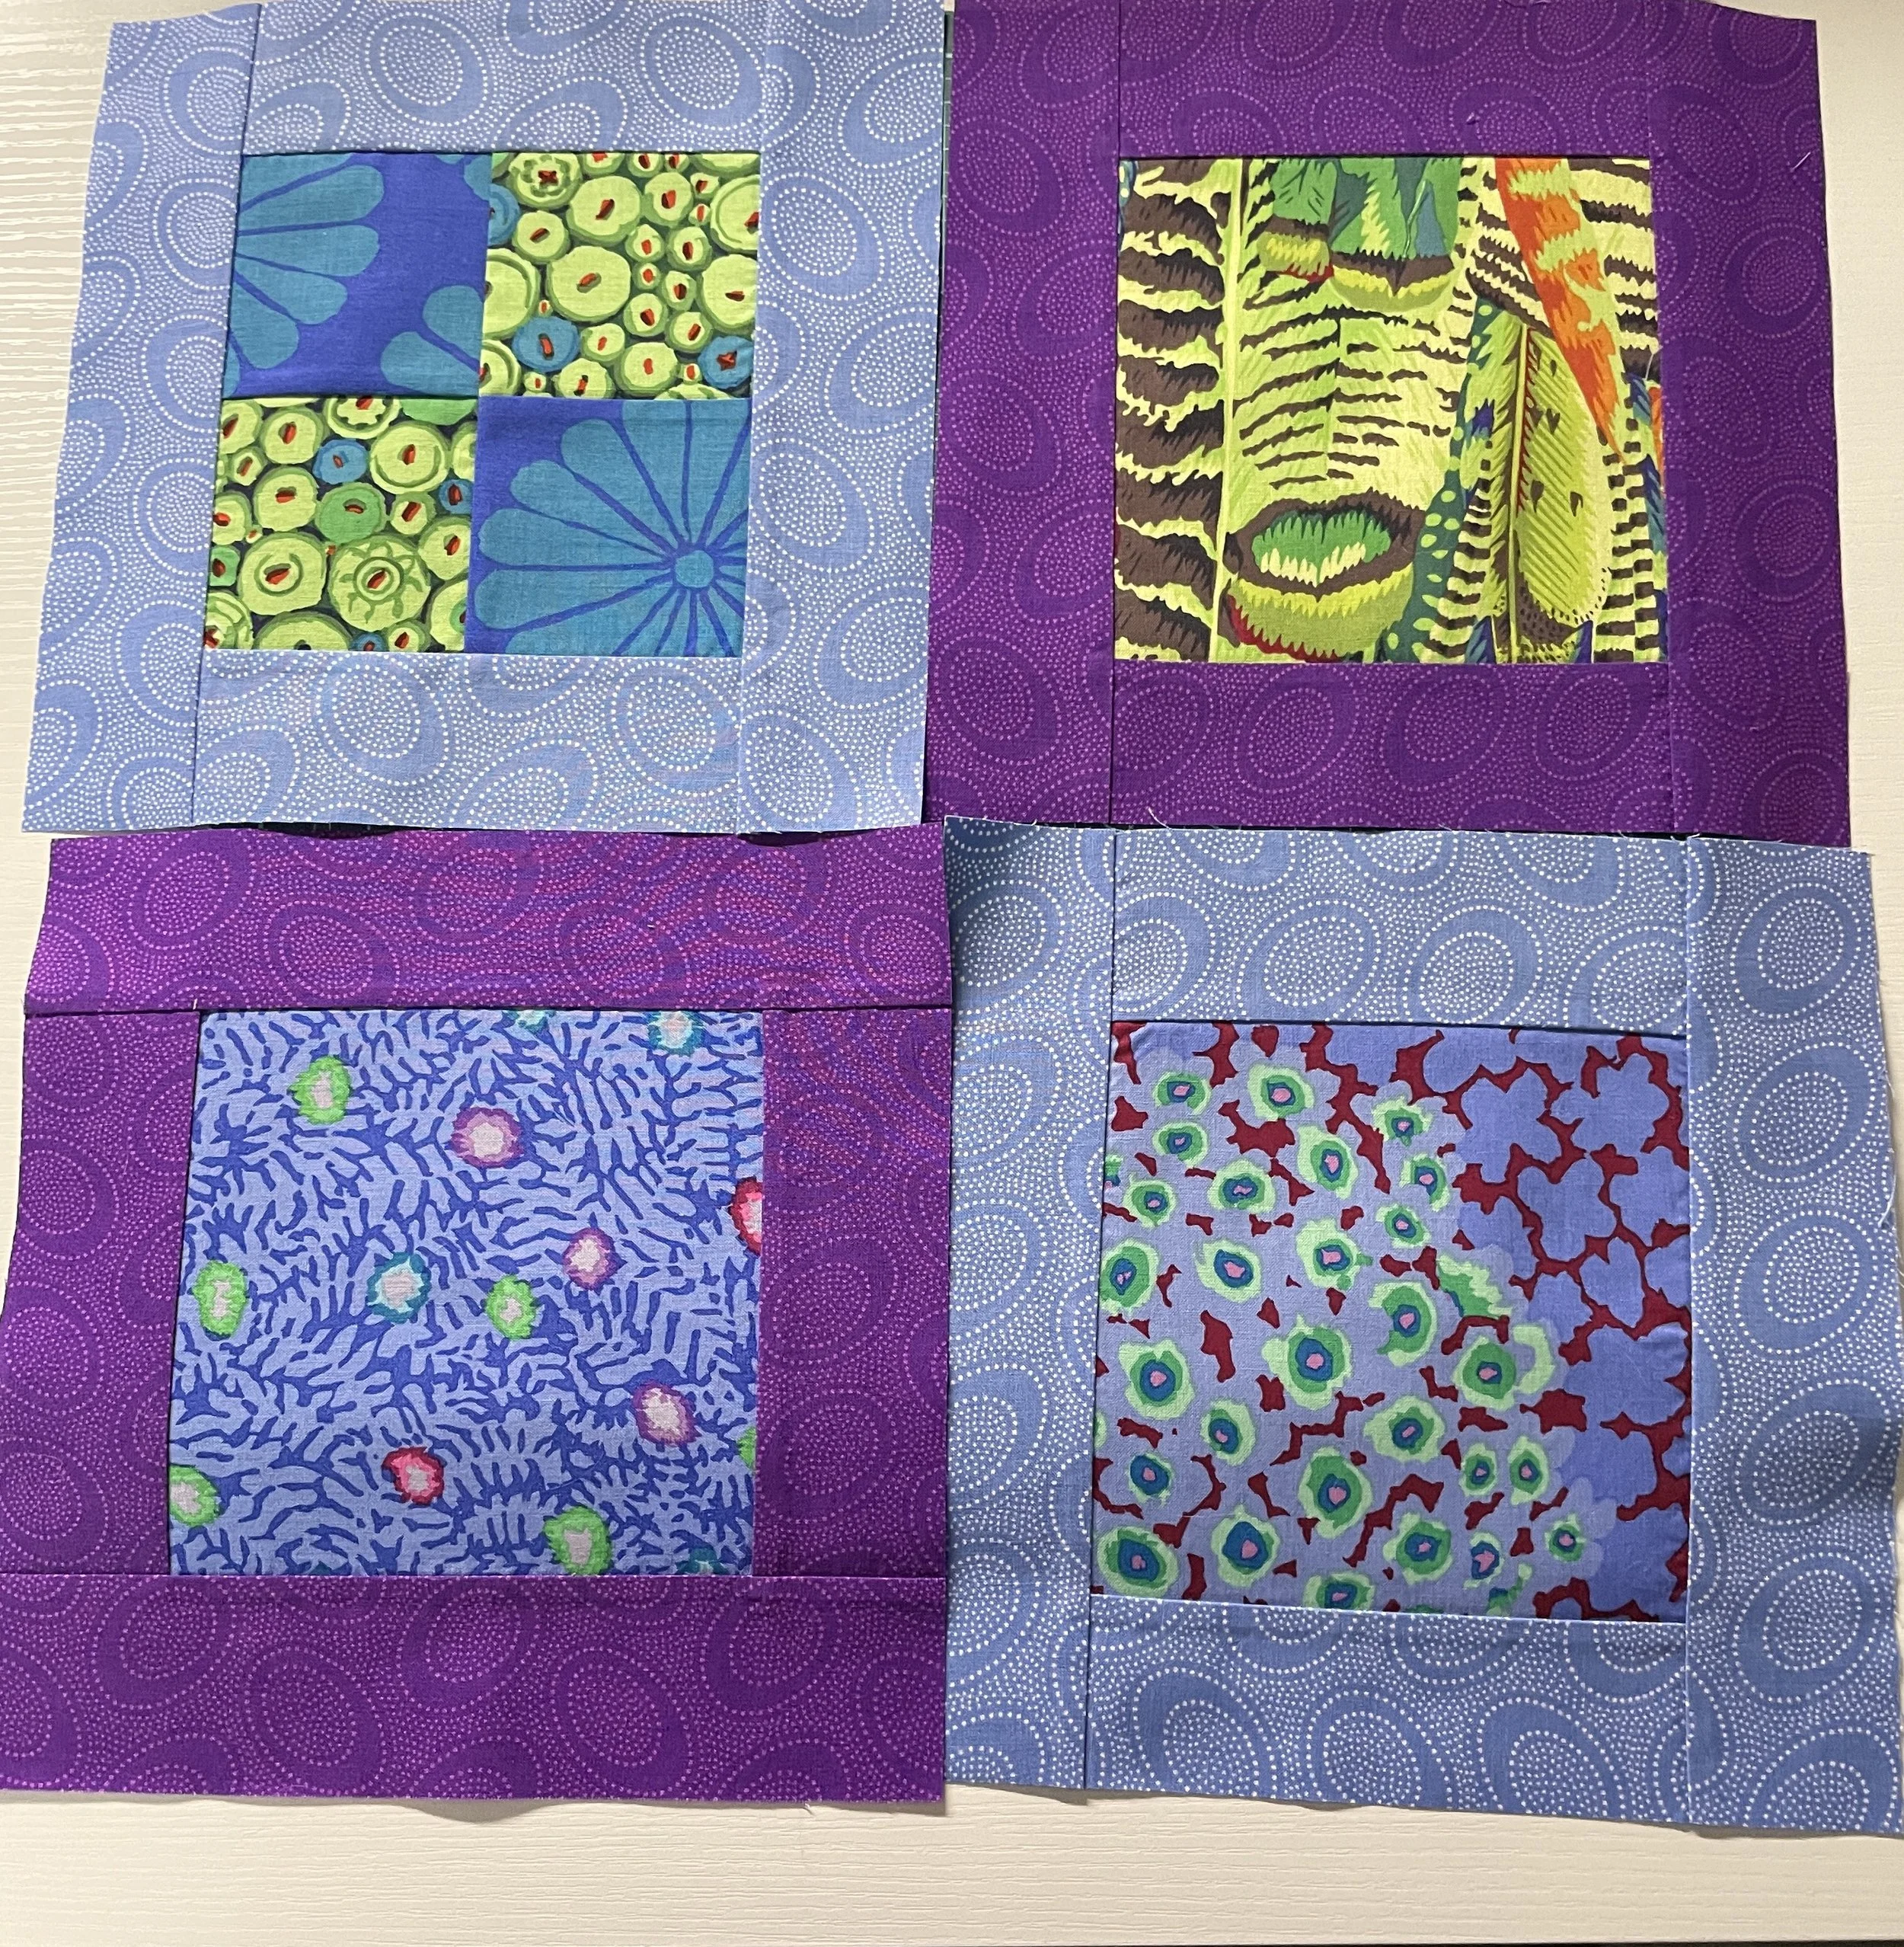
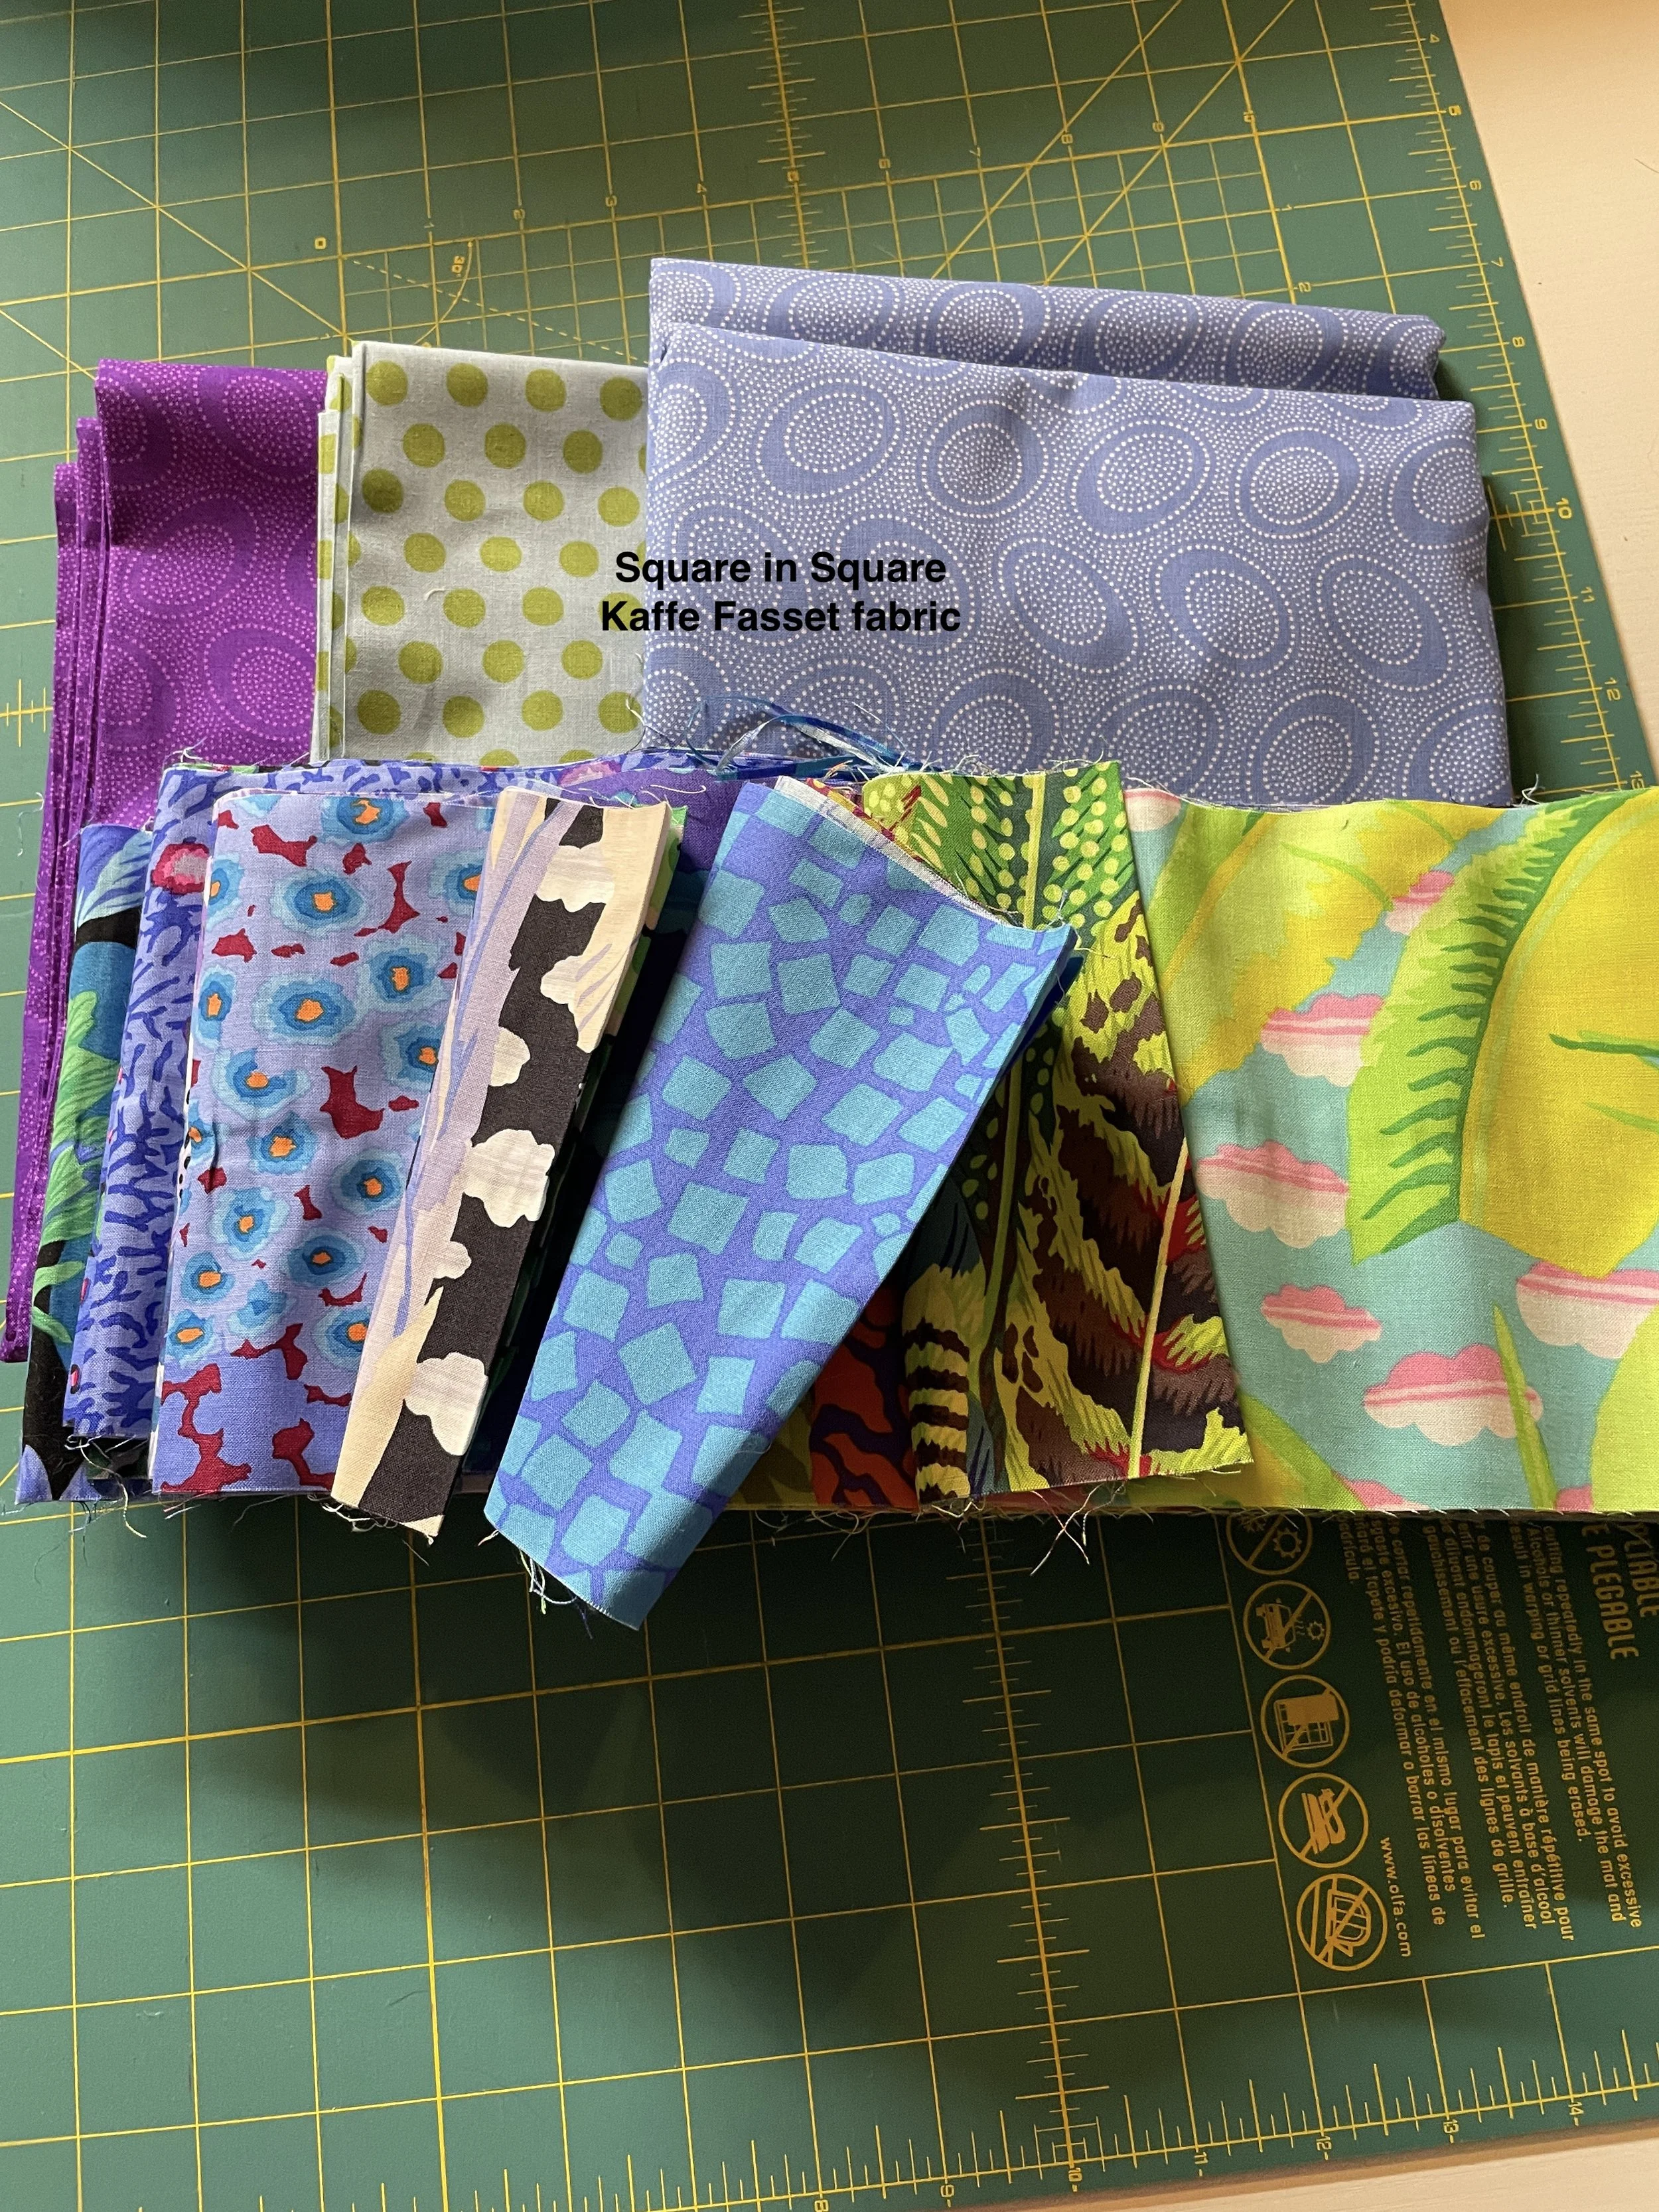
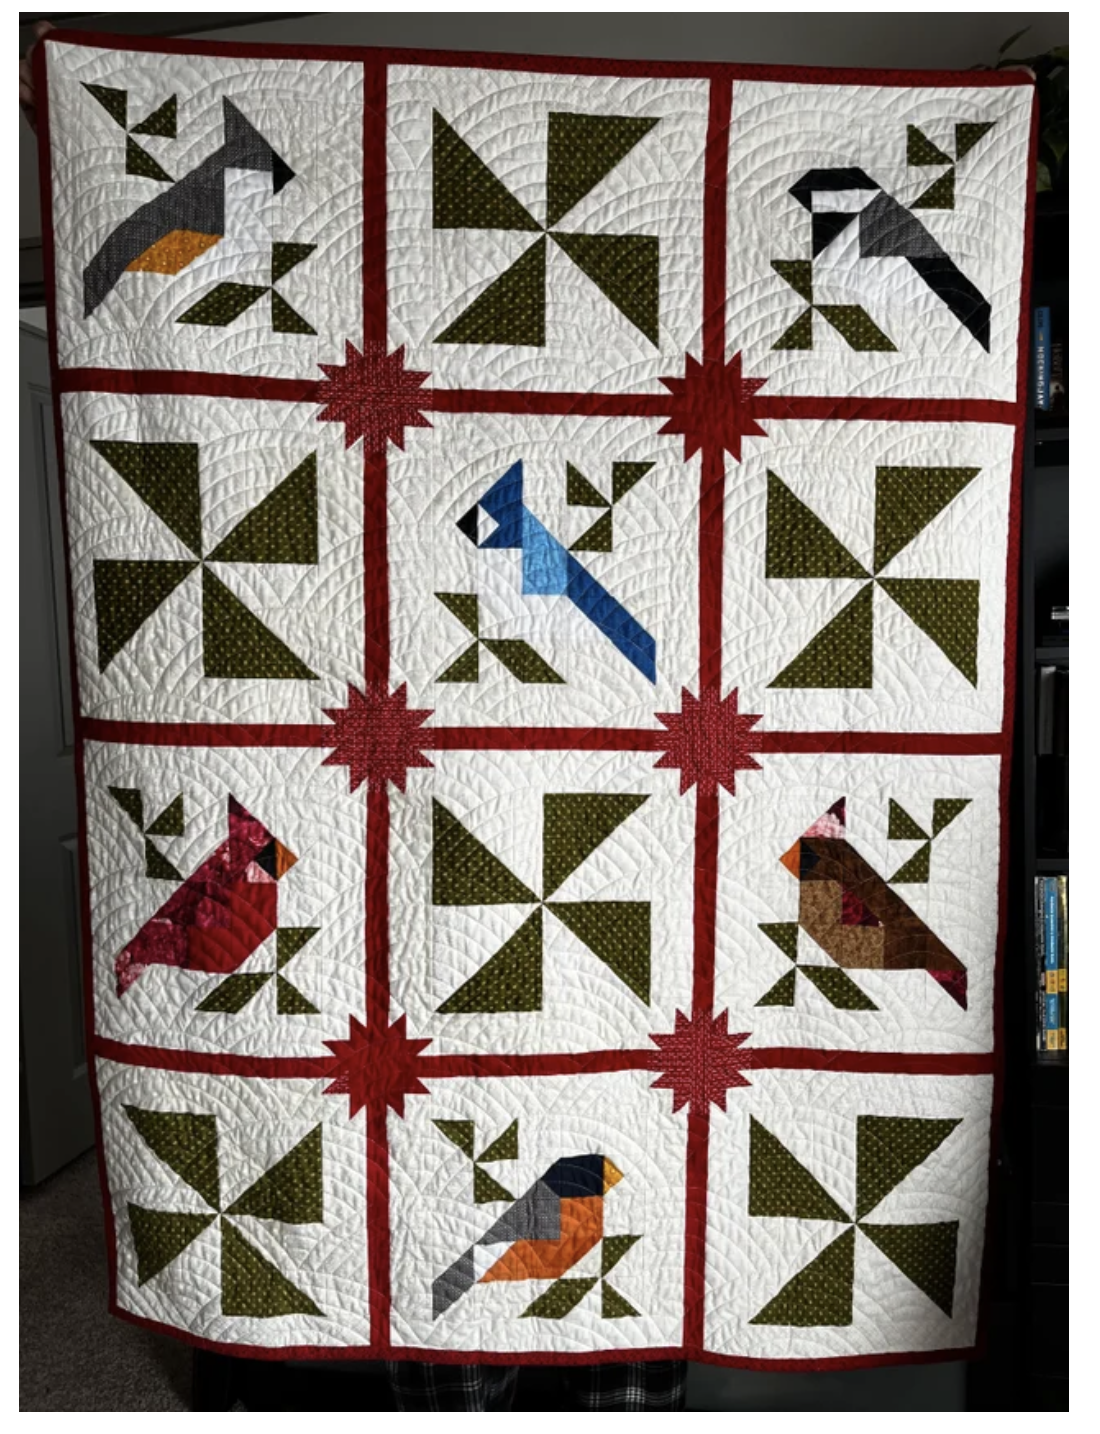
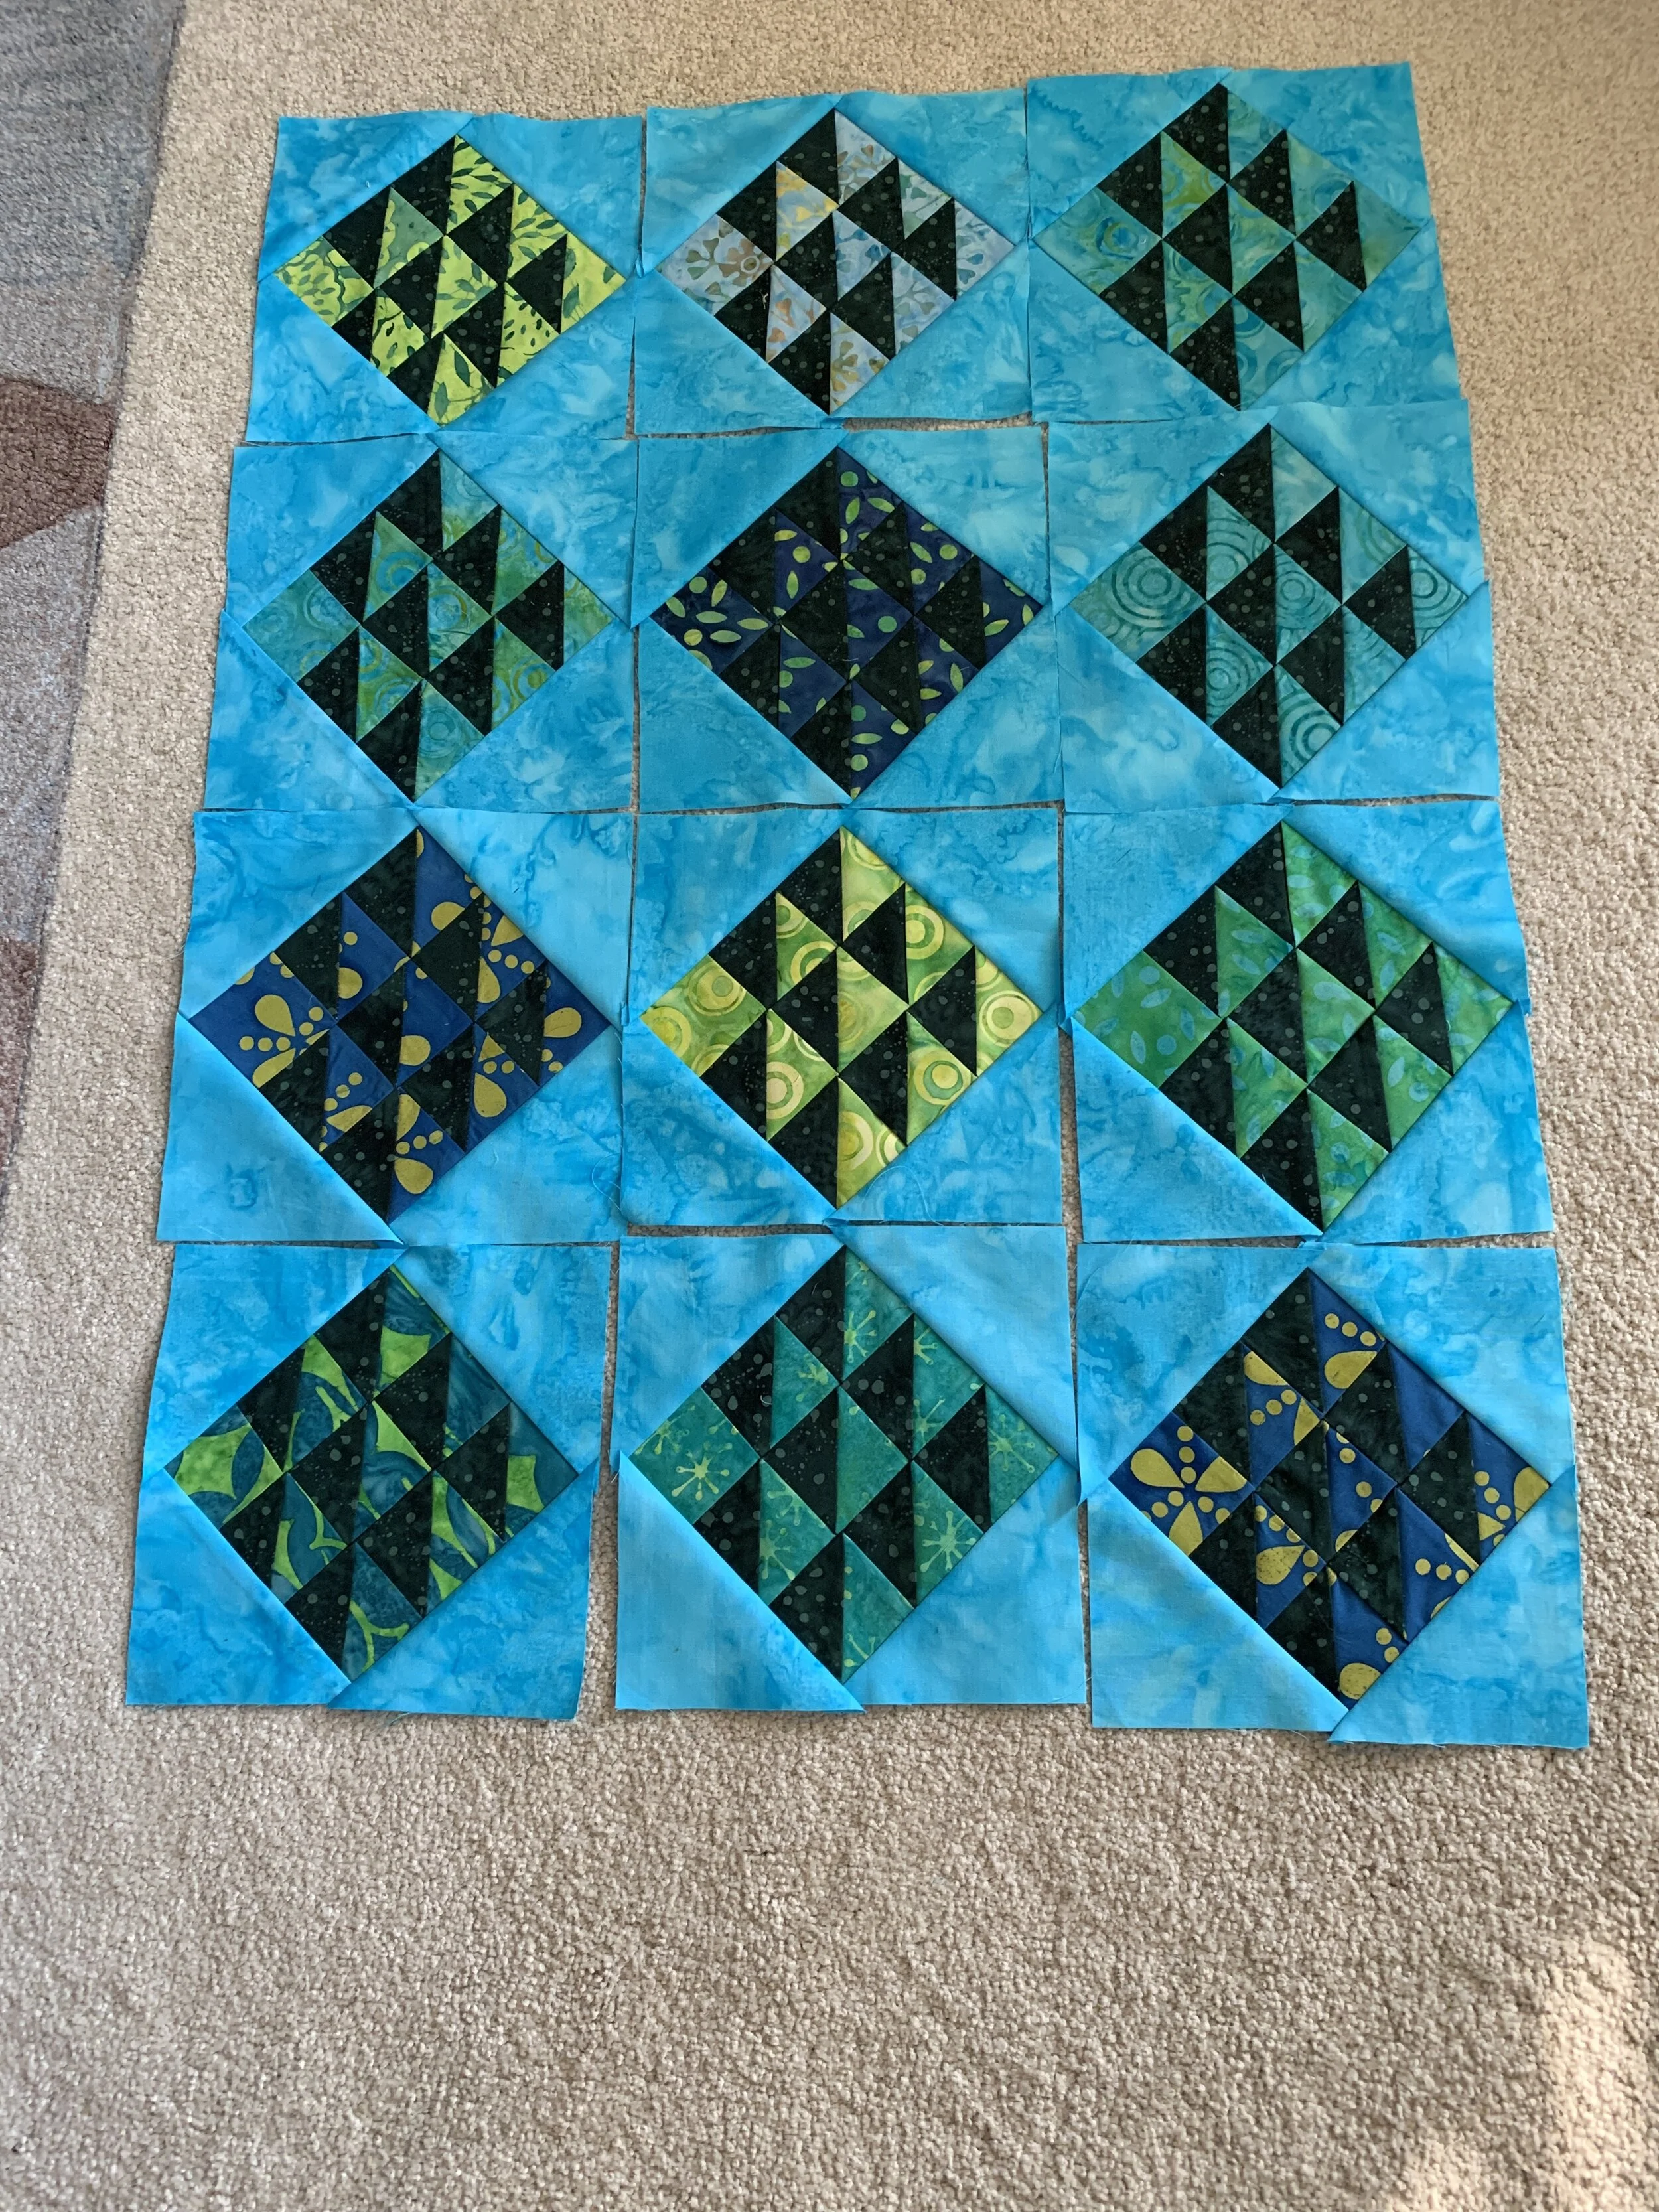
I’m still working along on the Boxes of Colour quilt and laid it on the floor to see how things were looking. There are a couple of problems with the quilt. First off the butterfly fabric is too bright and calls too much attention to itself. I’ll make another couple of blocks to replace these. Secondly I need to make two more Block B’s to fill in the upper left of the quilt. And lastly, I think this is pretty ugly. I made a poor design choice when I selected two different purples. I should have used the same background for all the blocks which would have showcased the blocks better. Ah, well, lesson learned. . . Perhaps someone can use it as a dog bed 😳

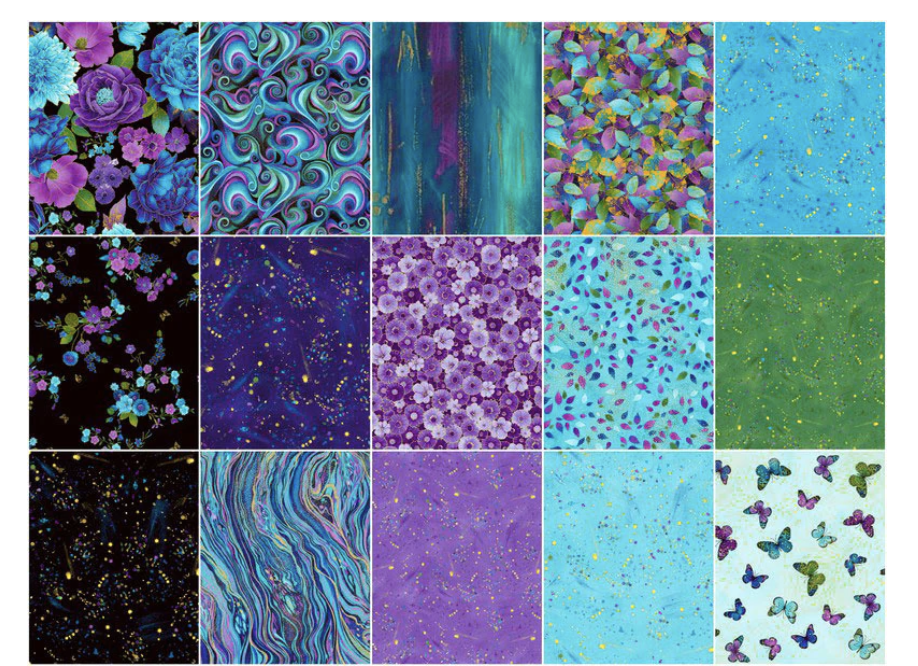
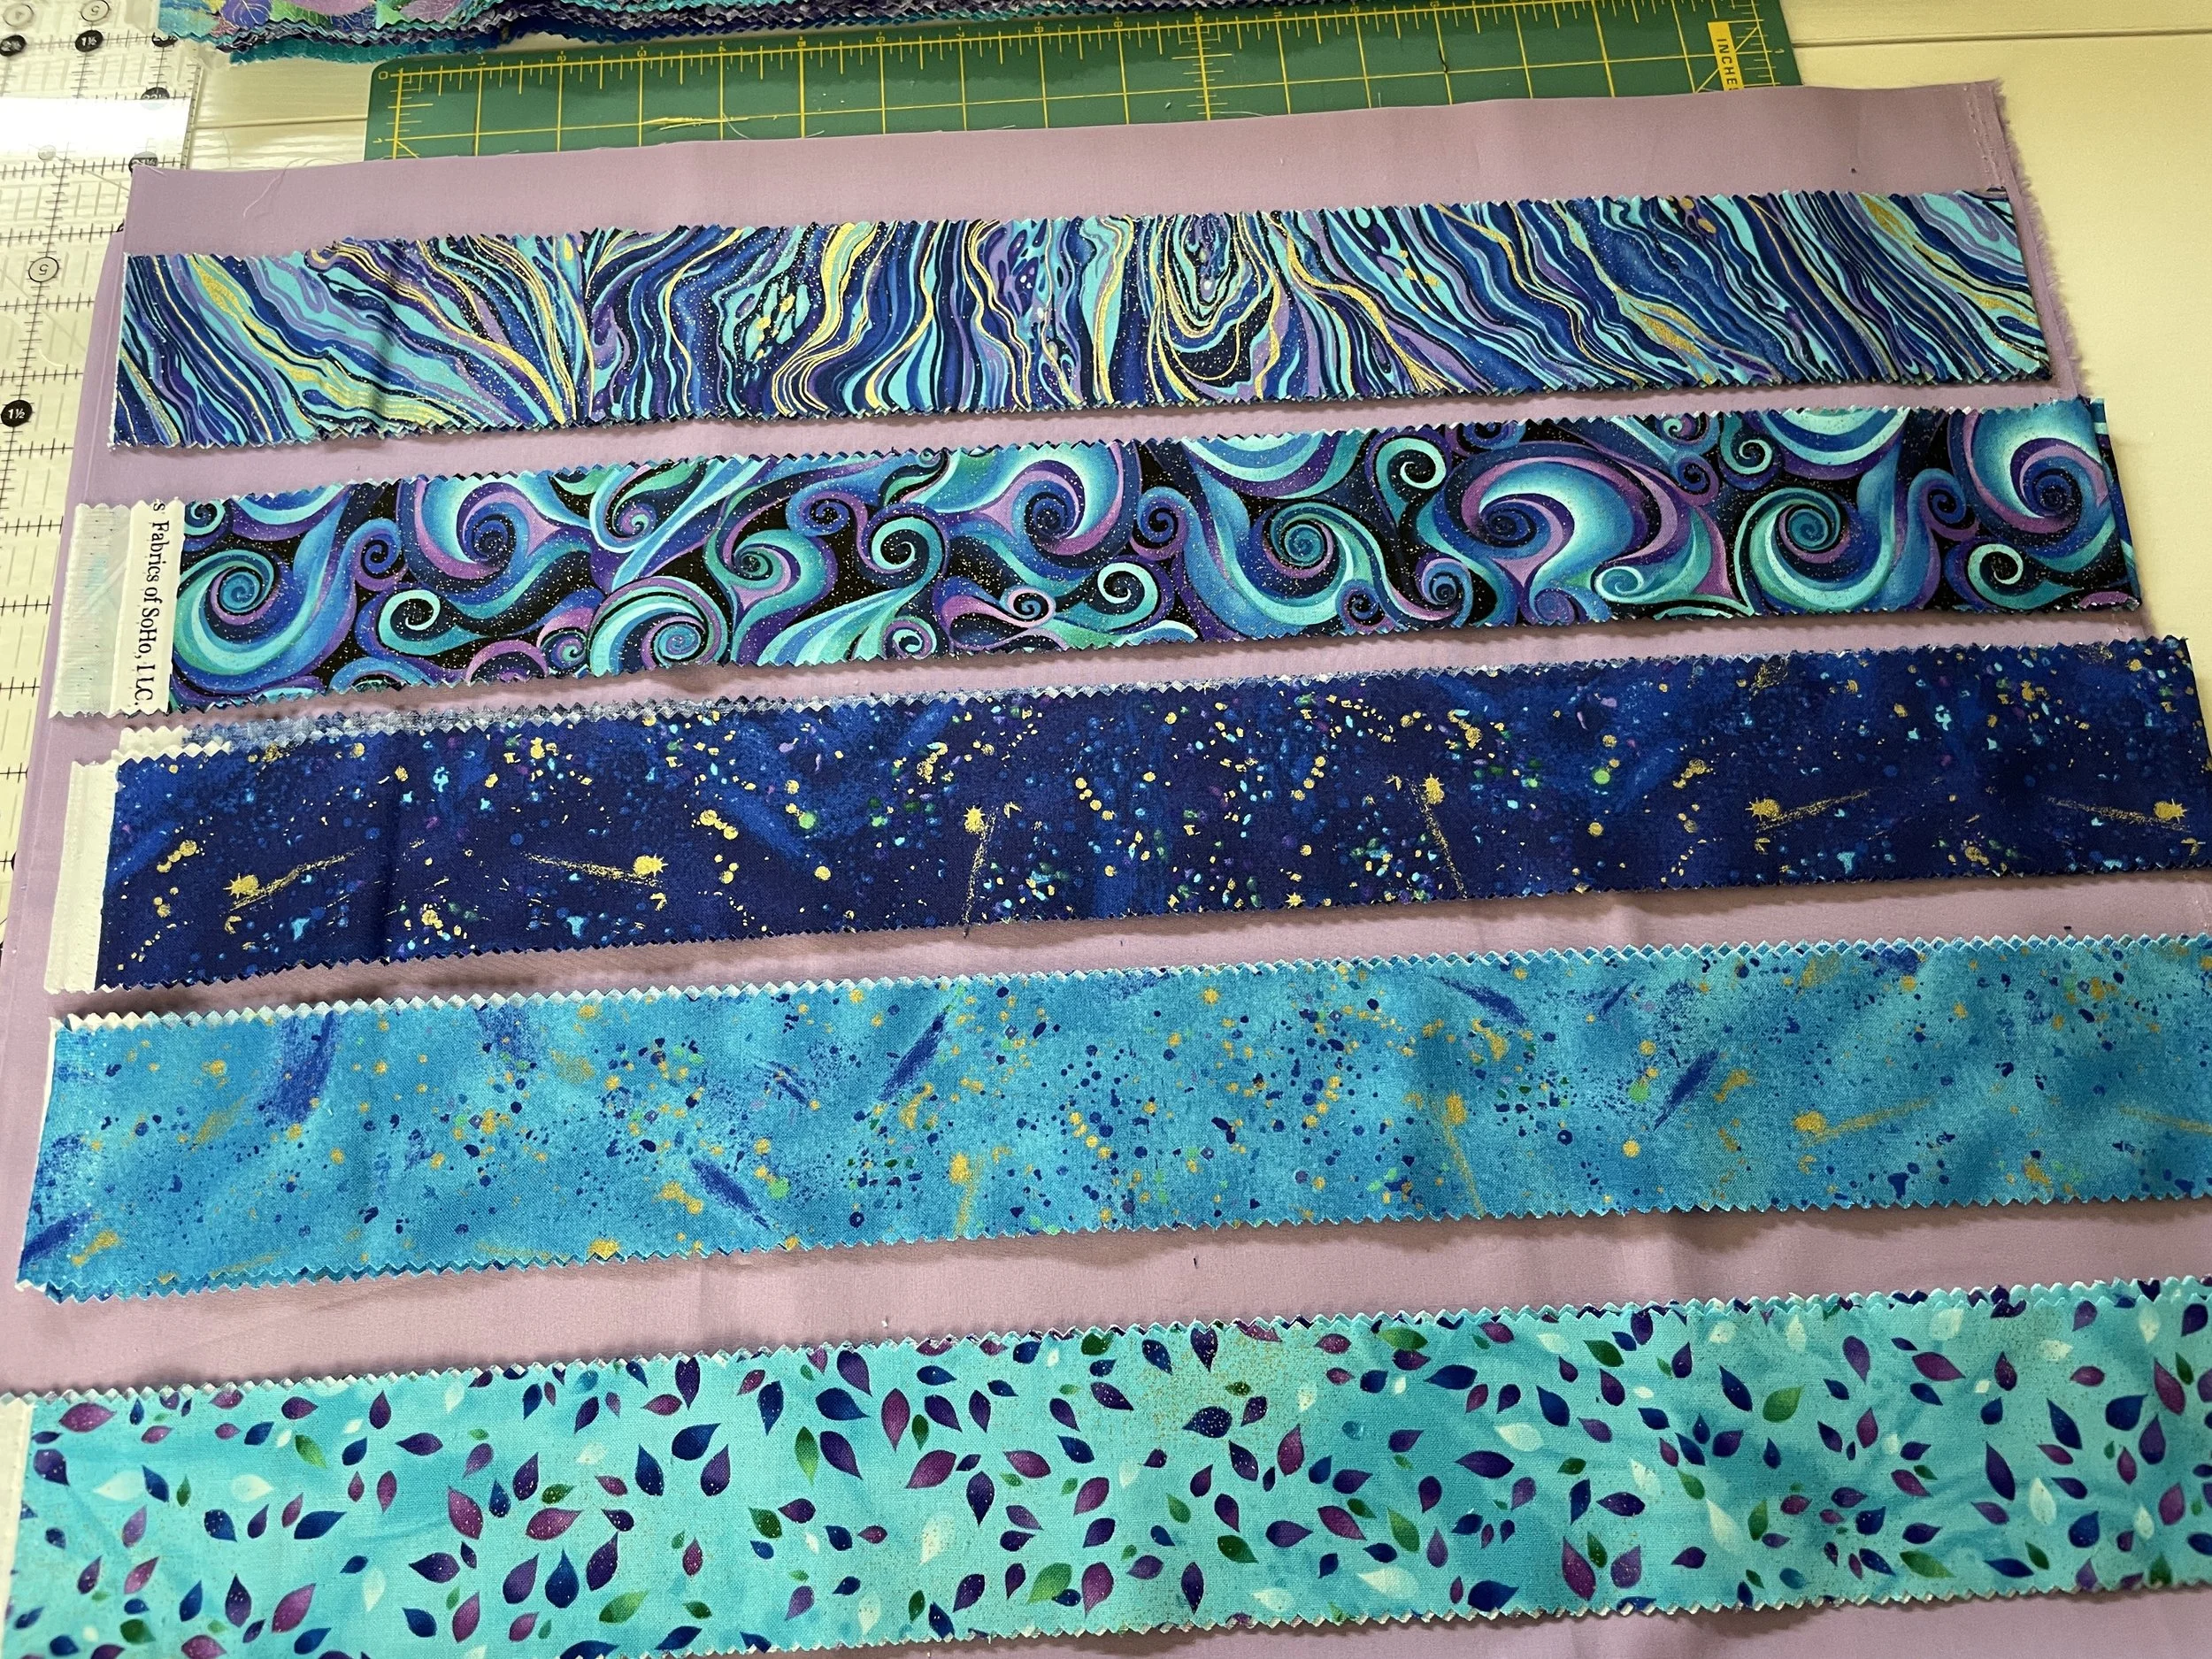
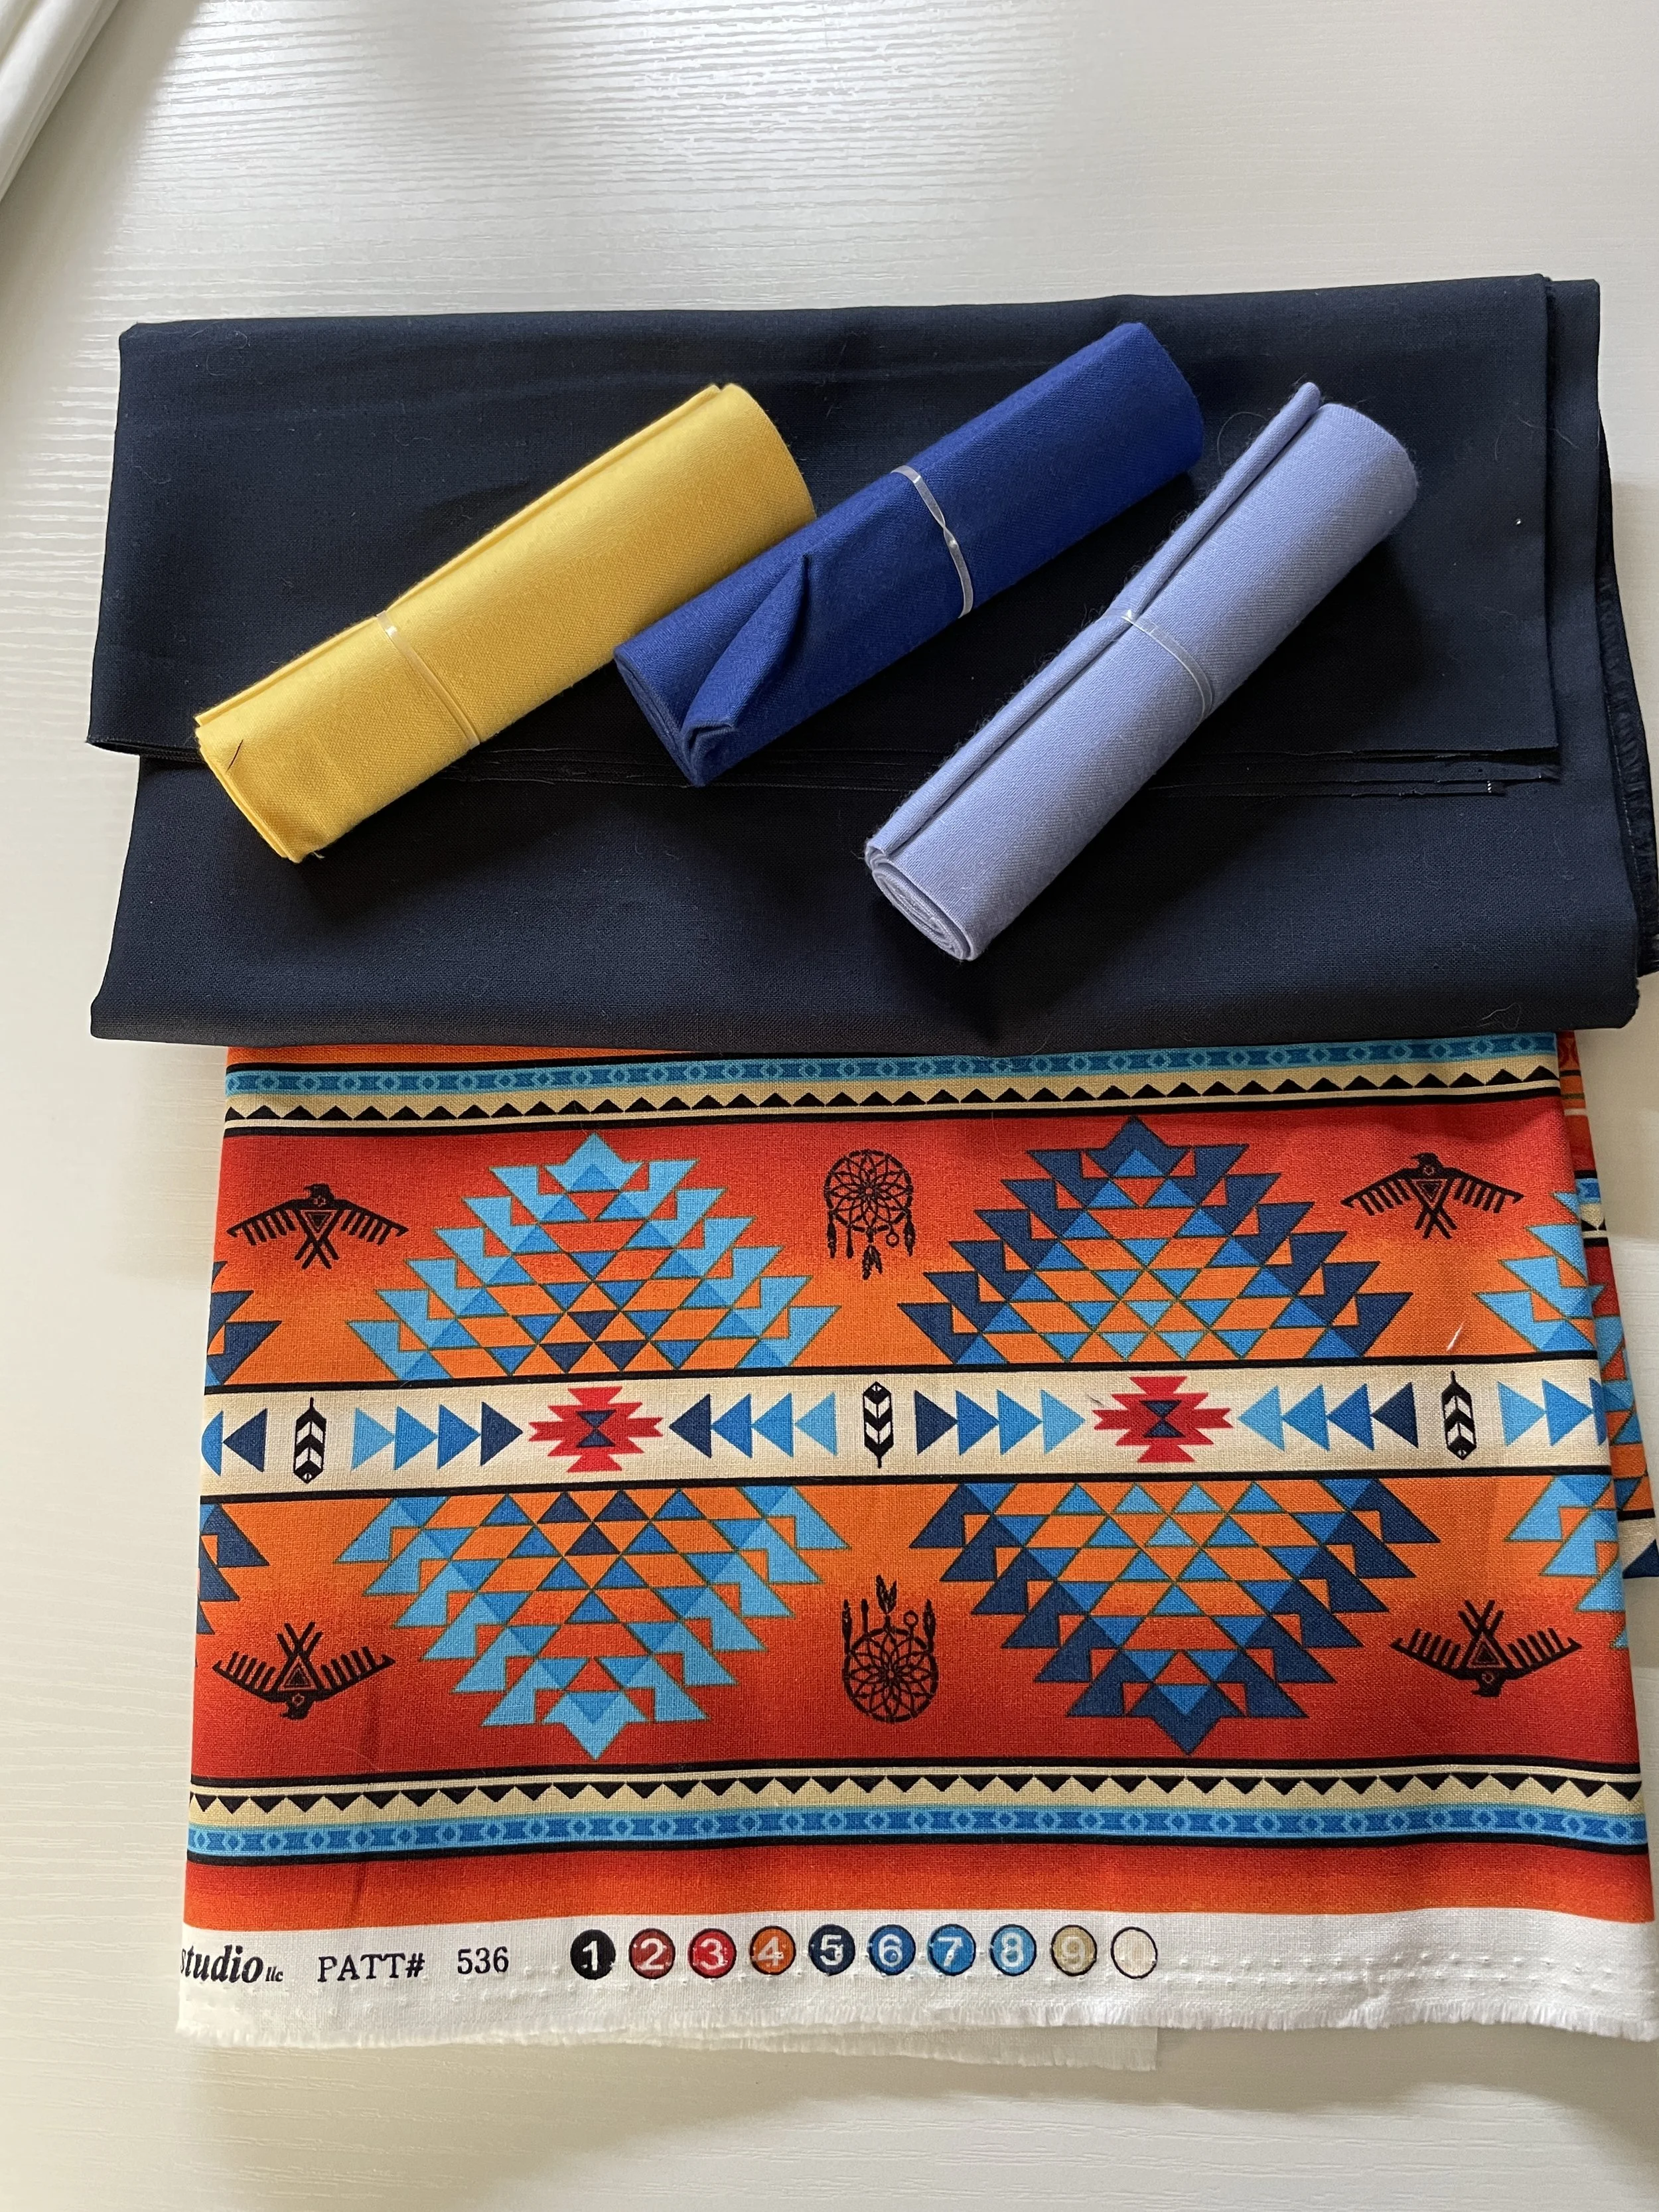
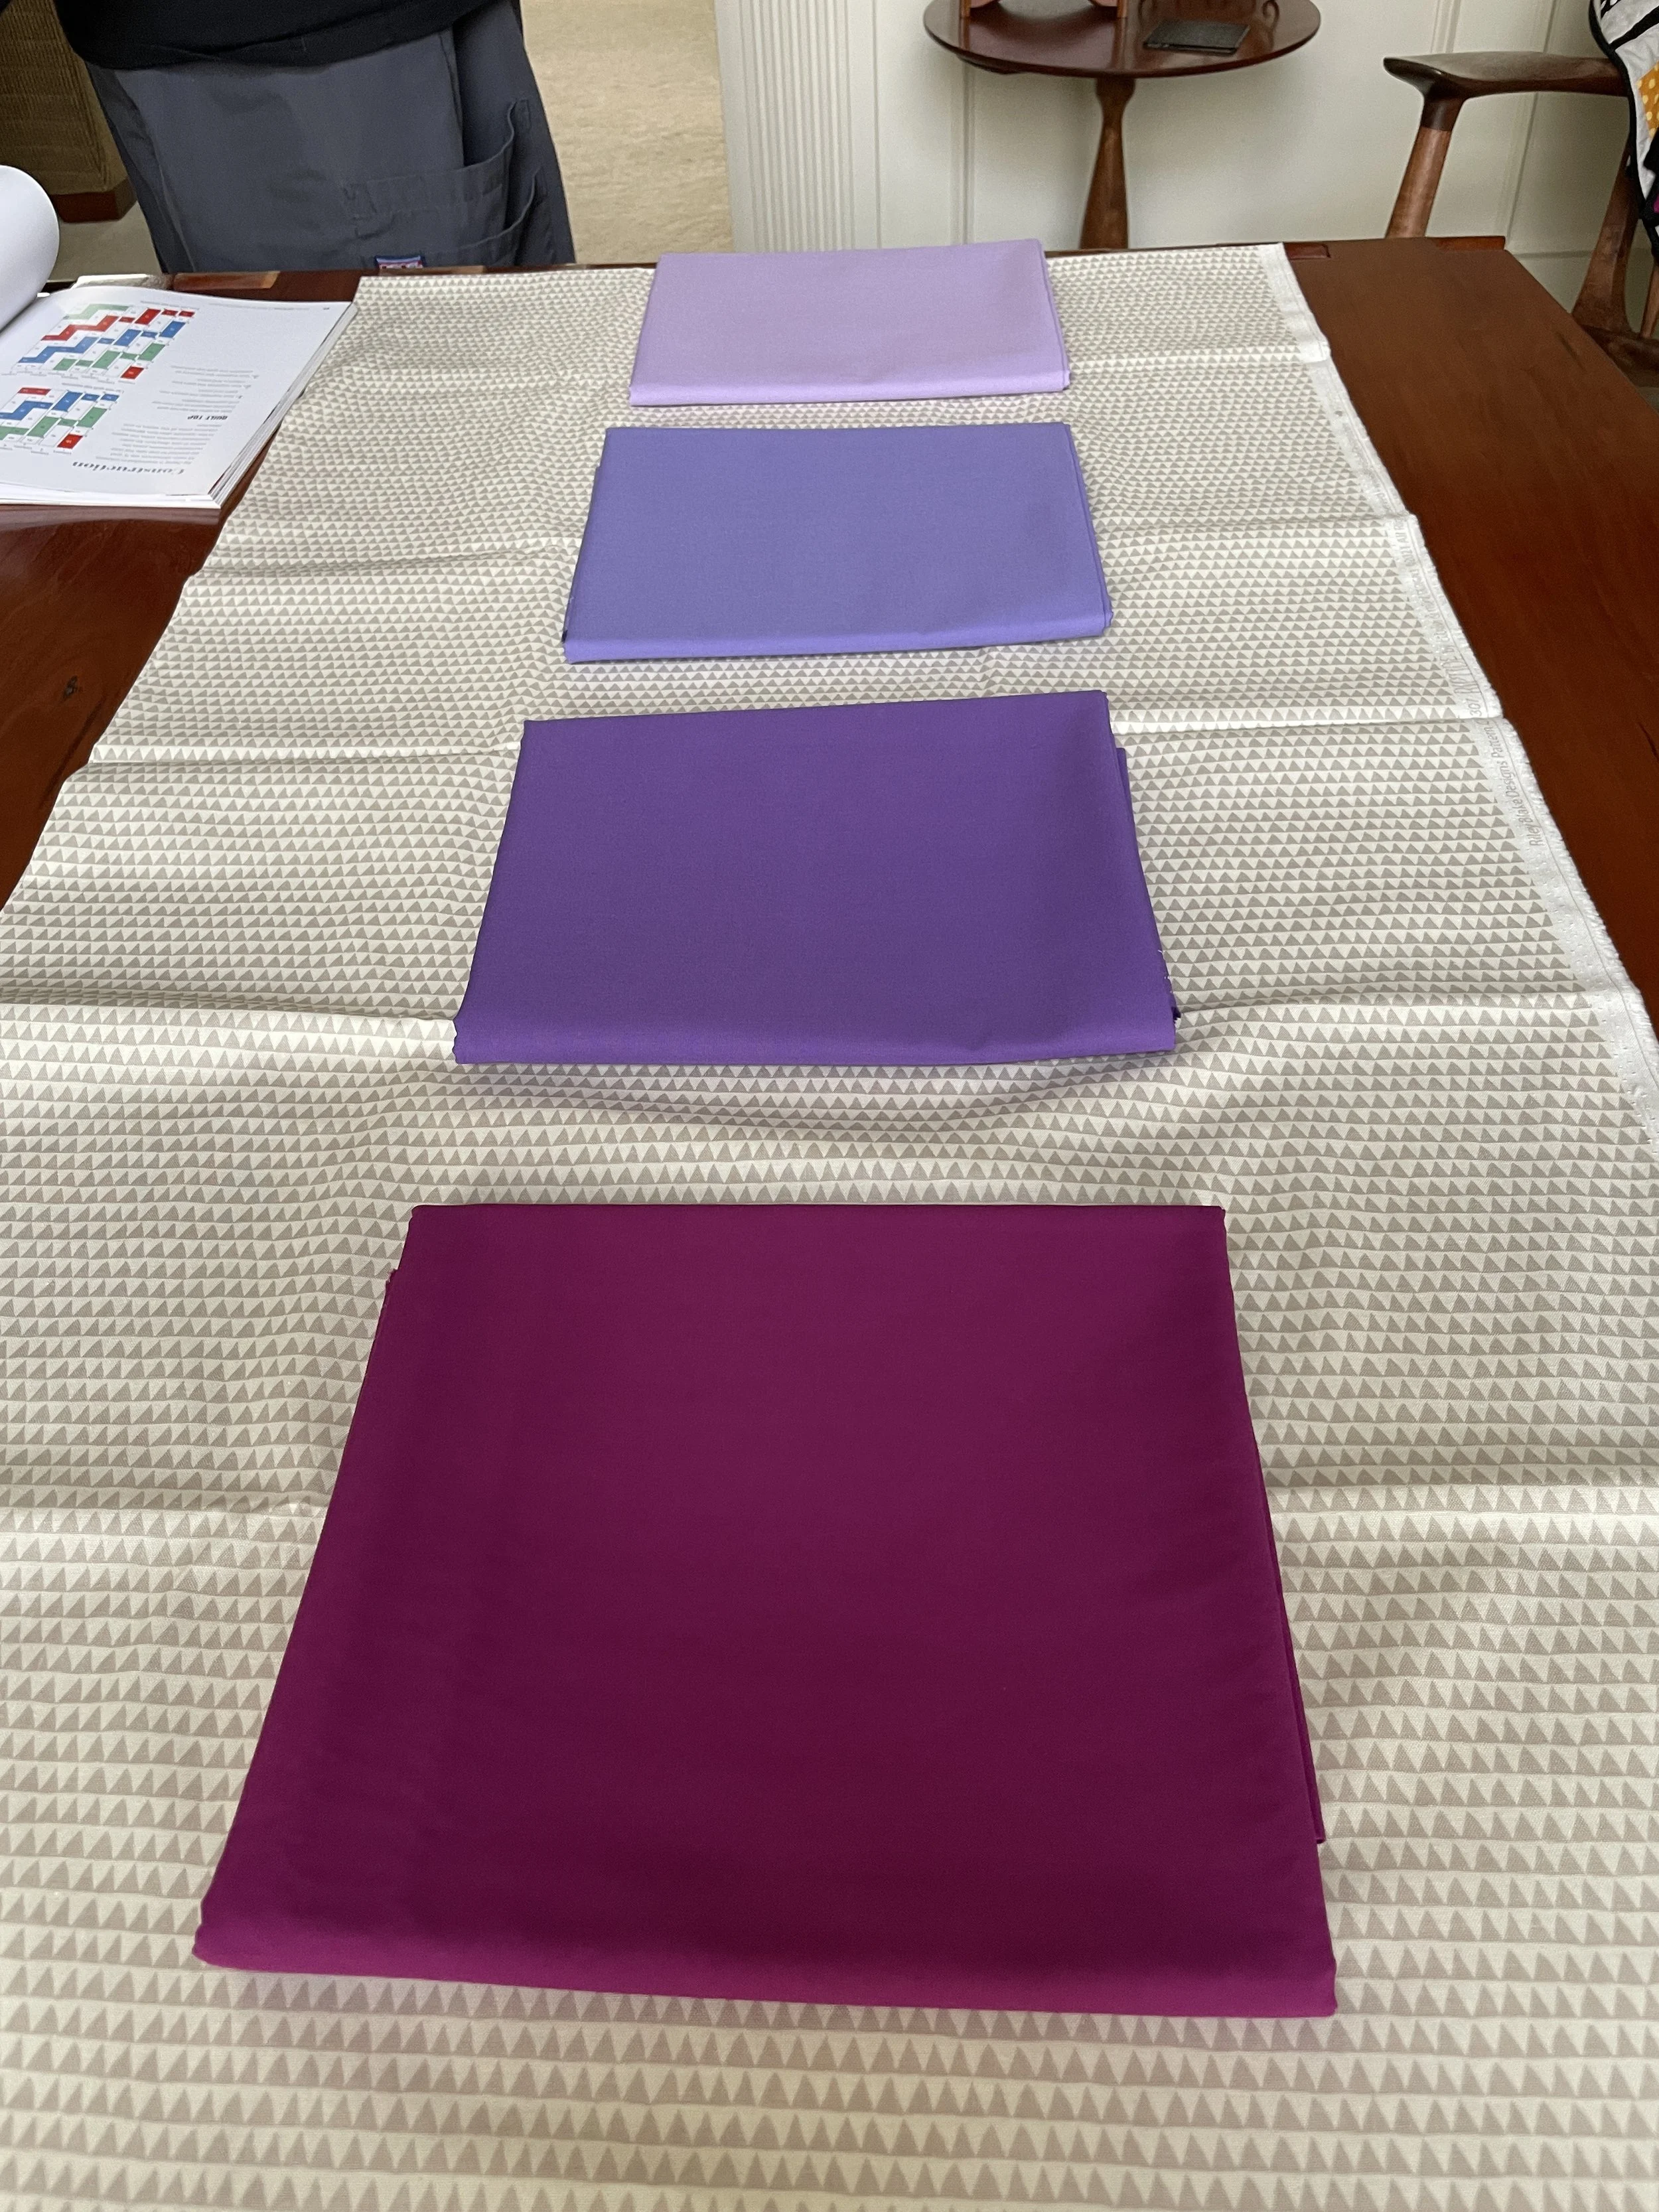
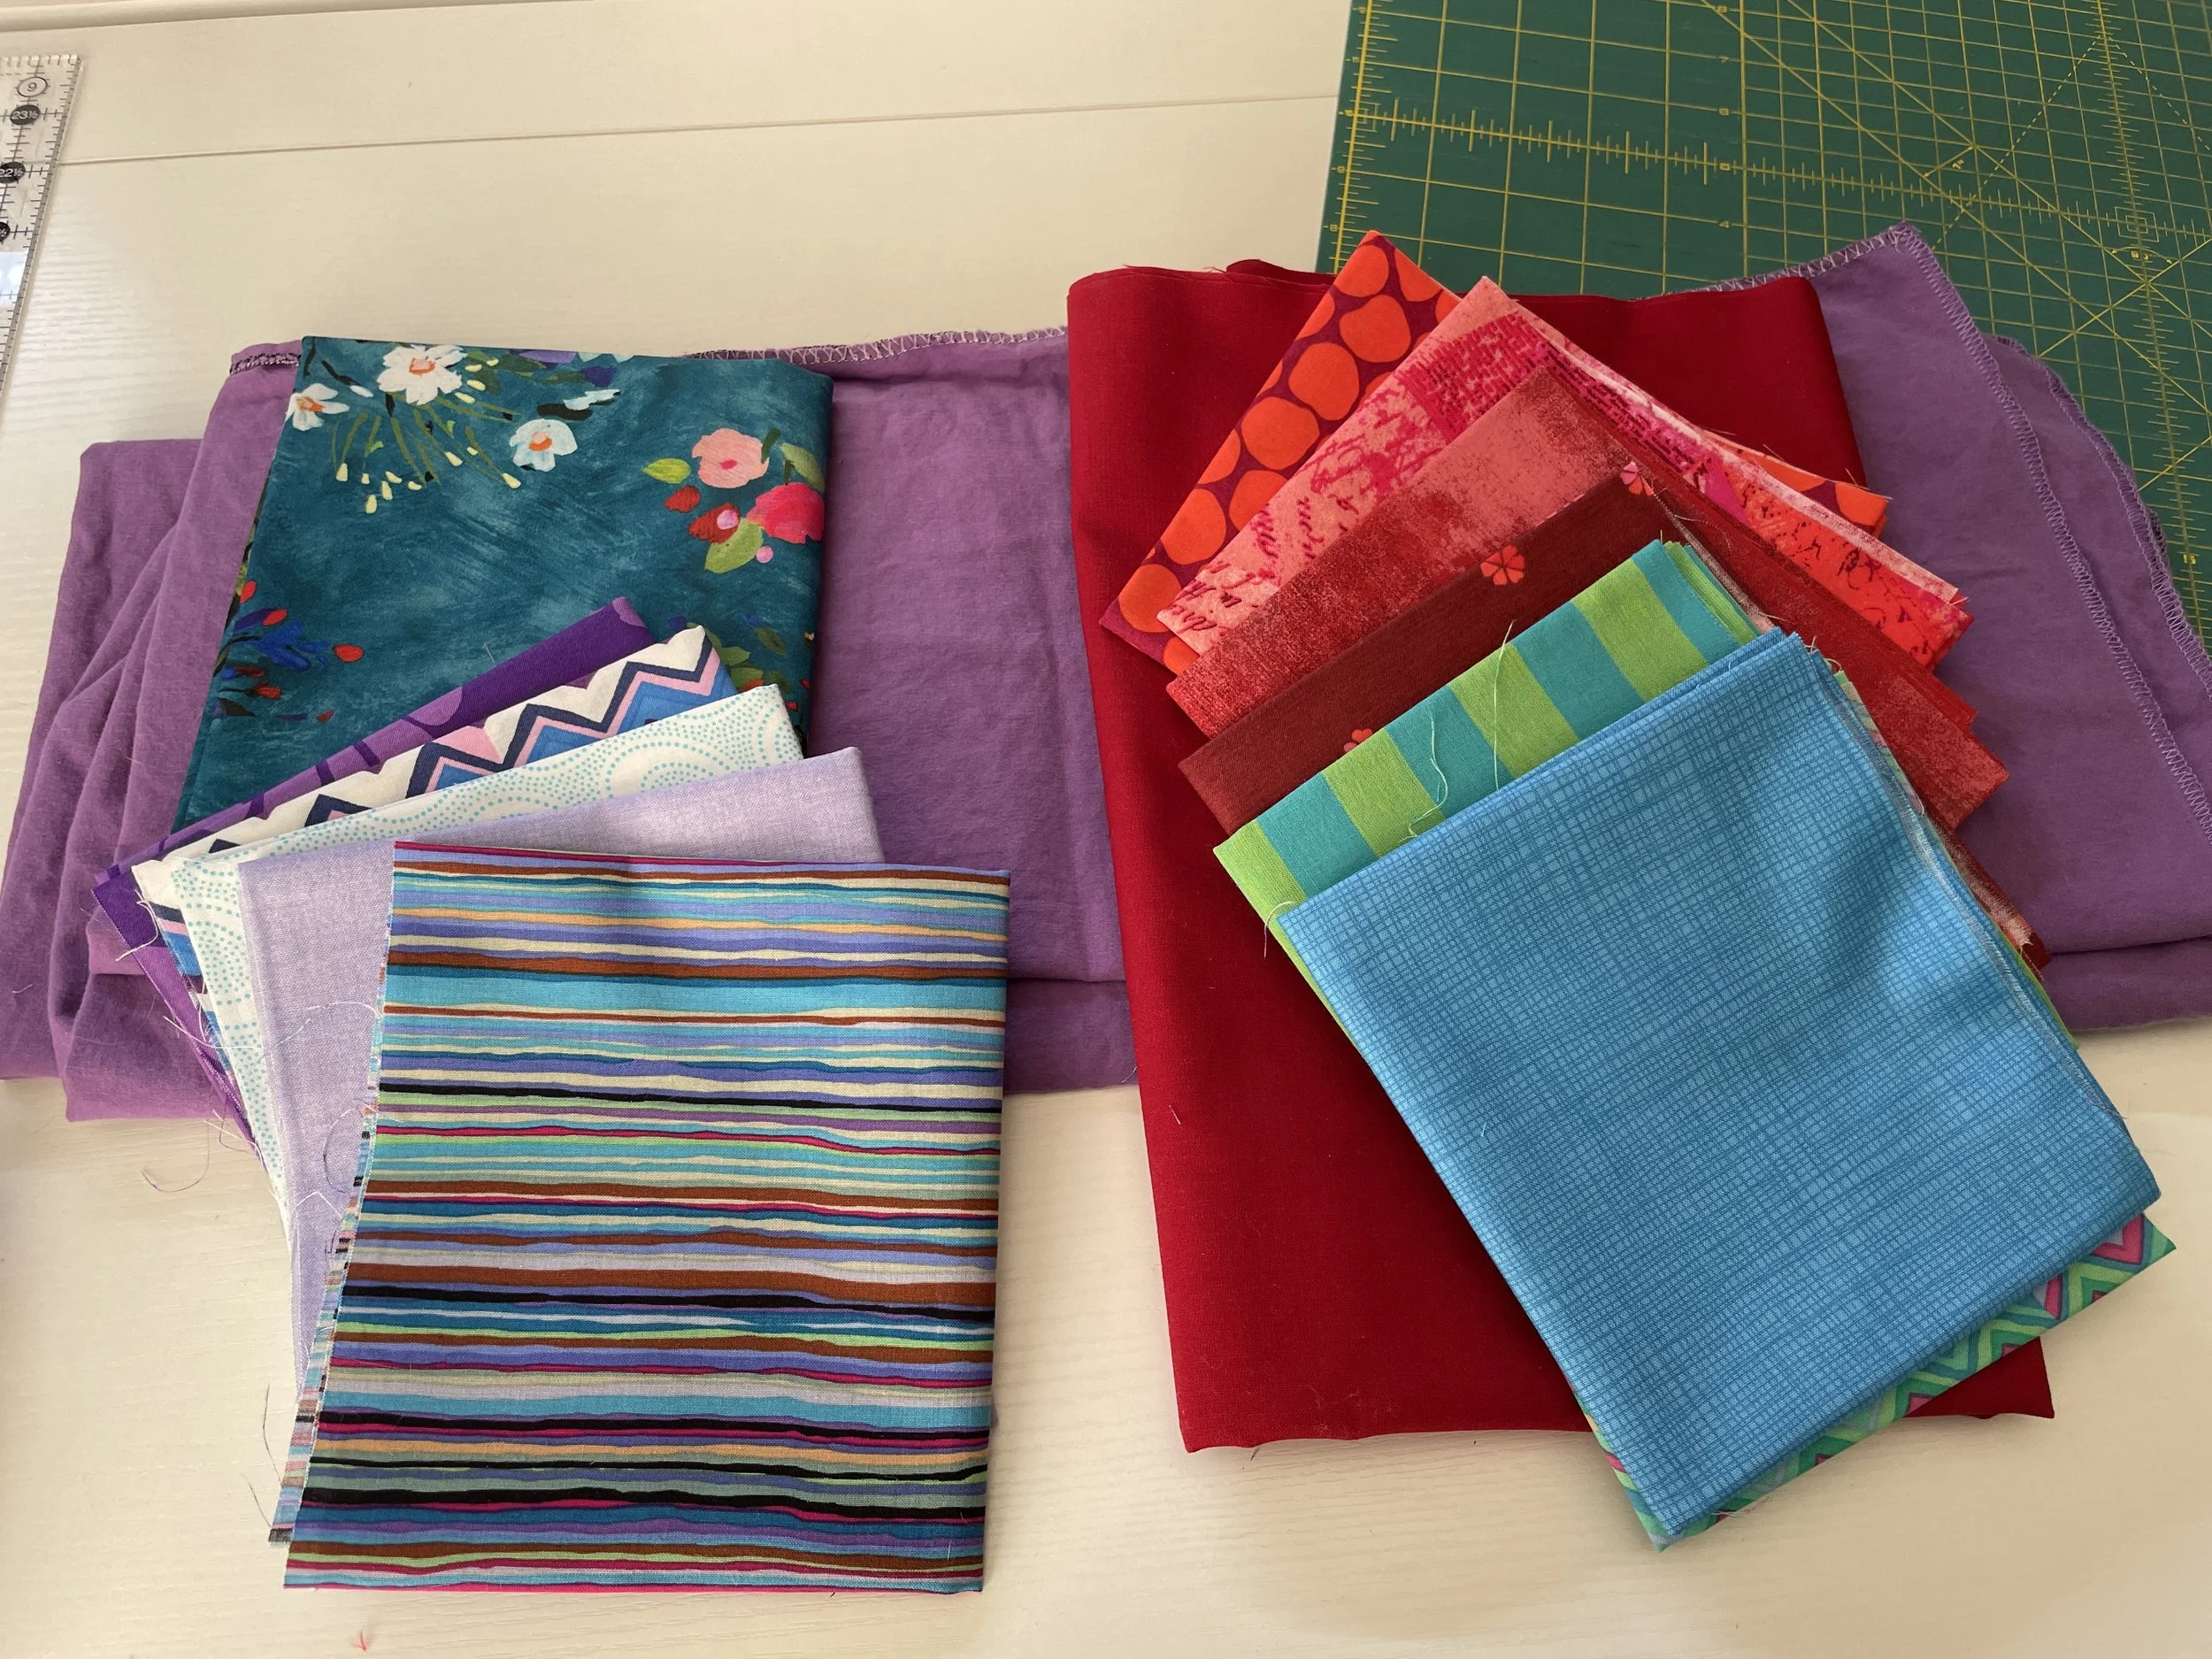
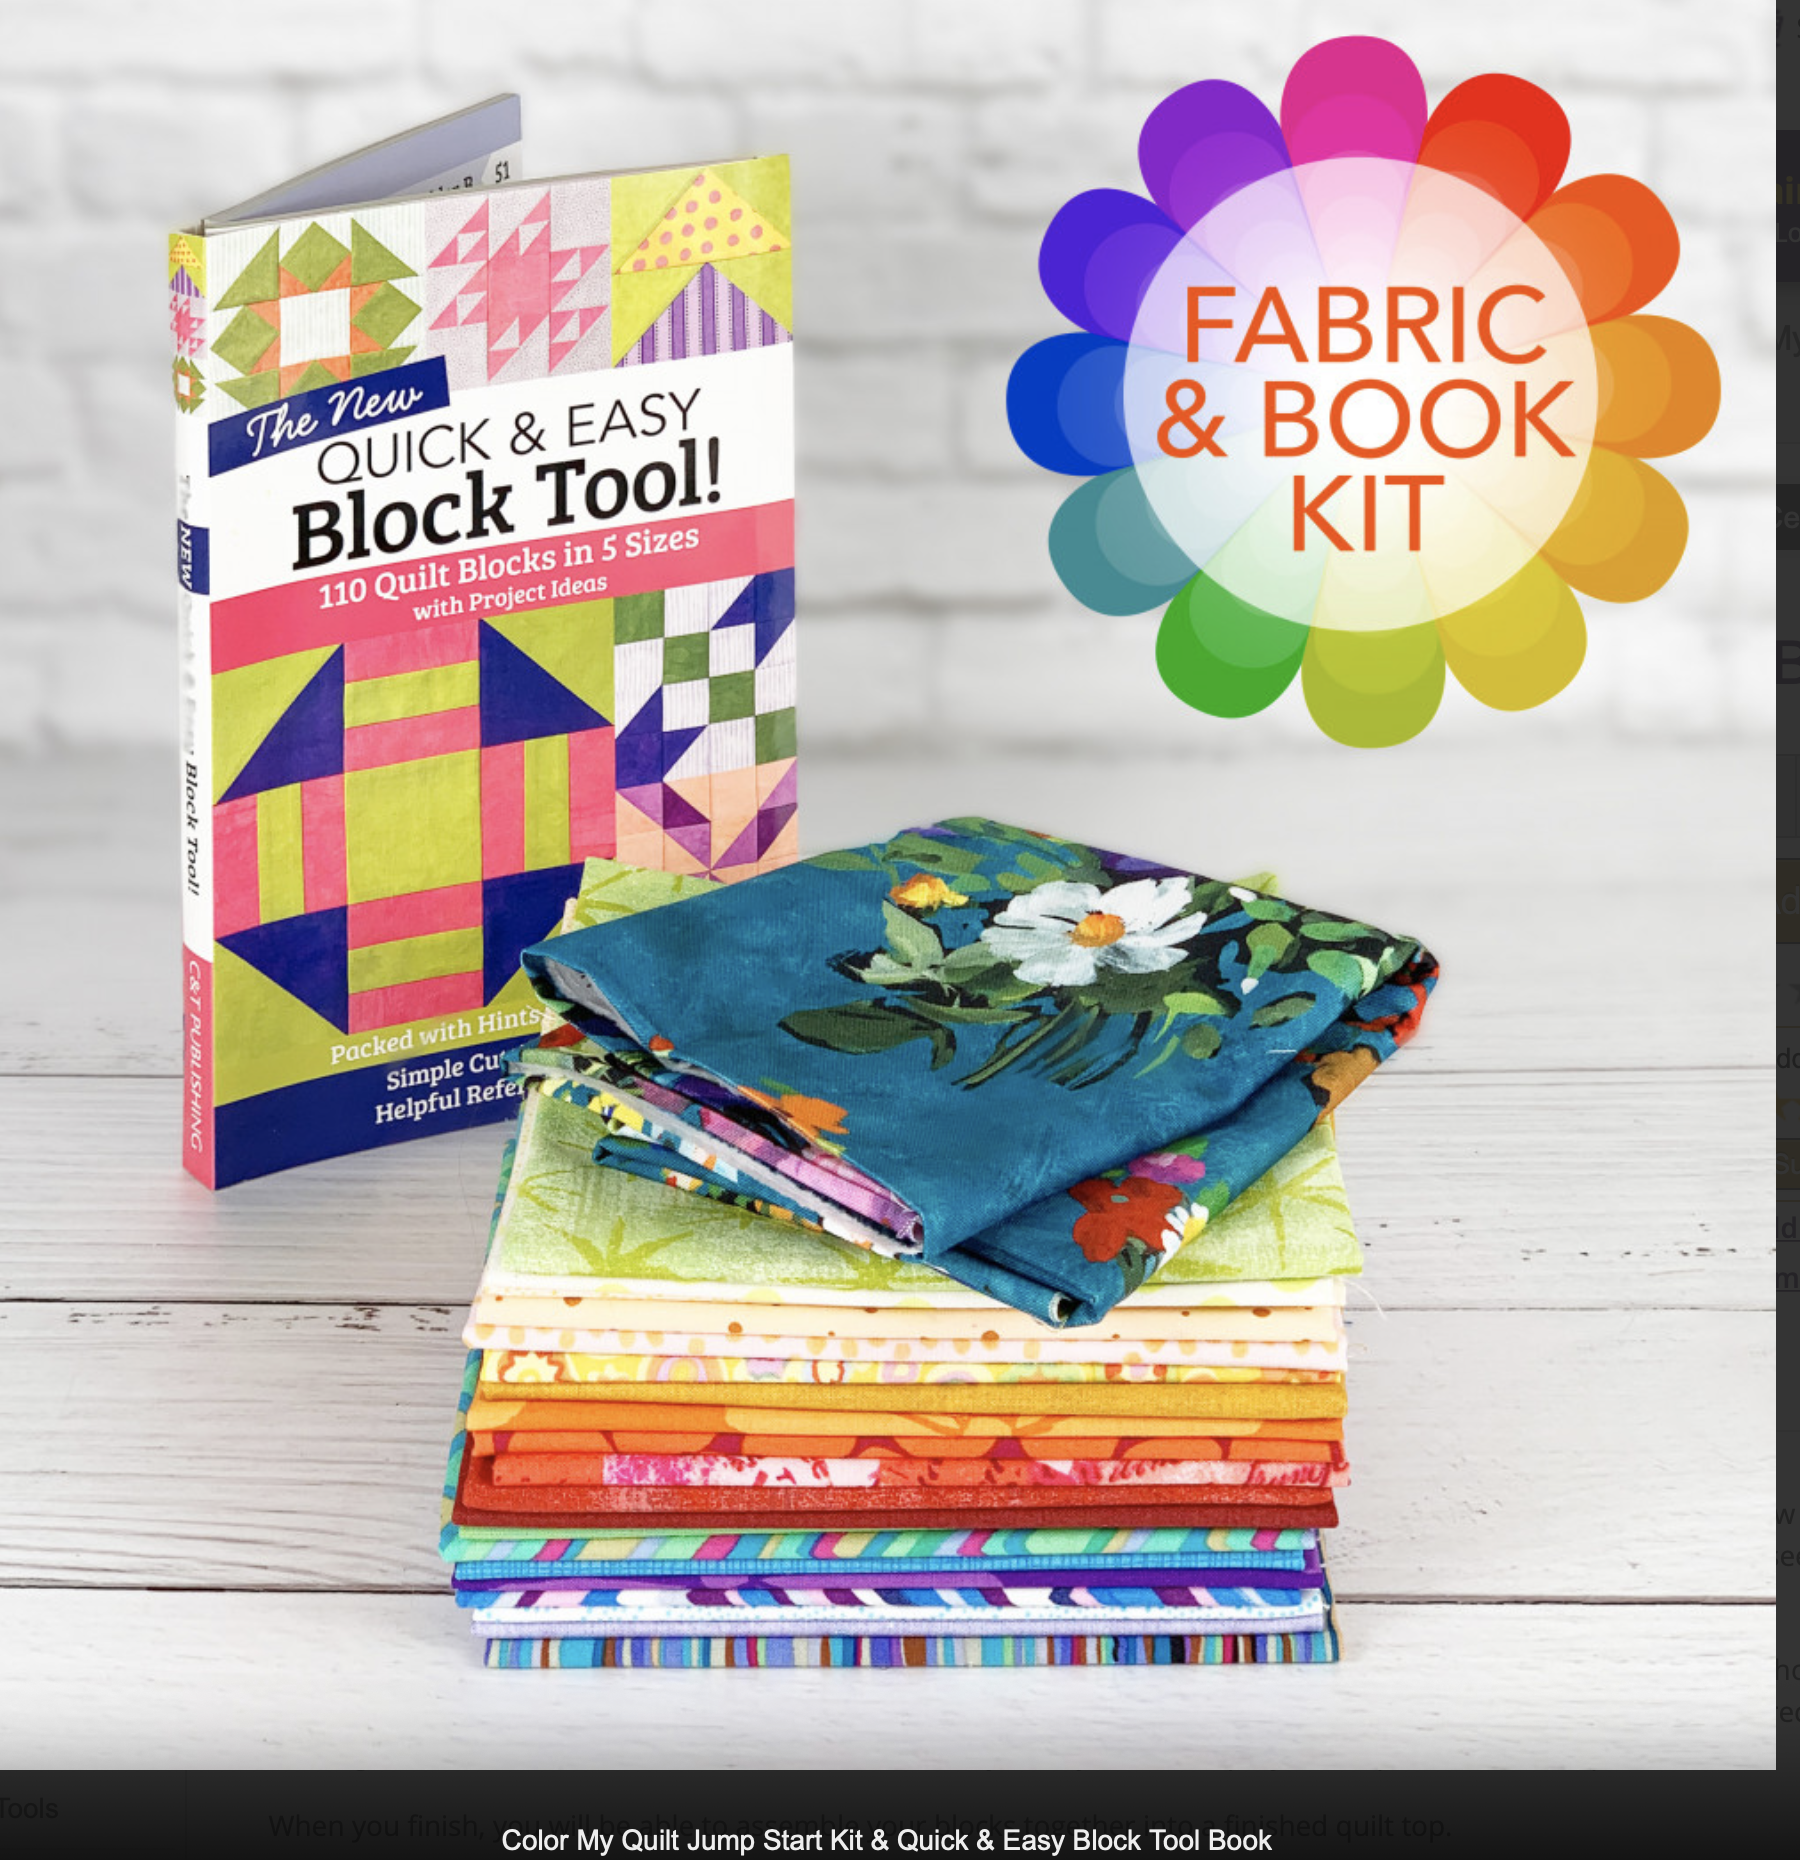
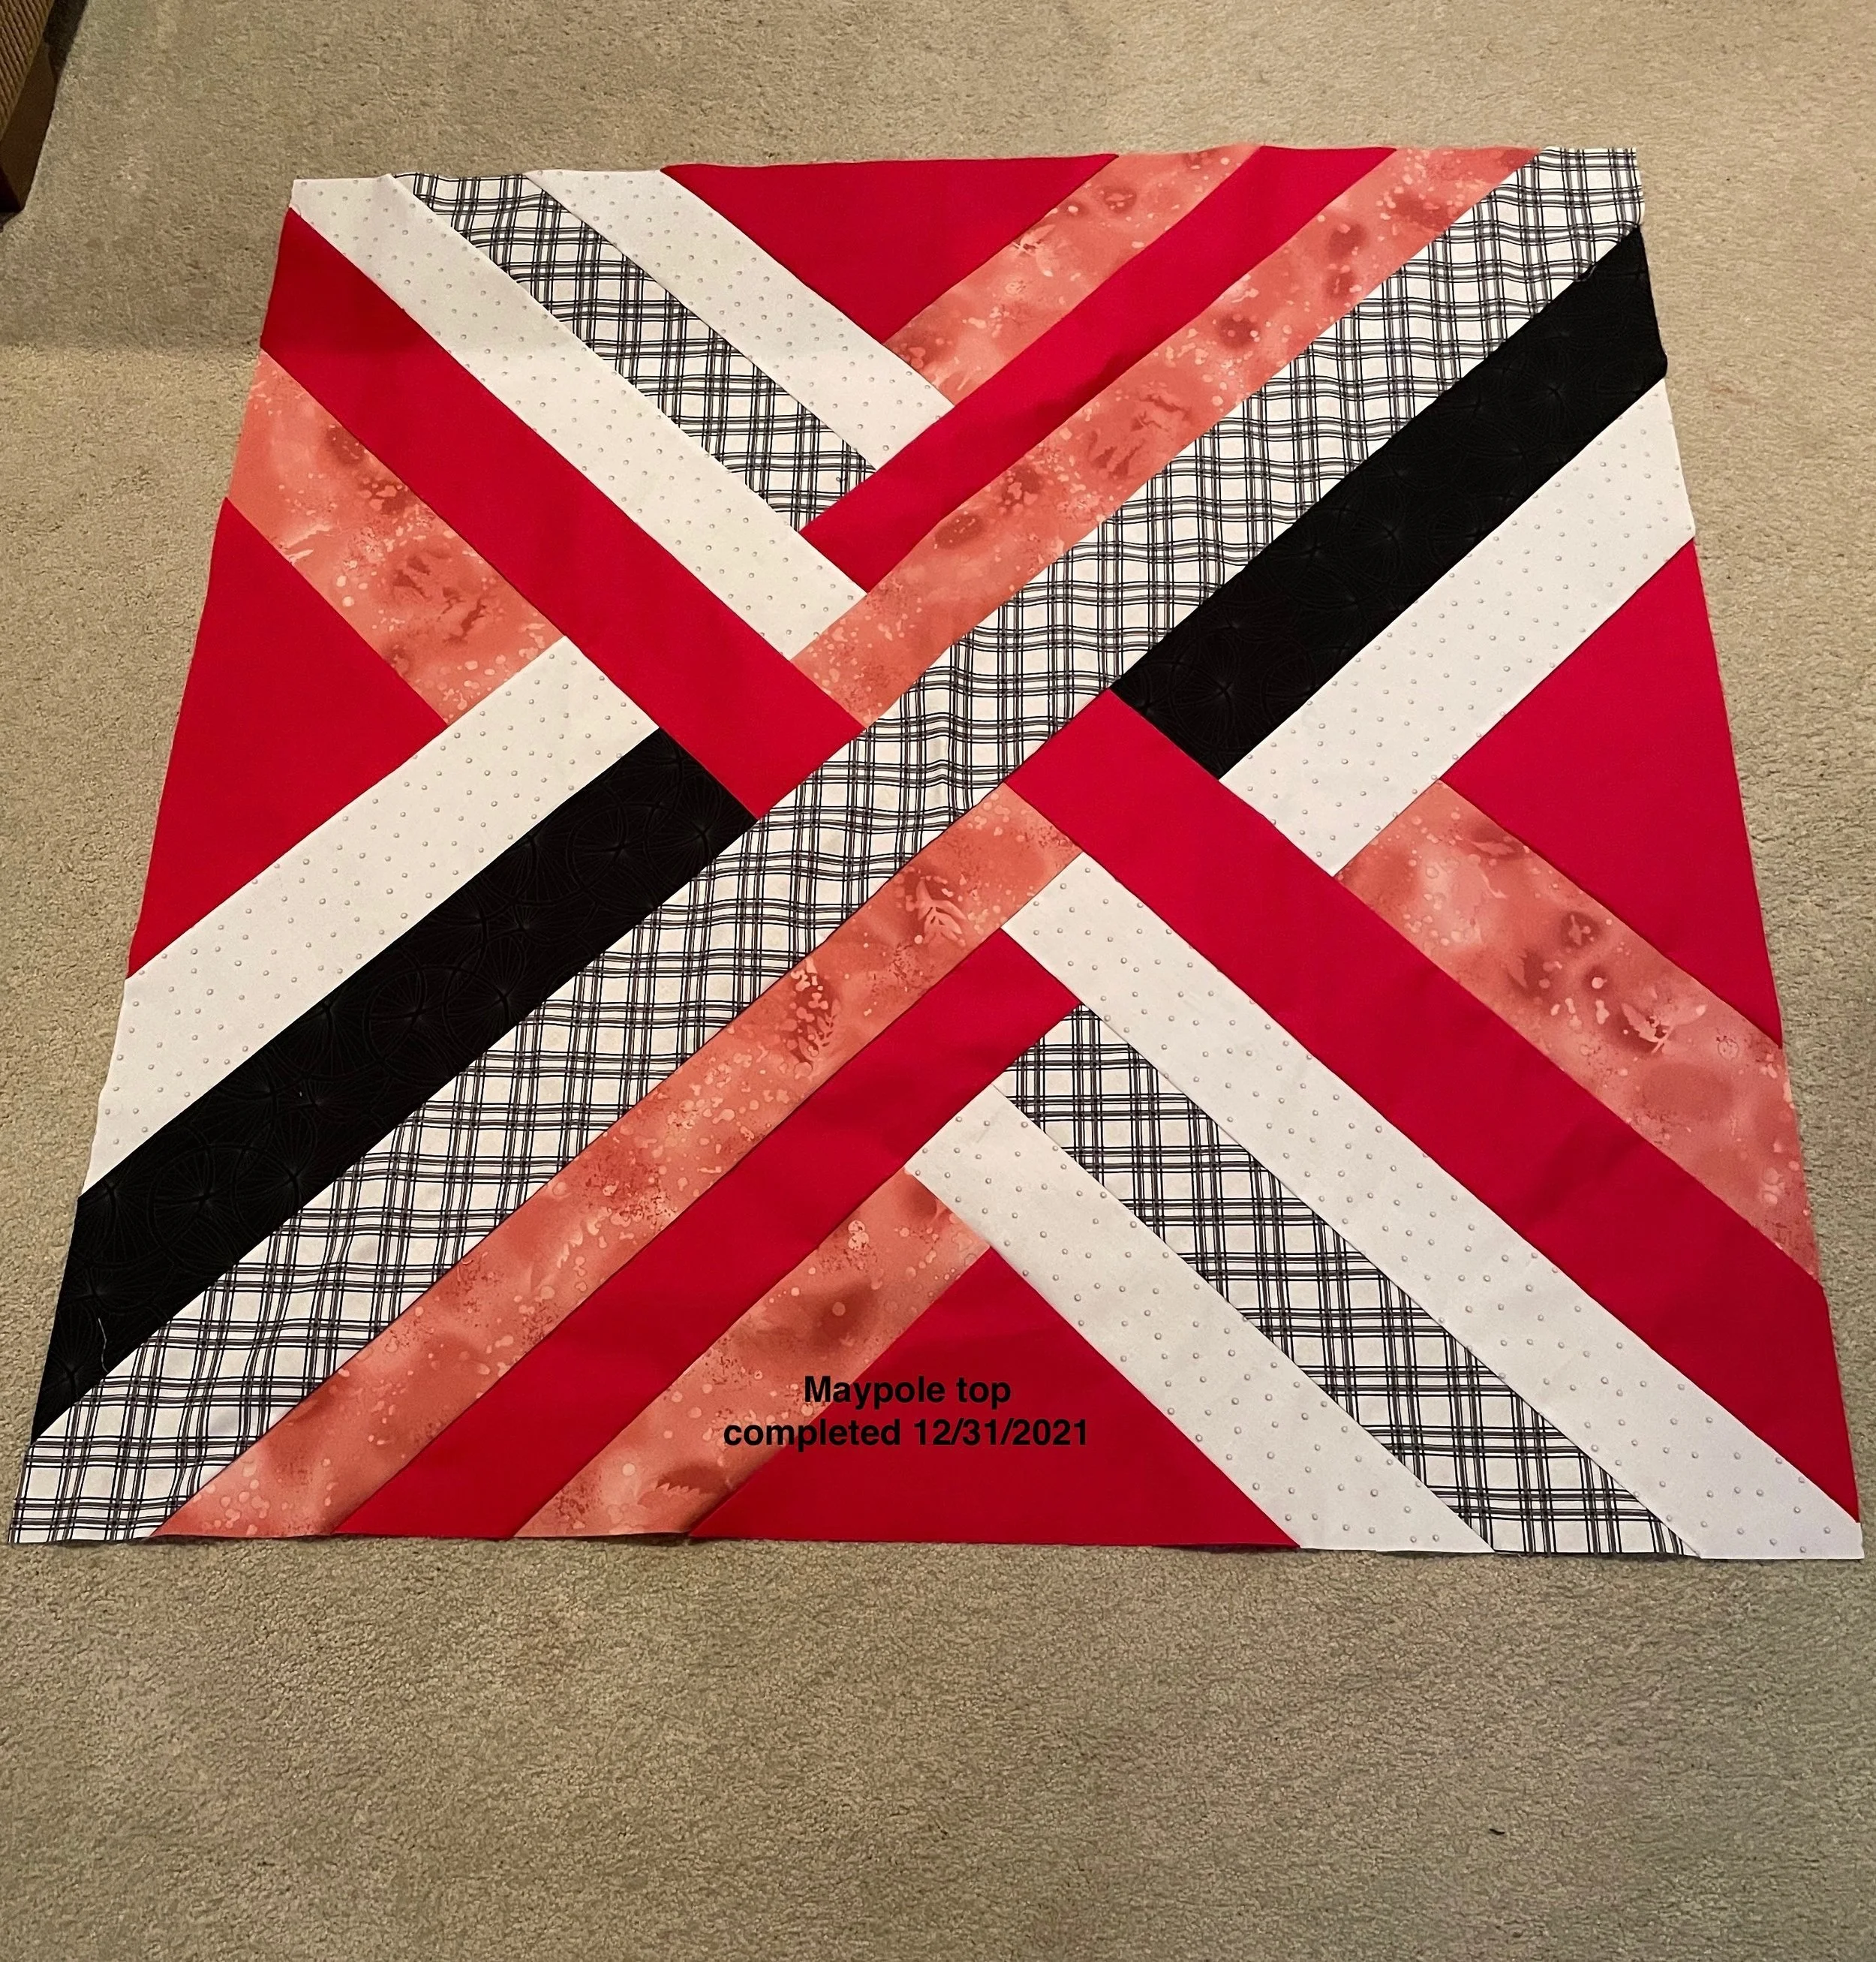
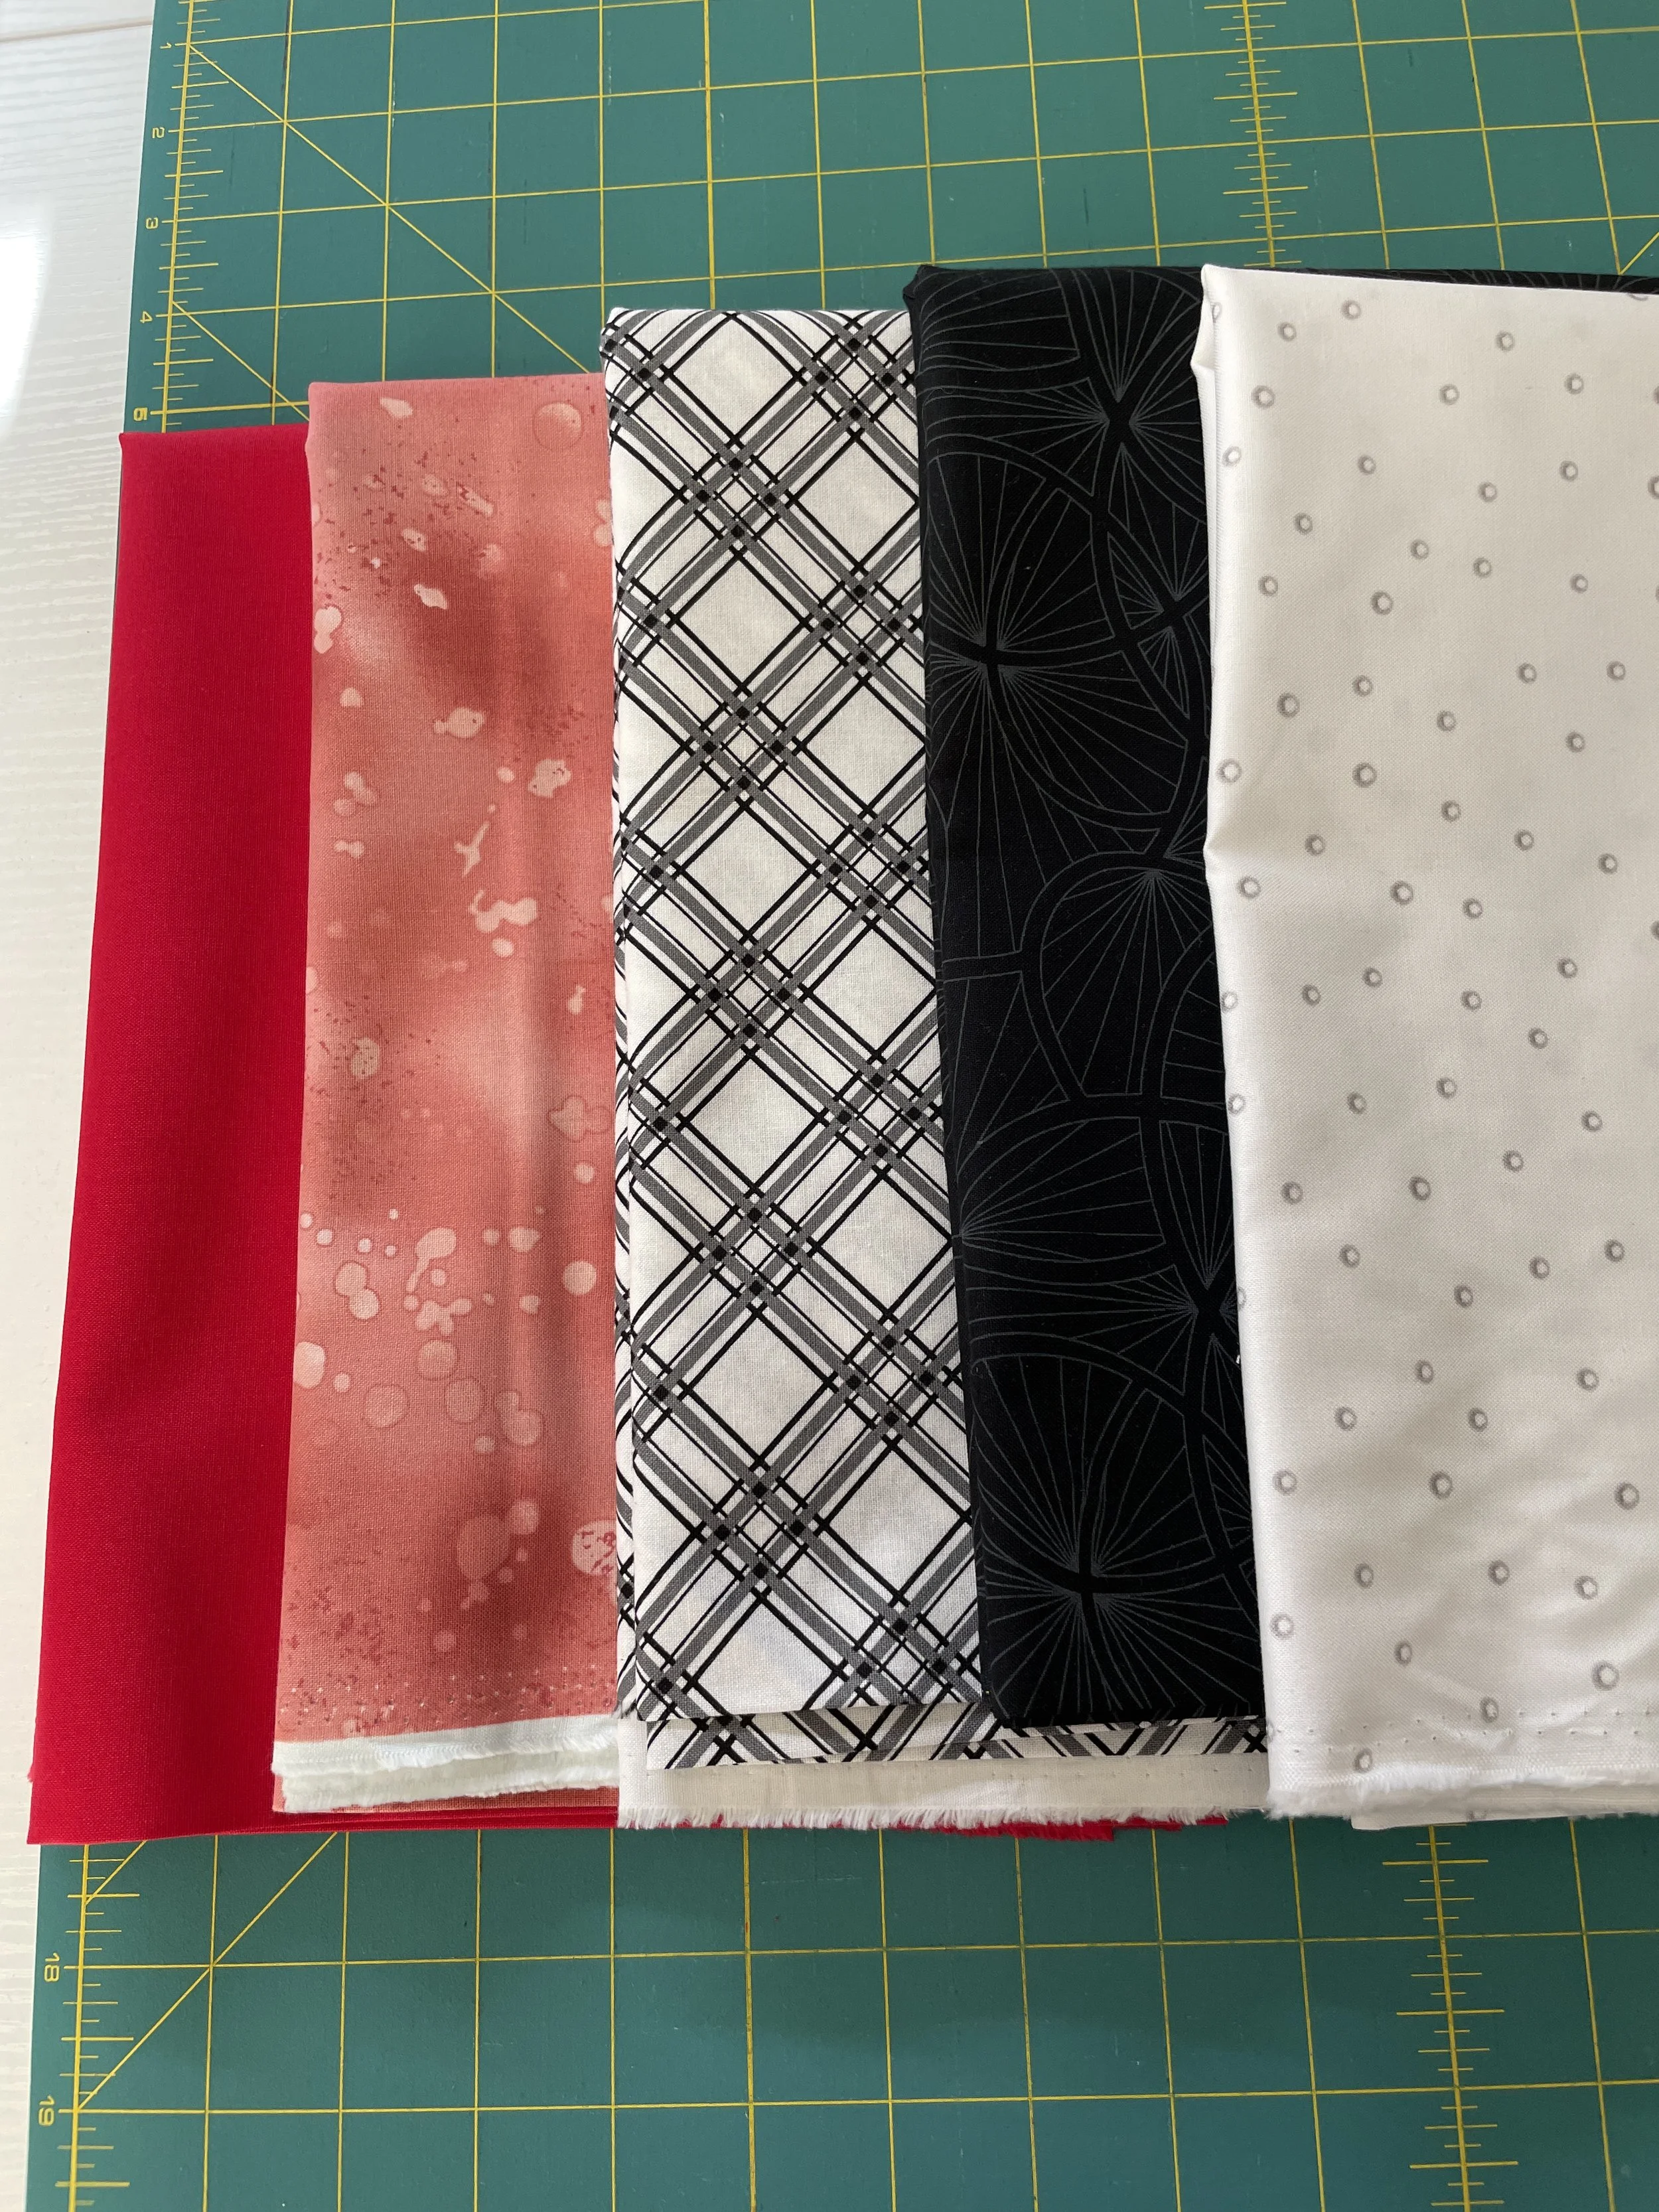
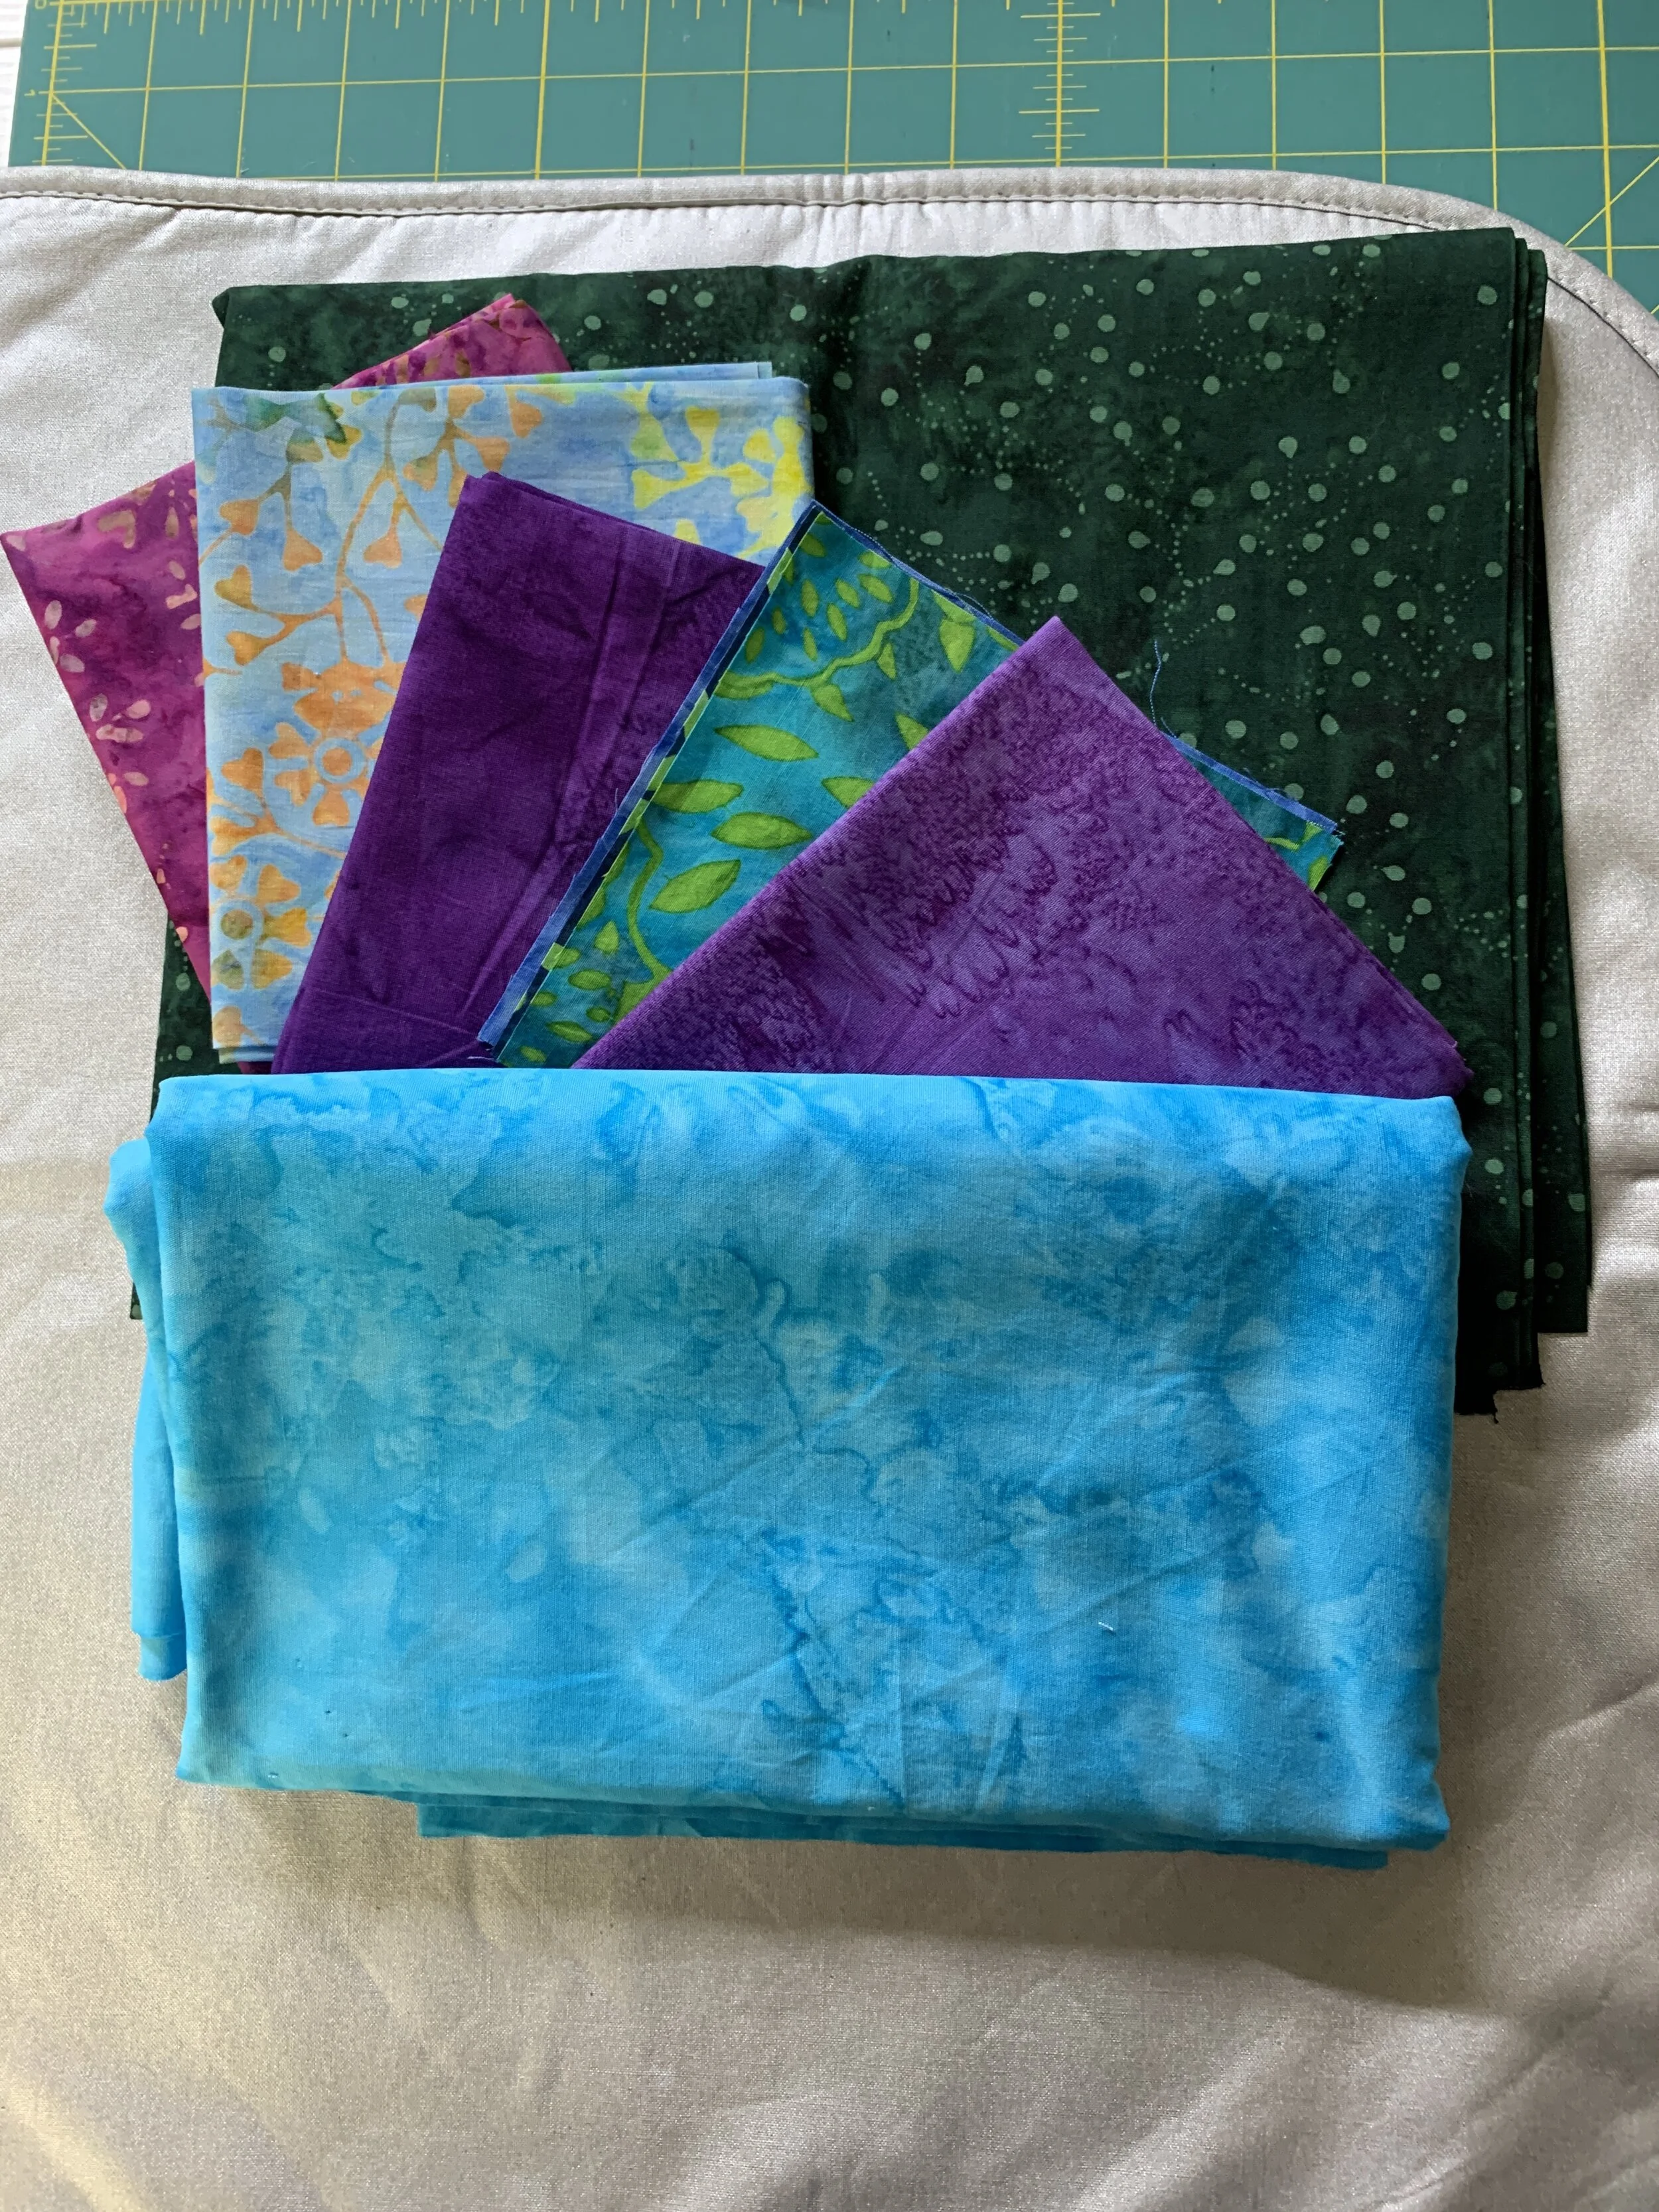
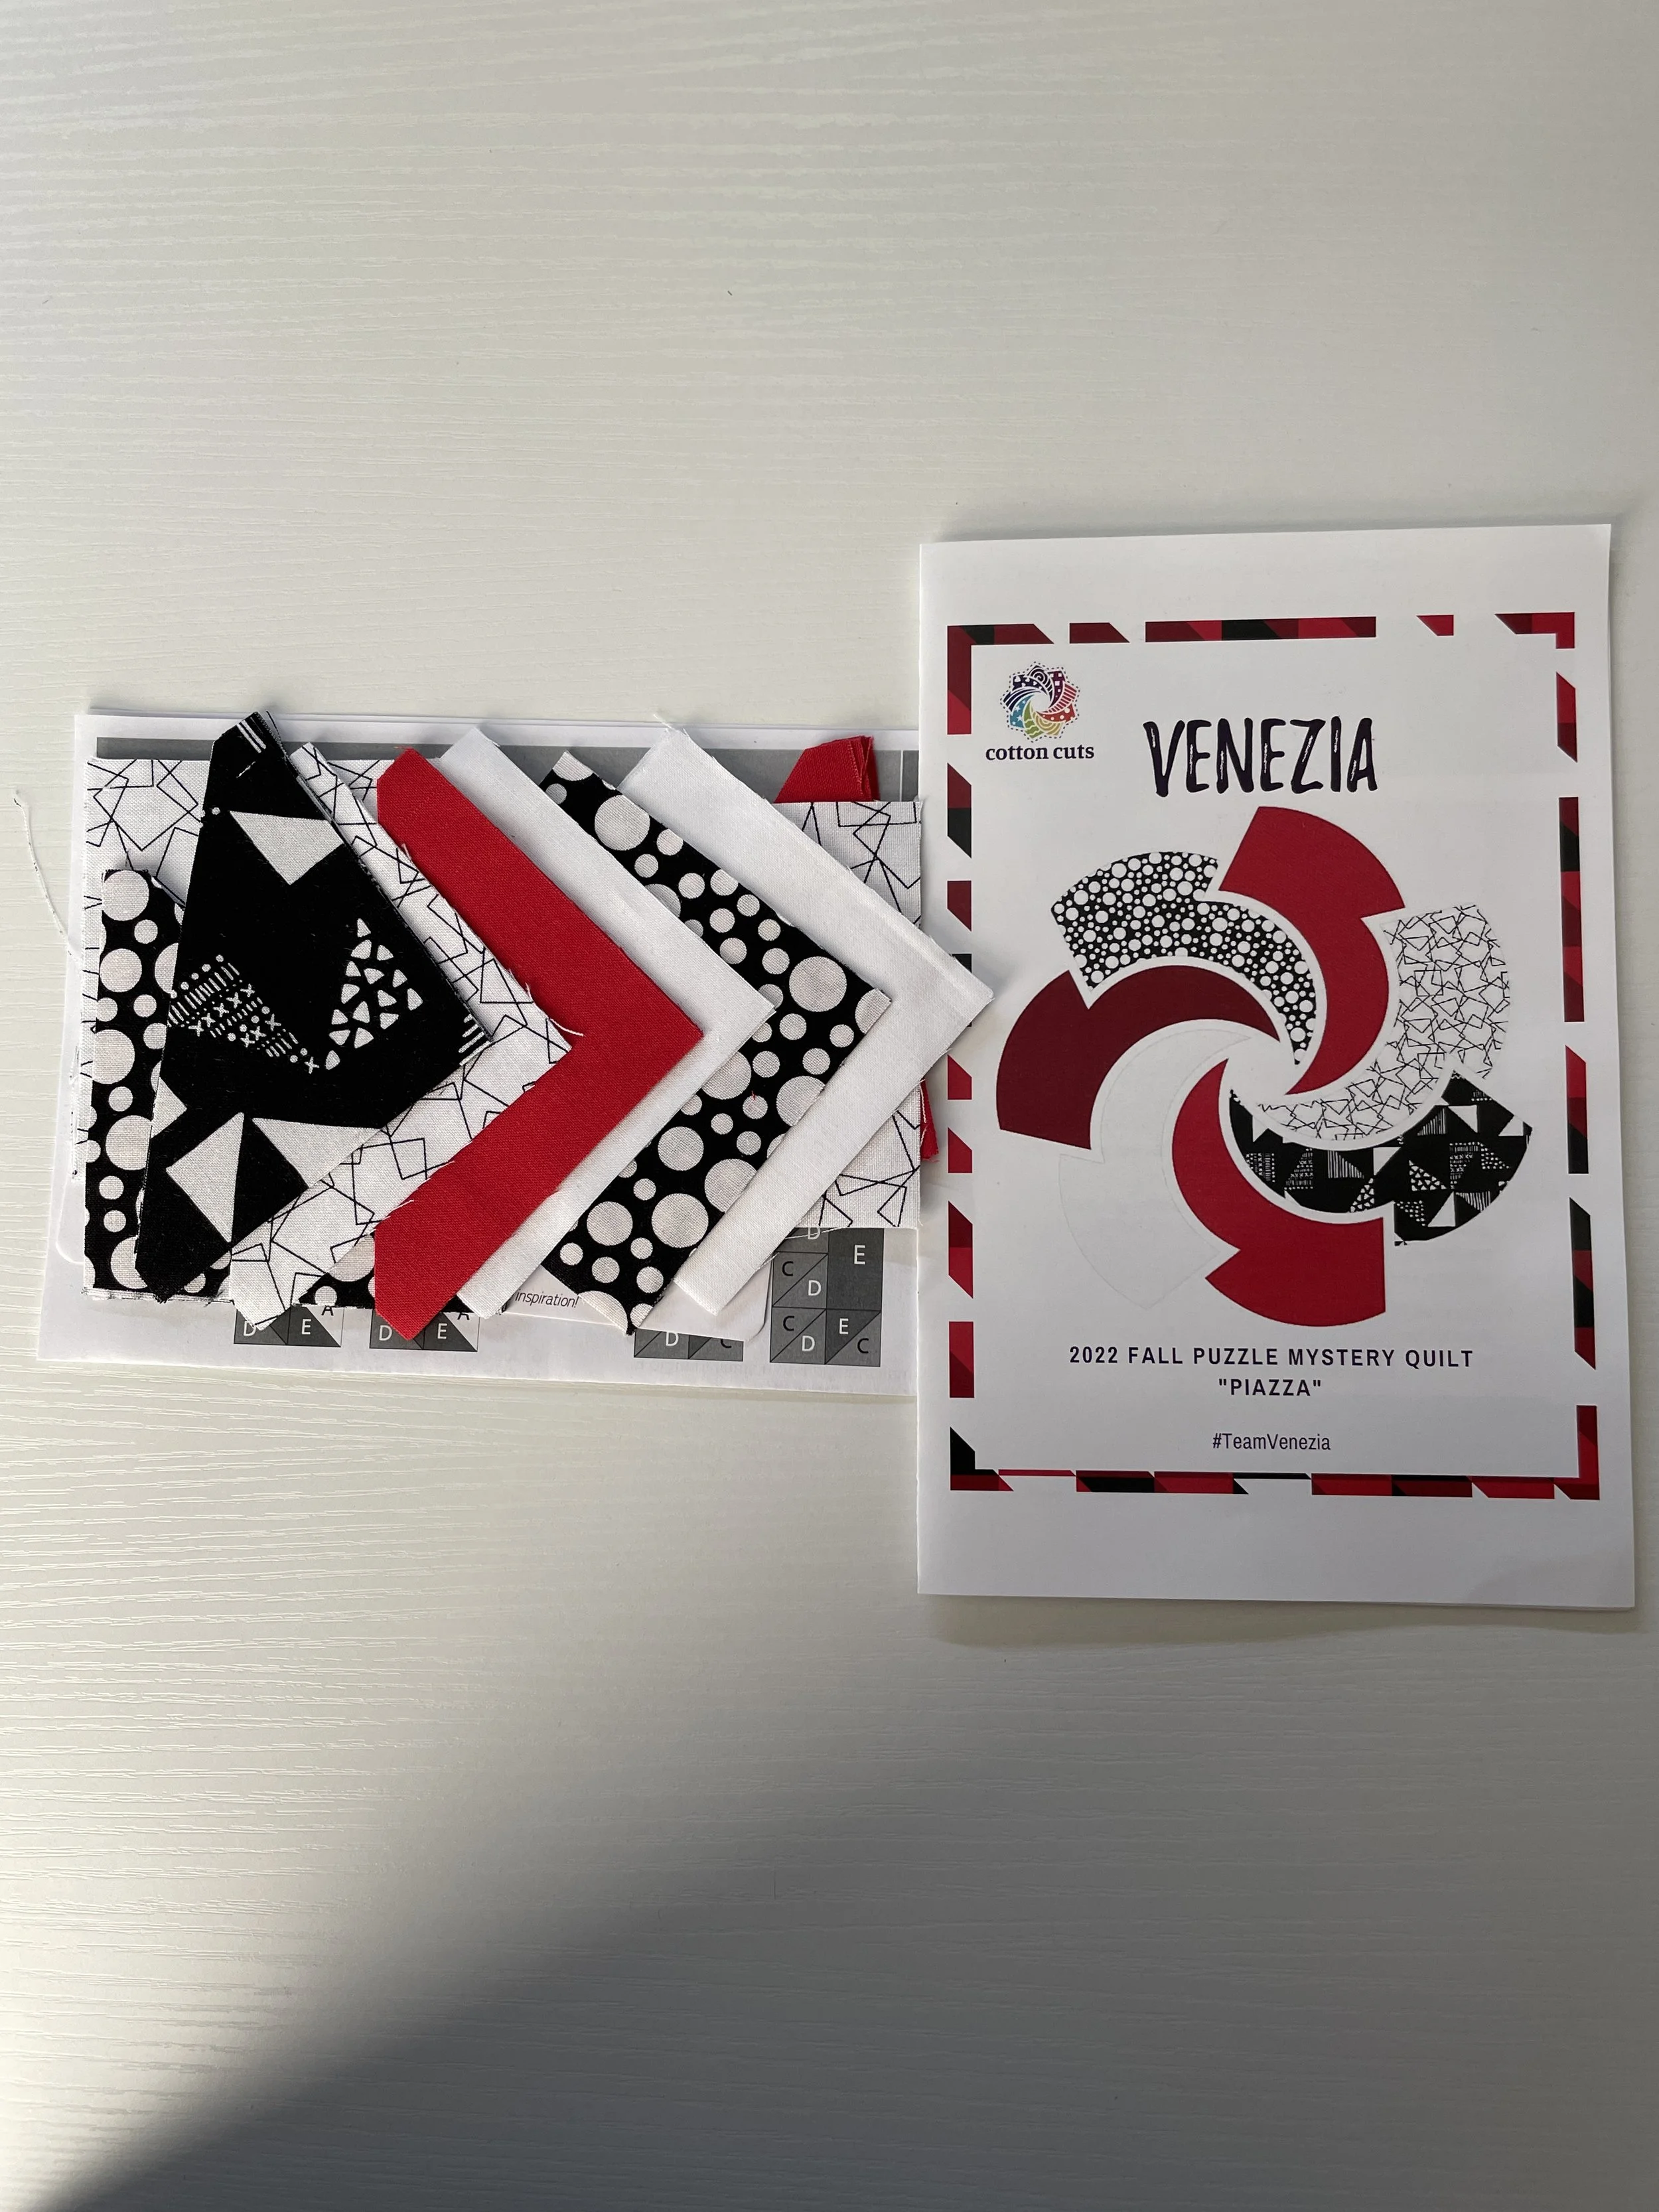
I’ve decided to join in on a Block of the Month Piazza Mystery Quilt from Cotton Cuts. A BOM (Block of the Month) project means that once a month I receive a set of pre-cut fabric to sew together to eventually create a quilt. Cotton Cuts had about 10 different colorways (you can see them here) and two different sizes - small and large.. I chose the small Venezia (no surprise since I love red and black & white). This project is a mystery quilt, meaning none of us quilters know what the final quilt will look like. I got my first “clue” this week (pictured below). The fabric is high quality and the instructions seem clear and straightforward. Additionally, Cotton Cuts is working with a quilt blogger who is creating a video showing how to create the quilt element(s). Yay !!!

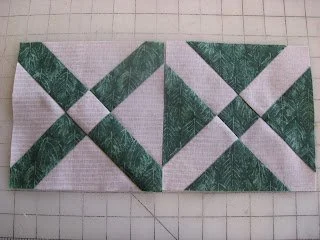
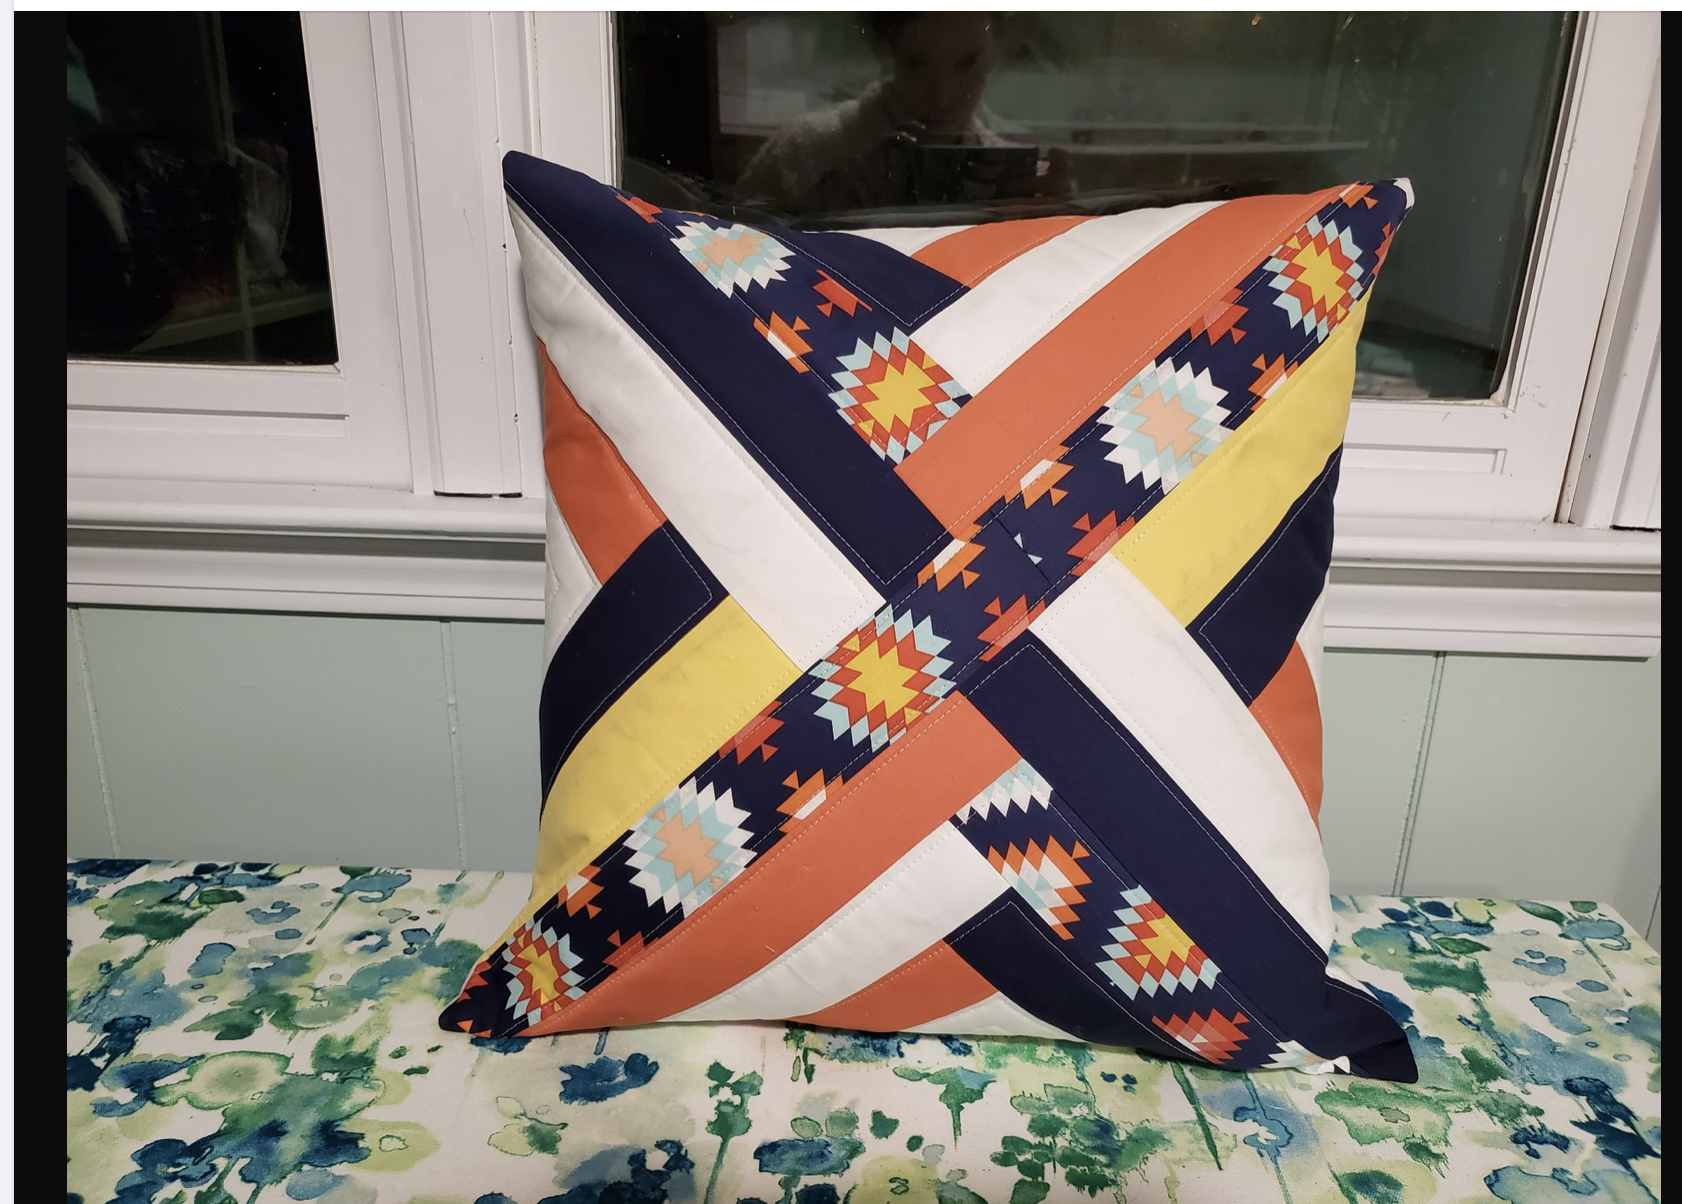
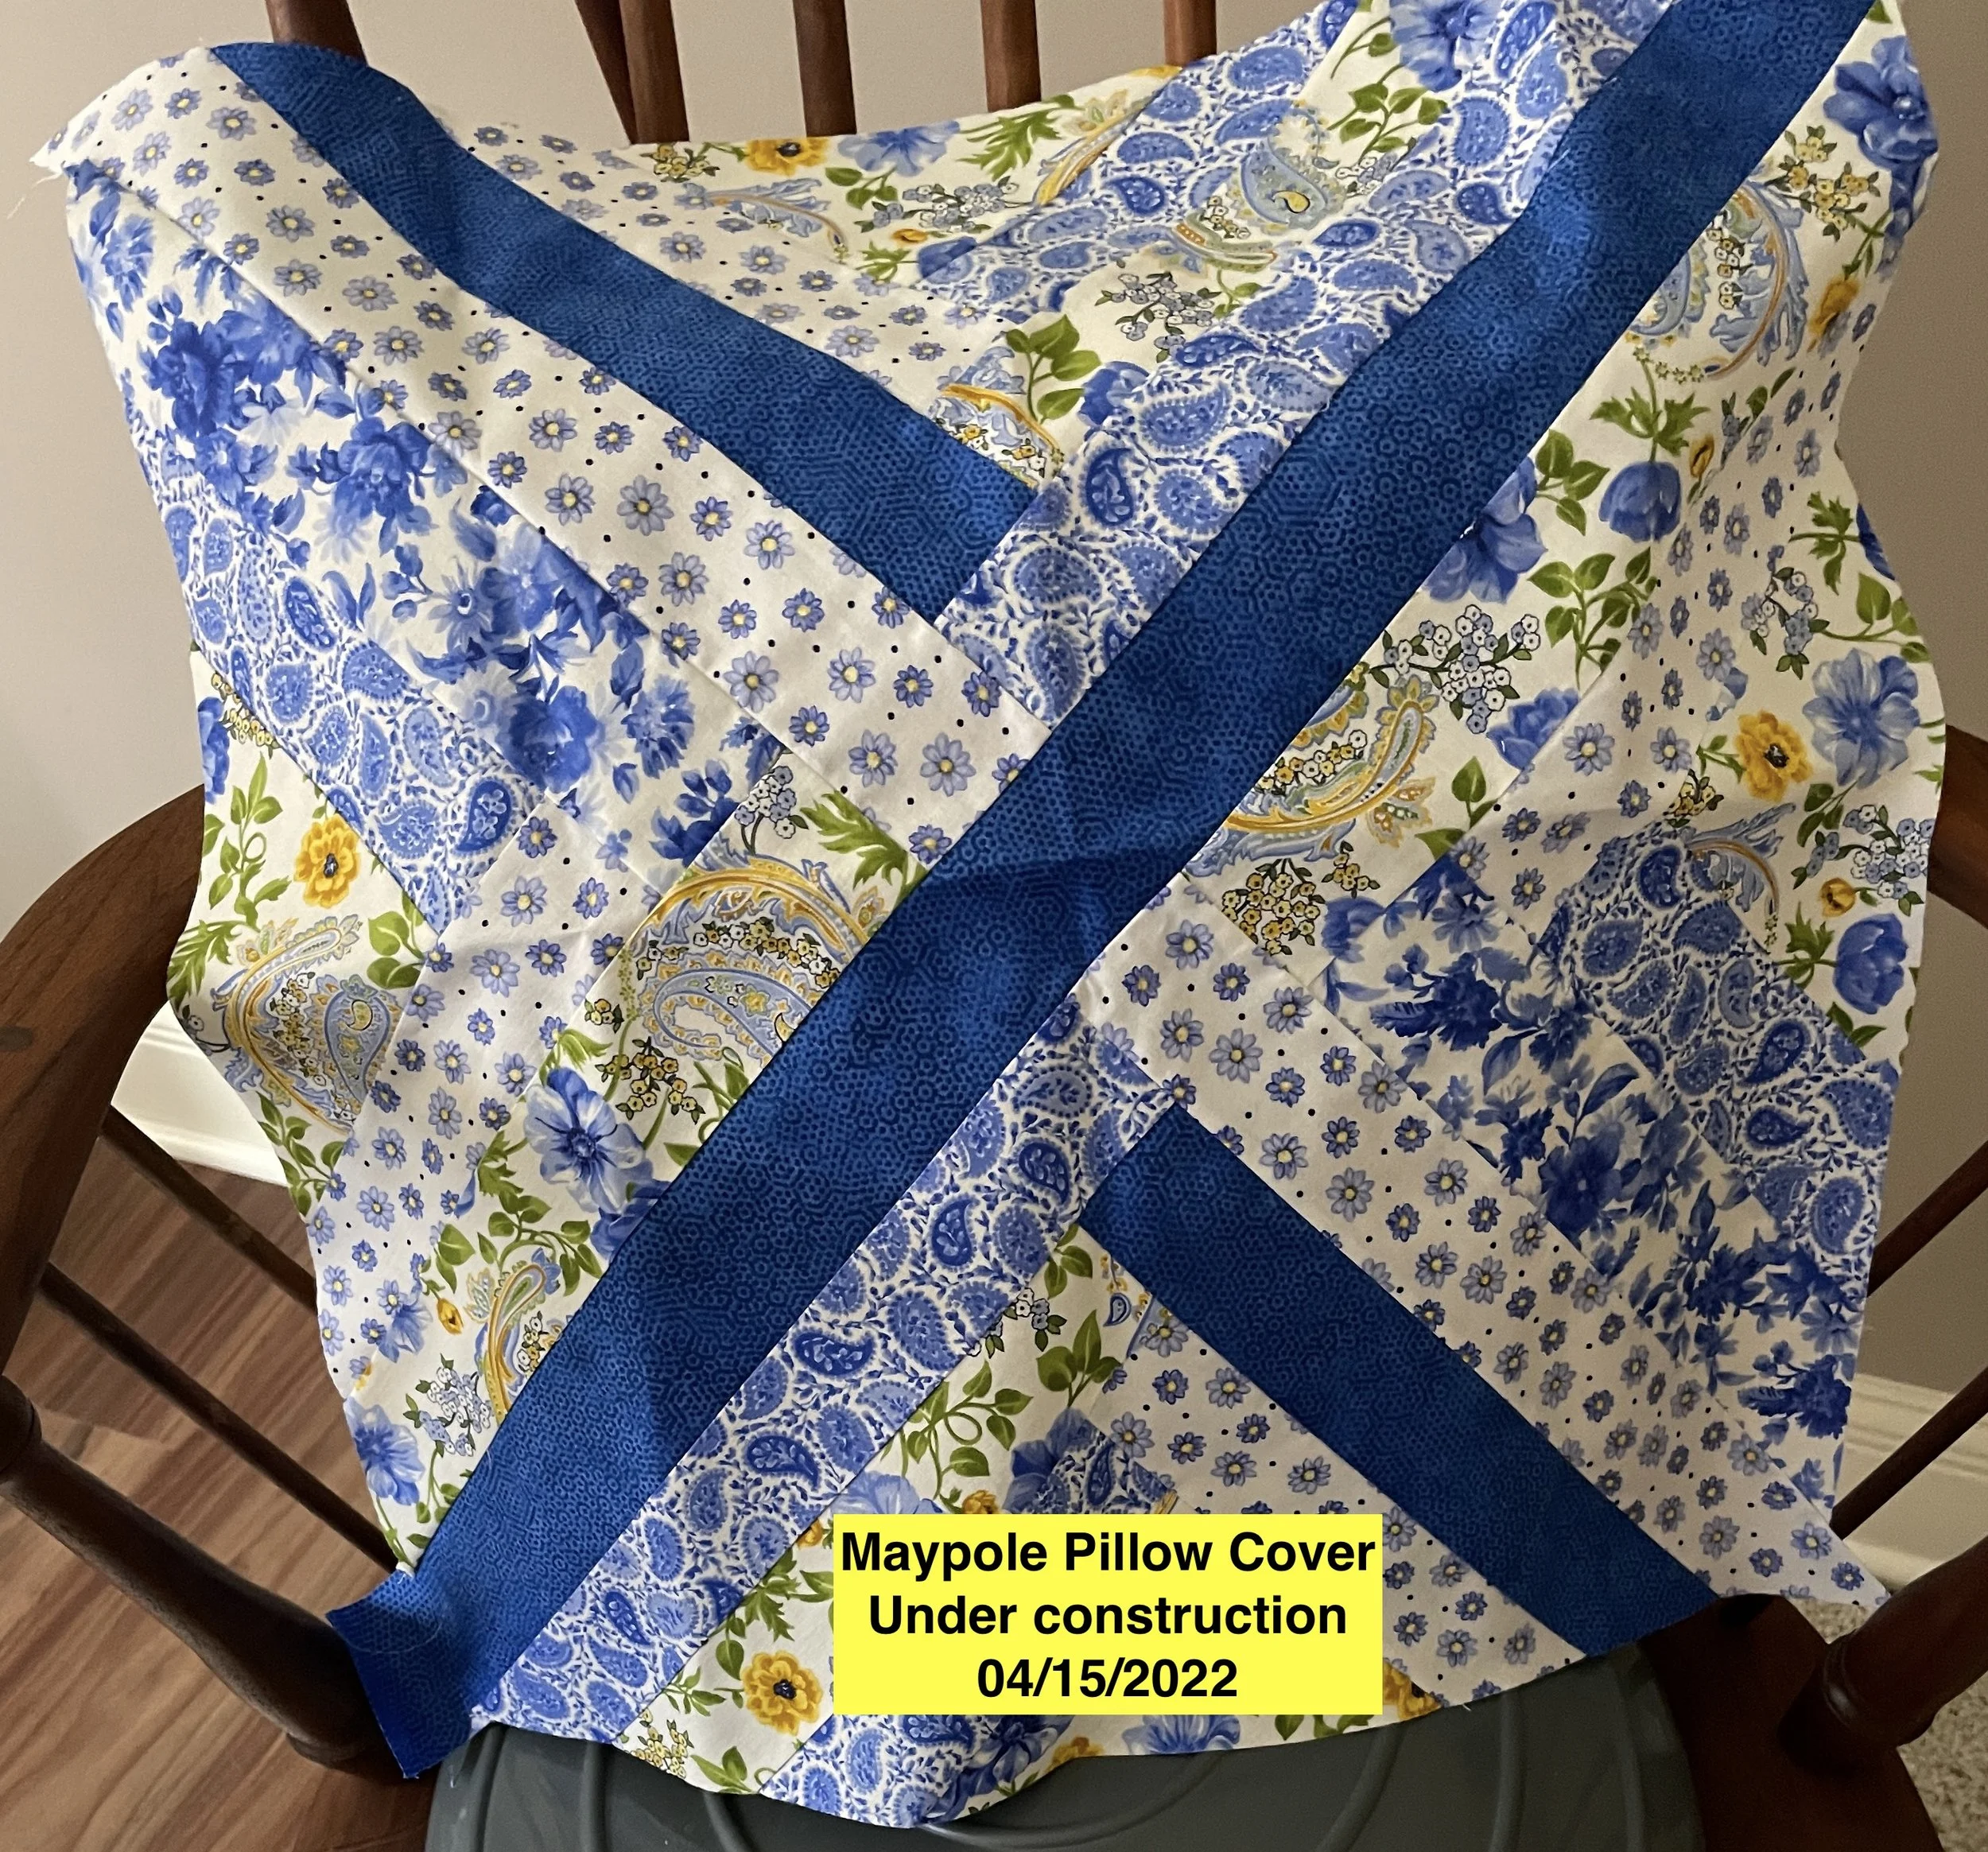
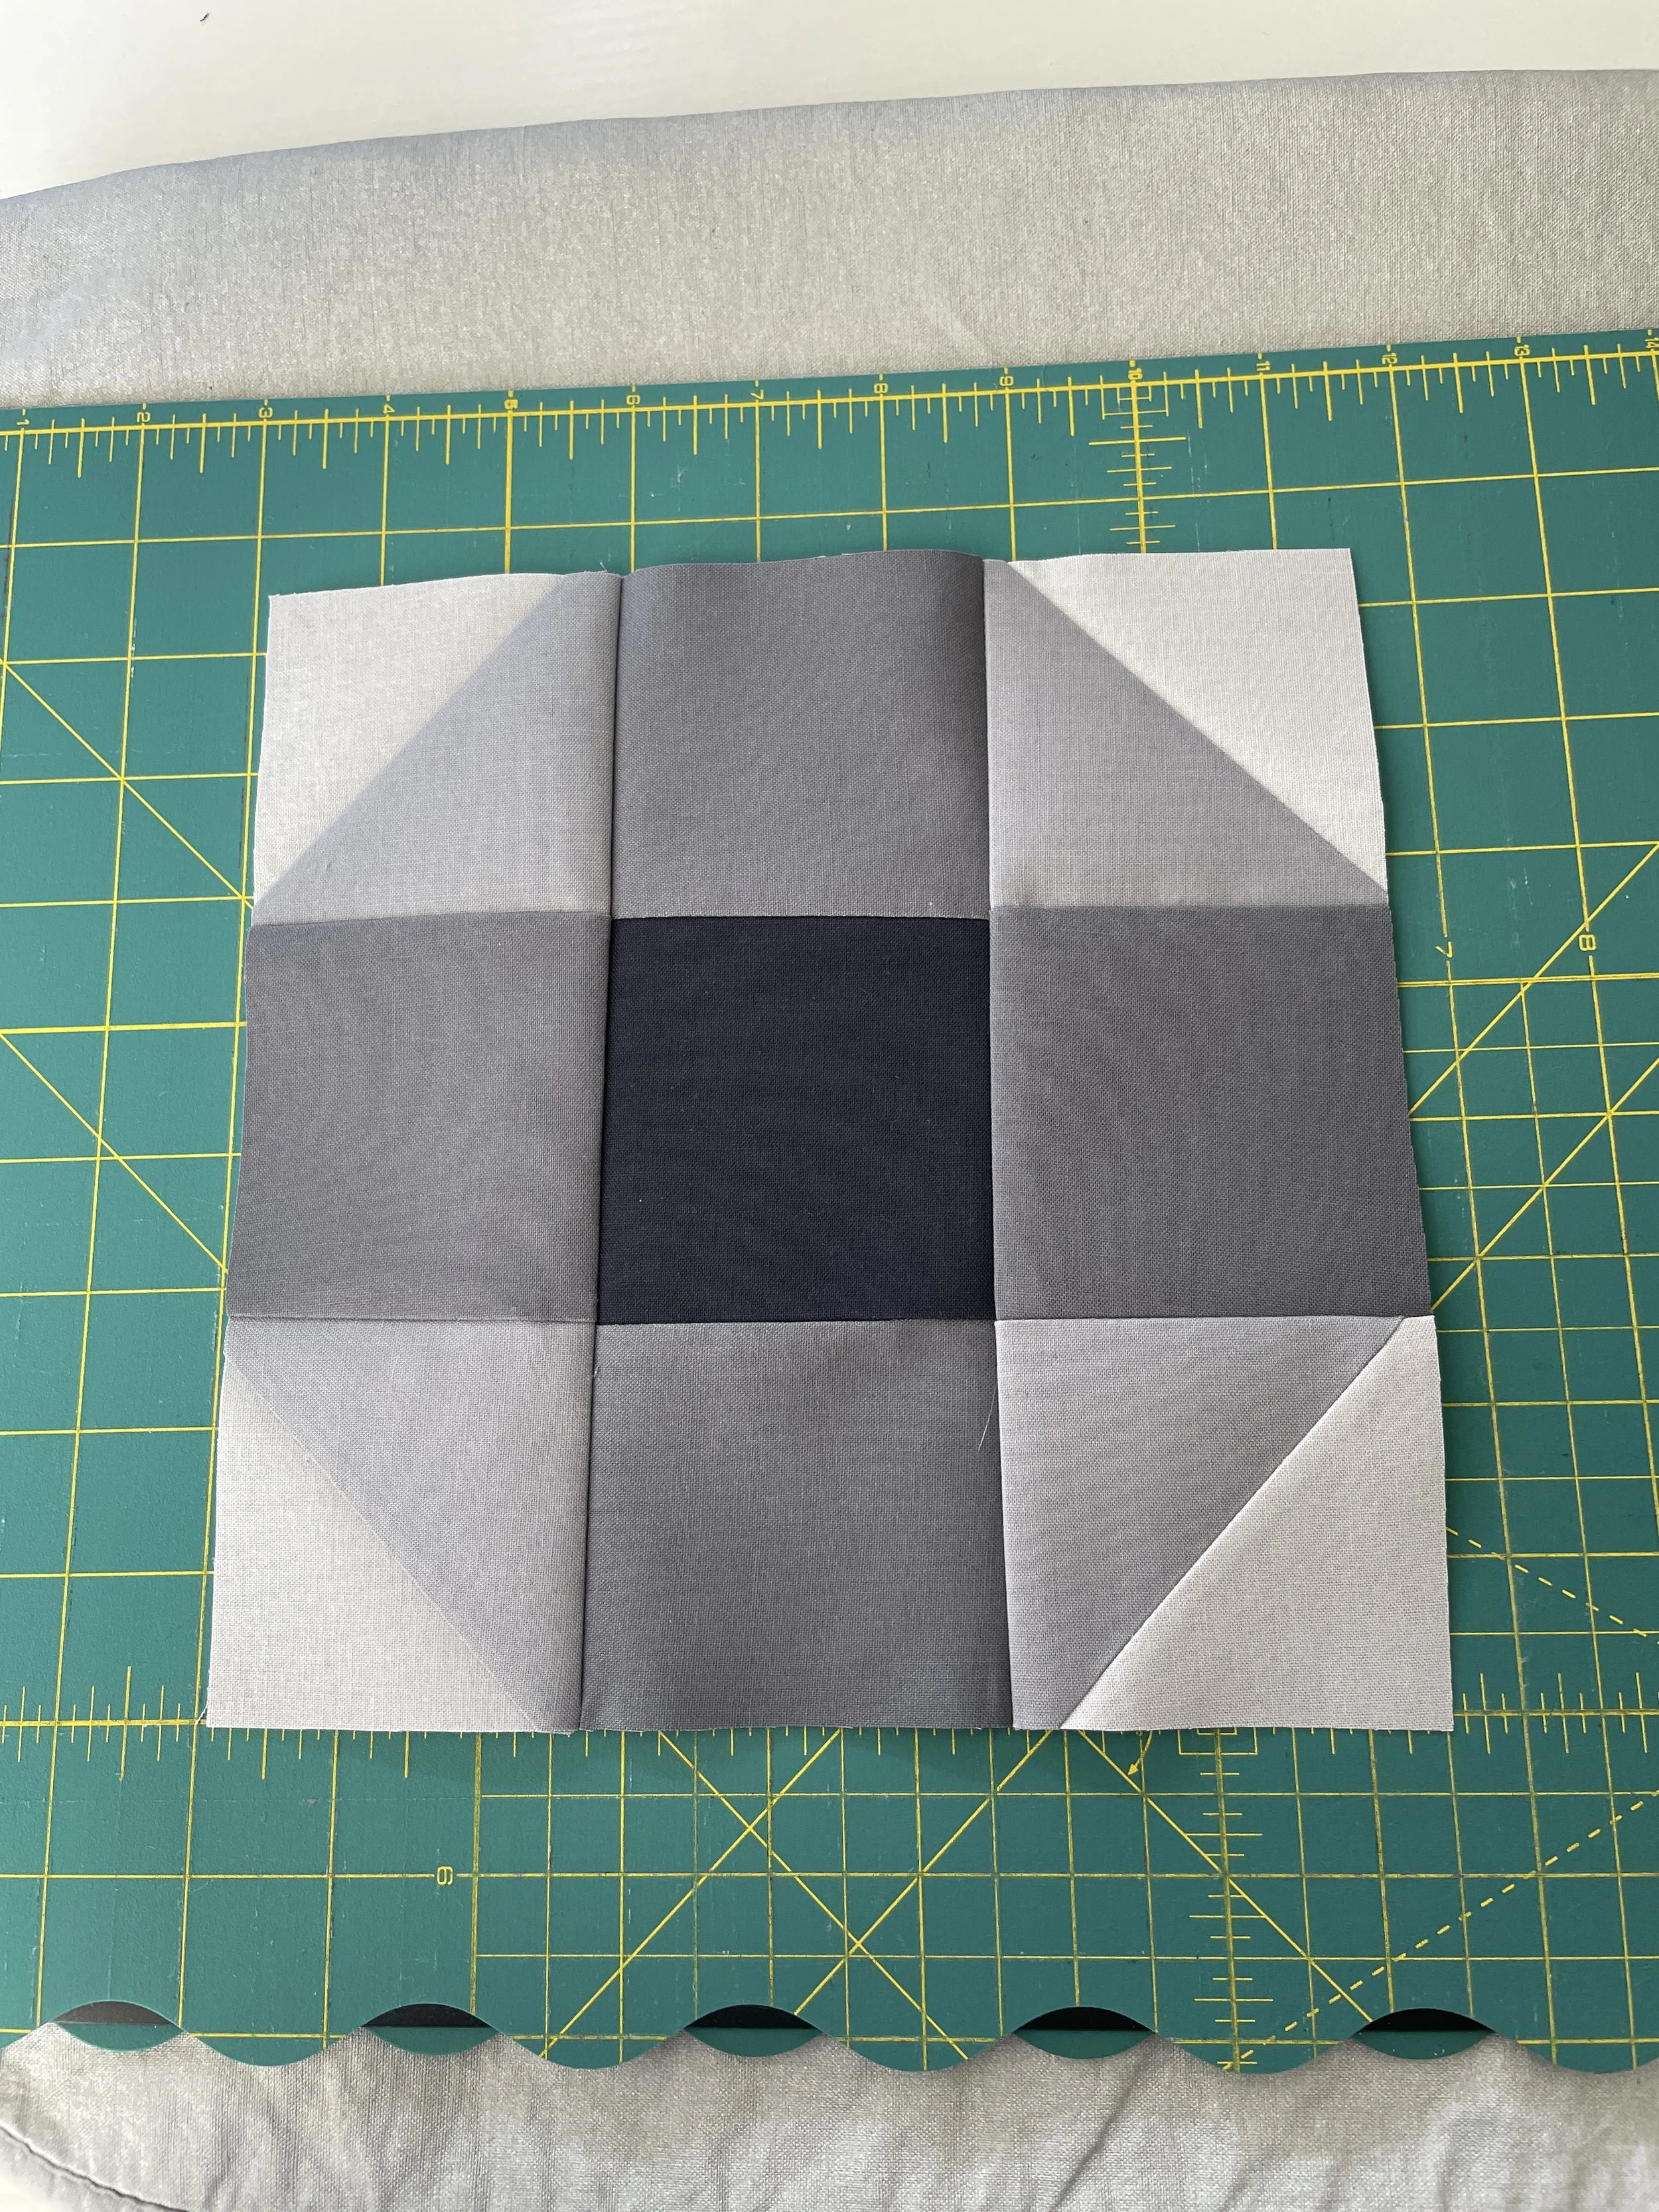
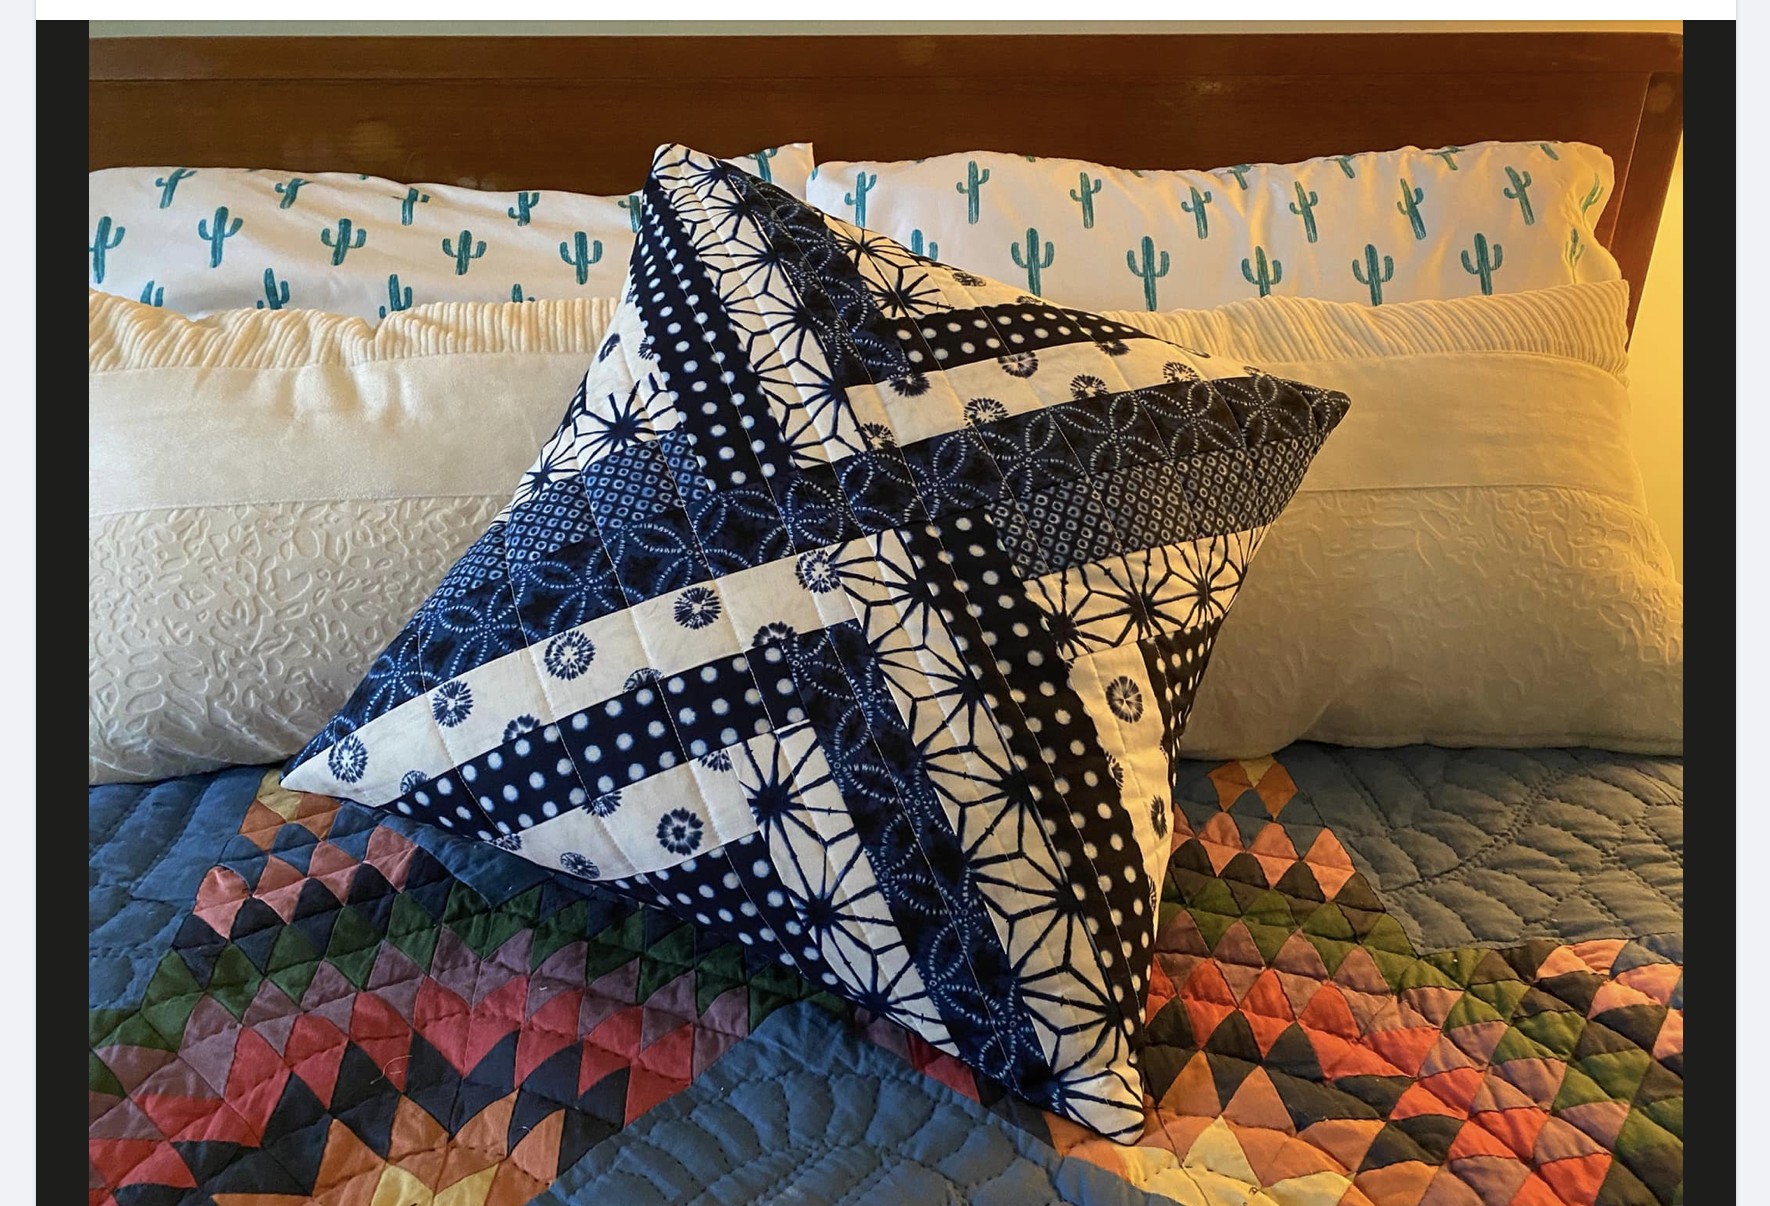
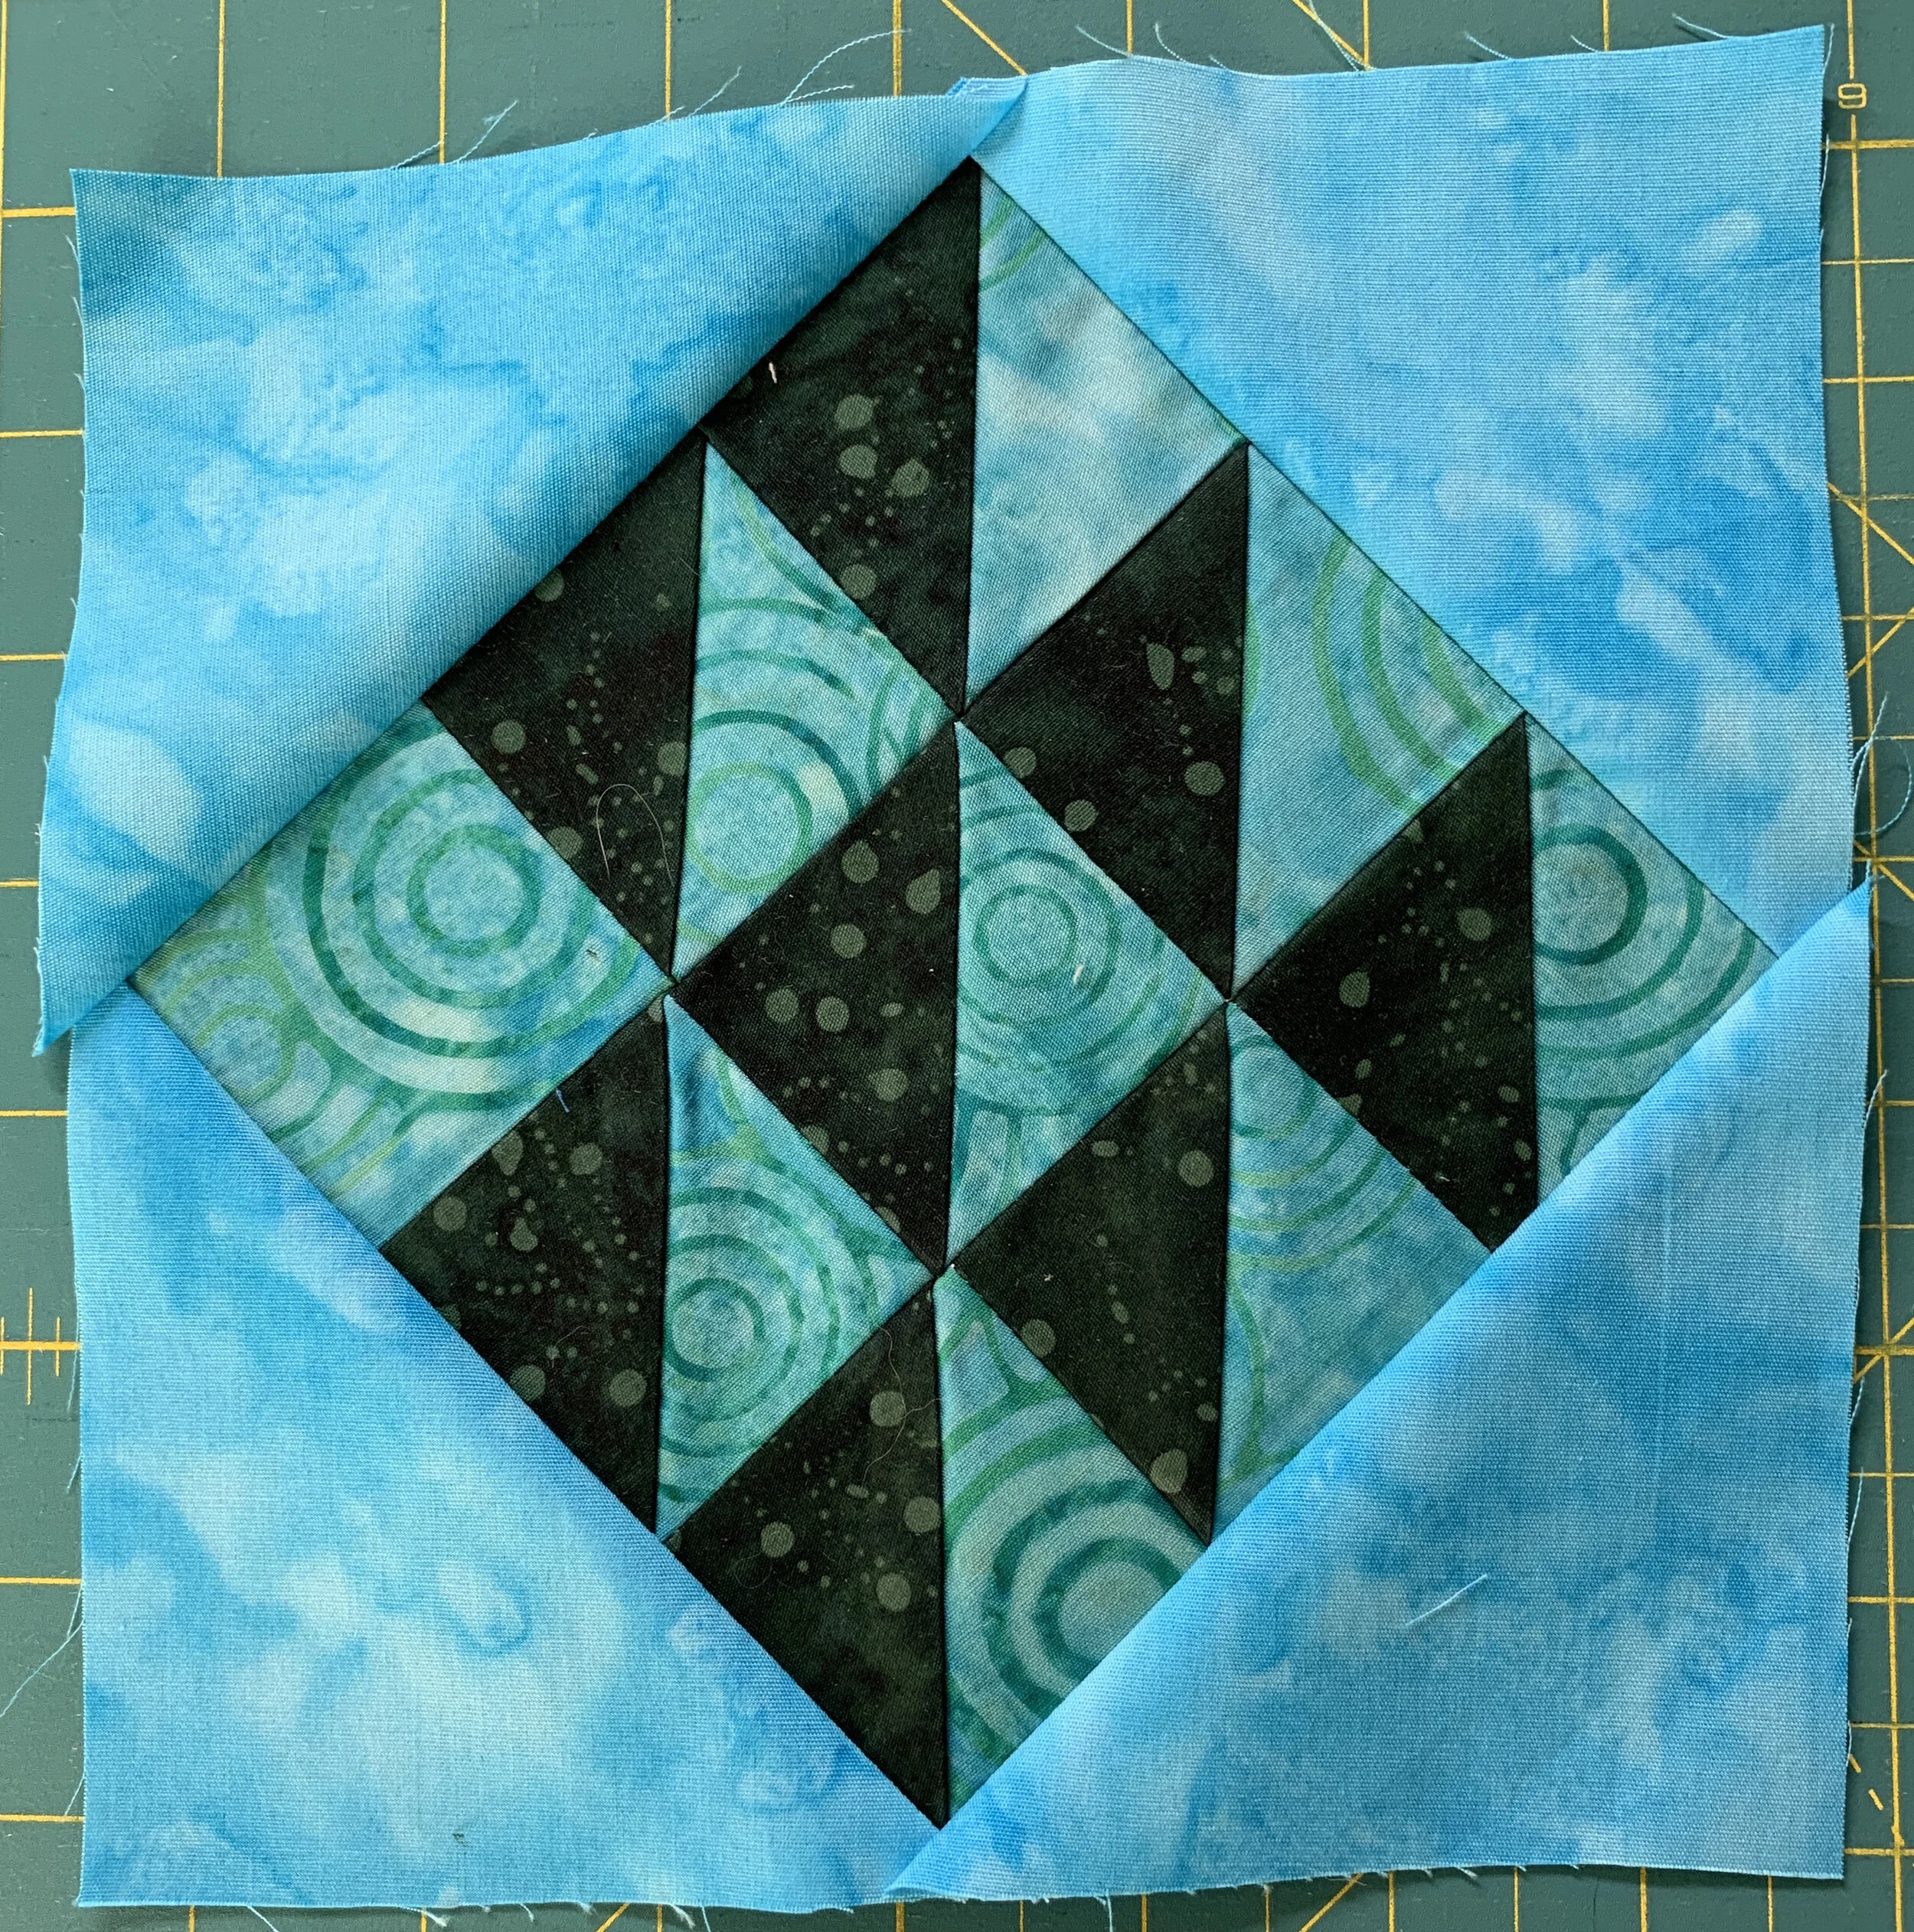
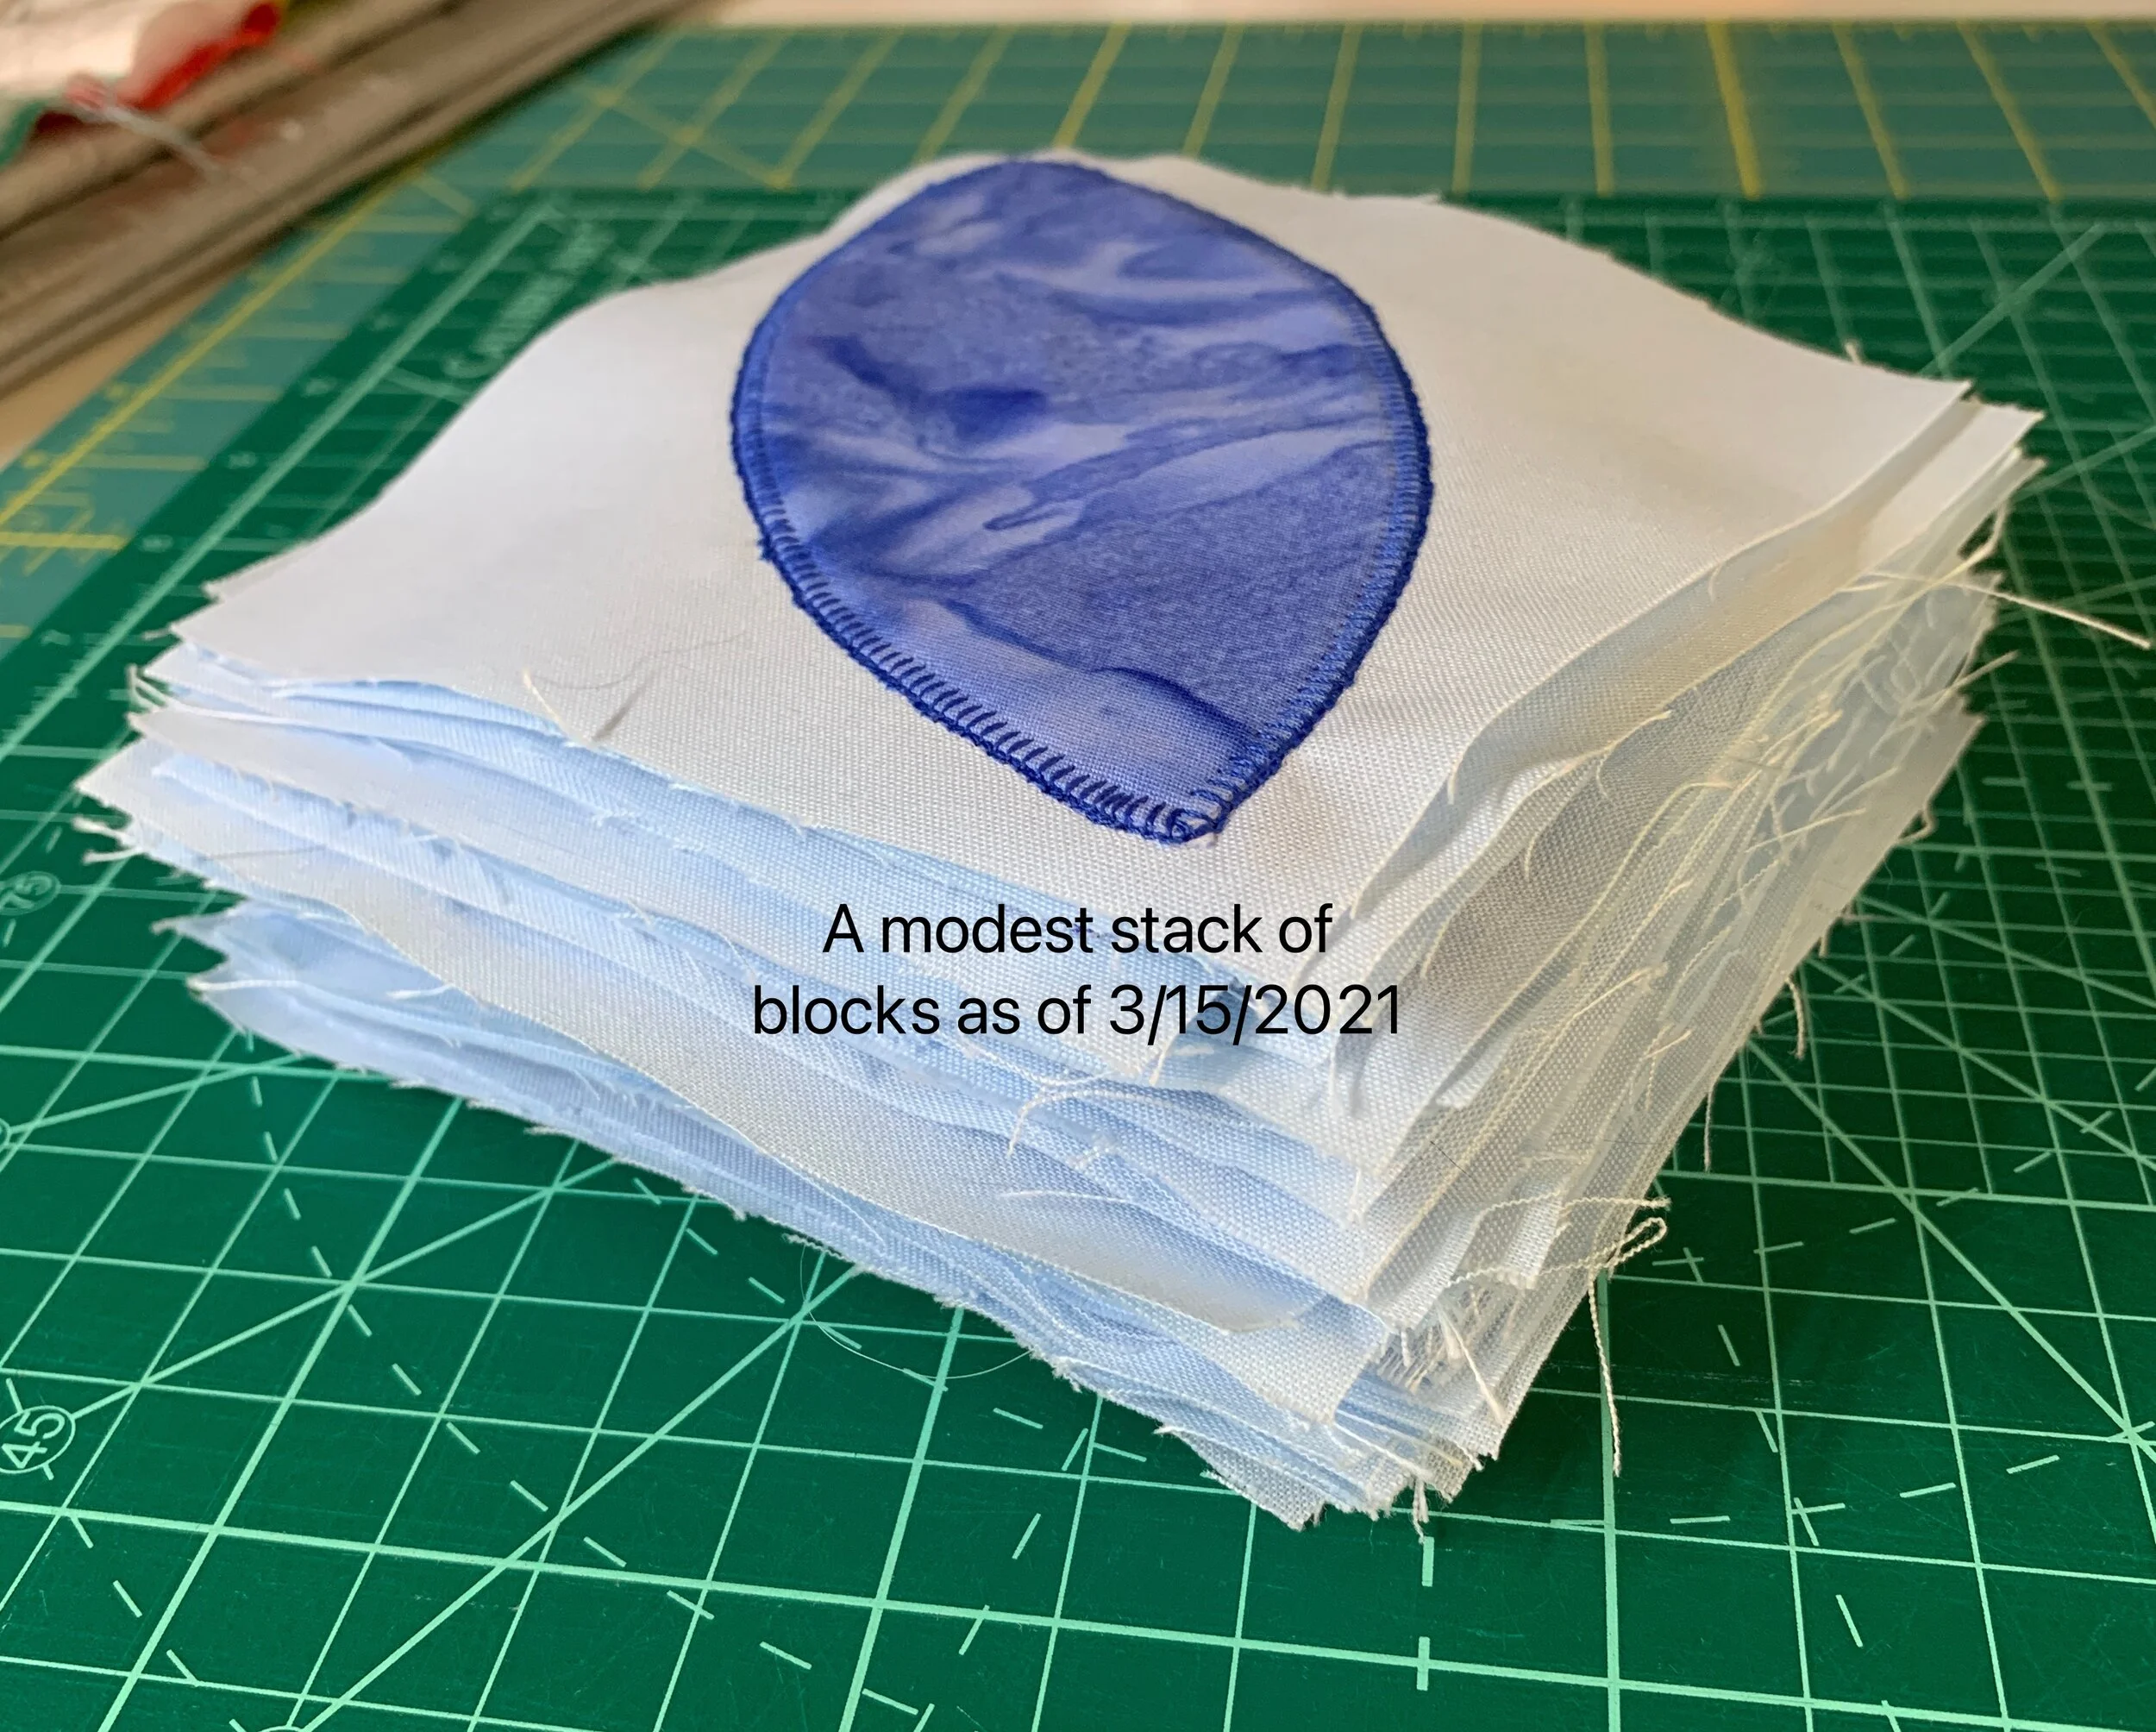
Lastly, Cotton Cuts is hosting a block challenge/swap. Each of those participating are given an 8.5”x8.5” swatch of fabric from our chosen colorway. Each of us selects a coordinating color from our stash and creates the block pictured below. This particular quilting technique creates two blocks in reverse colors. We’re given an address for our “partner” and we exchange the blocks through snail mail. I suppose I’ll have to create more blocks to make a placemat or mini quilt. This is my first experience with this and I’ve been wanting to challenge myself with more intricate blocks. So off the diving board I go into deep water 😜

WIP: Boxes of Colour (aka broken squares)

I’m creating the blocks for the Boxes of Colour quilt. The fabric I’m using is “Utopia Metallic” by Designer Chong-A Hwang for Timeless Treasures.

The quilt designer has two block - labeled “Block A” and “Block B” which fit together to form a larger block. You can see the larger block loosely fitted together on my new “design wall” (a picnic tablecloth with flannel on the back - it works wonderfully !) The Block Bs create the look of a broken squares - at least to my eye.

I’m working on creating all the Block A and will then create all the Block B.

Zig Zag in Purple - Complete + Looking Ahead

The Big Zigzag quilt is complete !! I did more quilting on this project than any other I can remember. I used a variegated purple thread that ran from the palest orchid to the darkest purple and I’m very pleased with the outcome.

And another completion !! The second pair of throw pillow covers in what I call Aztec/Pueblo fabric. These look very nice on our living room sofa.

I bought a jelly roll (a full length of fabric [about 42”] by 2.5”) that I fell in love with (purple again 😁 ) and I’ll be using the fabric to make the “Boxes of Colour” baby quilt. The first picture below is the inspiration quilt and the second is a glimpse of some of the fabrics in the jelly roll and the background fabric I’ll be using.

I was browsing through my ever-growing “Is this my next quilt?” bookmarks and landed on Moda’s free Boxes of Colour. (Moda is one of the top fabric manufacturers. Most fabric manufacturers have free quilt patterns which showcase their fabric.) Fortunately the entire quilt pattern was on this page since the designer has abandoned her site. I really like the sort-of “broken boxes” and isn’t the quilting pattern cool !!

WIP: Zig Zag in Purple + Looking ahead

Here’s the inspiration quilt for Zig Zag in Purple. The pattern is from the book Go Big Go Bold by Barbara Cain; I’m making the lap size quilt which finishes at 45” x 60”. I was quite taken with several patterns and decided to do the Zig Zag in shades of purple.

Here’s the layout of the quilt; we have very tall windows, so you’re seeing the sun shining in slits (my photography needs some work 😜 )

I began the quilting yesterday (May 14, 2022) and will be at for several days. I’m using a variegated thread that begins in a very pale pink through dark purple. I’m pleased with the look of it. Here’s the quilting in progress:

I want to make throw pillow covers for our sofa; the throw pillows haven’t changed for a looooong time. You know I love the Maypole pattern so in consultation with my design expert (aka “the hubs”) we decided on something like this inspiration cover

Here’s the central fabric (I call it Aztec/Pueblo) with fat quarters of the coordinating fabrics. The throw pillow covers come together quickly since they’re easy-peasy.

Maypole Pillow Covers + Zig Zag

The weather here is shifting between spring and late winter. When we have spring-like days, we’ve been busy tending to flower beds and doing a little planting to replace shrubs that didn’t make it though the winter. So sewing time has been somewhat limited.

As you can see, I finished both pillow covers (and yes, Callie is shedding like crazy 😁 ). Mike is pleased to see bright fabric on his sofa. These are not quilted so I won’t include these in my gallery.

I’m starting work on another quilt that I call “Zig Zag in Purple”. The fabric with the triangles will be the background and the lighter purples will the the zig-zag. The merlot-colored fabric will be the binding.

Color Theory + Maypole Pillow Cover

I’ve decided to abandon the color theory class. I can’t see - at this point in time - how color theory will help me with my quilting. I watched a couple of color theory lectures on YouTube and, although the lectures were clearer than the instructor in my class, I’m not persuaded it will help me.

My current goal is to expand my quilt horizon using different blocks - both traditional and modern. I’m pretty shameless about copying someone else’s color combinations if I like them so I’m abandoning color theory for the moment.

I’ve decided to work on a block-a-month sew-along. More about that later.

I fell in love with the Maypole pattern by Suzy Quilts and I discovered that she has a Maypole pattern for pillow covers. I bought it because I’ve been wanting to update my throw pillows. The unfinished cover above I’m calling “spring”. It is way beyond my comfort level with patterned fabric but it turns out to look really good in Mike’s office. I’m working on the second pillow cover and will have them finished in my next post.

Square in Square Quilt + Color Theory Class

The square in square quilt is complete !! I liked working on this and I like the quilt. It will go into the pile of quilts to be donated once Mike and I are tired of it.

My color theory class met (remotely through YouTube) last Saturday, 3/12 and we were assigned two blocks. Our lesson was on monochrome colors and that was our assignment — two blocks in monochrome colors.

The block above is the Shoo Fly block. I have lots of gray fabric so that’s what I used.

The history of the Shoofly Quilt Block dates back to the mid-1800’s!  

This 9-patch block was named after a wild plant with rounded flowers called clover broom or shoofly.  Another name for this quilt block is “Hole in the Barn Door”.  The block is pretty simple to make and uses a limited number of half-square triangles HSTs). Our instructor suggested a 6” block, but assured us we could make any size we wished.

Star of Hope - 6” block

The block above is titled Star of Hope (again in shades of gray) and again our instructor suggested a 6” block. I used my Cricut (cutting machine) to cut the squares and then I cut some of the squares in half diagonally and again in half diagonally. At once I realized it was hopeless. Rest assured that the HSTs are TINY. I’m going to size the block up to 12” so the HSTs are easier to sew. This is a pretty block and while it’s not wonderful in gray, it will be attractive.

Today (March 19) we’ll be talking about analogous colors and I suspect we’ll be assigned a couple of more blocks (all of which will be 12” 😁)

Square-in-Square (Kaffe fabric) + Color Class

This “square-in-square” quilt featuring fabric from the Kaffe Fassett Collective is coming along nicely. Here’s the untrimmed quilt sandwich. The pink fabric folded at the top will be the binding. I’m really happy with the quilt backing (at the lower right) which I found at my local quilt shop. I’ll trim up and square the quilt, then cut and apply the binding.

I’m taking an online class titled “Color Theory for Quilters” presented by The Quilt Show. I’ve never explored color theory (no reason to do so in my former life) and so far the class is interesting, but I’ve no idea yet how to apply it to my quilting life. I bought the starter kit which includes the feature fabric (teal floral at the top left) + a number of fat quarters (these usually measure 18” x 22”).

Our instructor asked us to do a fabric pull with additional colors. Since all of the fabric in the kit is patterned I thought solids would be the way to go. Here’s my first take on fabrics to create the quilt blocks. You might notice that I’ve used the pink fabric from the Square-in-Square quilt above plus red from my stash. Once she announces the blocks she’s like us to make, I might change my mind. . . we’ll see

Maypole complete & Kaffe Fassett in Progress + a class !!

The Maypole Quilt in Red is complete !! I really like this pattern and I have a couple of inspiration quilts that you might see over time.

I’m not nuts about the specific fabric, but I could see this with sunflowers.

A classic in navy & white.

I’ve been working along on the Kaffe Fassett “square in square” quilt. Here are a few examples of the blocks I’m creating.

The quilt pattern doesn’t call for sashing but I’m going to include sashing ‘cause I don’t like these fabrics butted up to each other. Sashing is a strip of fabric that divide quilt blocks from each other. I haven’t thought too much yet about how I’ll quilt this.

I’m taking an online class - my first quilting class ever ! I’ve been thinking that I need to up my game in terms of different blocks. As I look through the quilts I’ve completed I see lots of simple blocks with a few exceptions. This class is largely about color theory for quilters but incorporates different blocks to create a sampler quilt. A sampler quilt doesn’t use the same block over and over — many sampler quilts use 12 different blocks, but any number of blocks can be used.

Even better, there’s a starter set of fabric and a book. The starter fabric is pictured below. The class starts on 2/19/22 (available on YouTube & Facebook) and I’m looking forward to it.

Maypole in Red // Square in Square // Bird Quilt

The Maypole quilt in Red top is complete. I’m waiting for the backing material so I’ll make a start on my next quilt — Square in Square with fabric from Kaffe Fassett. In the planning stages is a third quilt which I’m calling the Bird Quilt.

Here’s a picture of the fabric for the Square in Square quilt. I love the designs that Fassett and his collaborators create. The heavily patterned pieces are 6” strips, 42” long; they’ll be cut to create the center square. The folded fabric will be used to create the frame around the central square.

The Bird Quilt is in the planning stage. I’ve downloaded the block patterns; I’ll need to calculate how much fabric I need to create the quilt itself. This is the inspiration quilt that called my name and tripped me as I went by 😁 😁

A start -- Maypole Baby Quilt

I’ve long admired the pattern “Maypole” by Suzy Quilts. I finally decided this was a quilt I wanted to make. After looking at many, many Maypoles other quilters created I decided on this quilt as my inspiration quilt.

So off I went to my local quilt shop and here’s the fabric one of the staff helped me put together.

I’ll begin cutting the fabric and will have more for you soon. . . .

A Start -- Kettle of Fish

I’ve begun working on a quilt titled “A Kettle of Fish” using batik fabric. Here’s a picture of some of the fabric I’m using

Kettle of Fish Fabric.JPG

And I’ve created a couple of blocks one of which looks like this

If you squint you can the dark green fish heading toward your left.

Batik (pronounced 'Bah-Teak') is a technique used to dye fabrics. First, melted wax is applied to the fabric in the areas that are to be free of dye. There are various methods used to apply the liquid wax, but brushing or directly pouring the wax are the most common. Once the molten wax cools, it hardens and penetrates into the fabric. Next the fabric is soaked in dye. The wax prevents dye from penetrating onto the fabric and therefore keeps those areas of fabric in their original color.

To remove the wax after the dyeing process, a solvent can be used. Alternatively, the hardened wax can be pressed out with an iron; the hot surface melts the wax it is pressed through the fabric. If a multiple-colored design is desired, the process is repeated for each color.

This project will take a while to complete, but I’ll update you as I go along.

No Progress Report

I’ve been occupied with projects other than sewing and quilting — and I’m beginning to get withdrawal symptoms 😳 😢 . I’ve

  • been deadheading flowers,

  • planting new ones,

  • moving from one computer system to another,

  • finding a new picture editor since the free one I’ve been using decided to go subscription model and

  • just generally been busy with “stuff”.

I’m hoping to get back to sewing and quilting soon !!


WIP: Baby Quilt

The Orange Peel quilt is still on hold, but not abandoned.

In the meantime I used a very simple pattern to create another baby quilt. The fabric is “All Our Stars” by Jennifer Pugh for Wilmington Prints and it is called 10 Karat Crystals (also called a “layer cake” by other manufacturers). The quilt is 40” by 50”.

I’m getting a bit more adventurous with my quilting: wavy lines using navy thread 😄. The binding will also be navy.

WIP: Repair Work & a Table Topper

The orange peel quilt is on hold, but not abandoned. I need to consult with the quilt community about some. . . issues. . . with the quilt blocks.

In the meantime a quilt that stares me in the face when I’m at my computer was weeping because the binding was a mess.

Binding Repair.JPG

You can see in the picture above that I didn’t catch the back of the quilt (in some places) when I applied the binding. Jenny Doan matriarch of the Missouri Star Quilt says “finished is better than perfect”, but this really was a mess and someday I’ll give it away.

So I spend a couple of useless days picking out the binding and realized I couldn’t reuse the binding. Ahhh well. I created more binding and the quilt looks much better now.

I also created a table topper using the Economy block (also called square-in-square). I fell in love with the butterfly fabric and thought the block would show it off nicely. It will be our spring/summer topper.

Butterfly Fabric with Economy block.JPG


WIP: Orange Peel Quilt

Soooo - a short, but fervent, happy dance from me !! Here’s the design wall for the orange peel quilt !! I wish I were a better photographer or my camera took better pictures (I suspect it’s more the former than the latter 😉 ) The background is a pale-to-medium blue which doesn’t come across well in my pictures. Now on to sewing together the top, building the quilt sandwich and quilting the layers together. . .

Quilt Top Layout.jpg

WIP: Orange Peel Quilt

I have little to show you in this update. The work seems quite slow to me and I have only a modest stack of blocks completed for this quilt.

A Modest Stack of Blocks 2021-03-15.jpg

I asked myself “Why does this seem to be moving so slowly”. So I thought for a bit and watched myself create a block from start to finish. There are several steps to creating the block which I outlined last update. This time I have a picture of the steps in creating the block. After I’ve cut the fabric into 5” squares, the first step is to sew the interfacing to the block. Then I trim the seam closely, cut a slit in the interfacing and turn the block inside out. Next I iron the peel onto the light blue block and finally use a blanket stitch around the edge to permanently affix it to the light blue block. A rather lengthy process which is getting a little faster but not much faster. No wonder I only have a modest stack of blocks 😁 I’m thinking of adding sashing which will widen and lengthen the top.

Steps in process.jpg

WIP: Orange Peel Quilt

The Orange Peel block goes back to at least 1880. Legend has it that Lafayette peeled an orange into four equal segments, in the fashion of the aristocratic French. A lady was so charmed that she designed a quilt block representing the segments. The Virginia Quilt Museum says that only yellow or orange quilts are called “orange peel”. Other colors are designated as “Rob Peter to Pay Paul”. Do you think I should rename the quilt? 🤣🤣

I thought I’d show you the steps to create a single block. I bought yardage for this quilt and so I cut a bunch of 5” squares. Next I use a plastic template to cut out the fusible interfacing in the shape of the peel. I take the blue patterned fabric and sew one fusible peel to the 5” block. I trim the block around the peel and turn it inside out. Now iron the gummed side of the peel onto the pale blue 5” block. Now machine appliqué the peel around the edges (using the blanket stitch) so it it permanently attached.

Repeat many times. I estimate I’ll need around 100 blocks to create a 40” x 40” quilt.

WIP 2021-02-27.jpg