Complete: Family Birthstones + Jelly Roll Strip Quilt

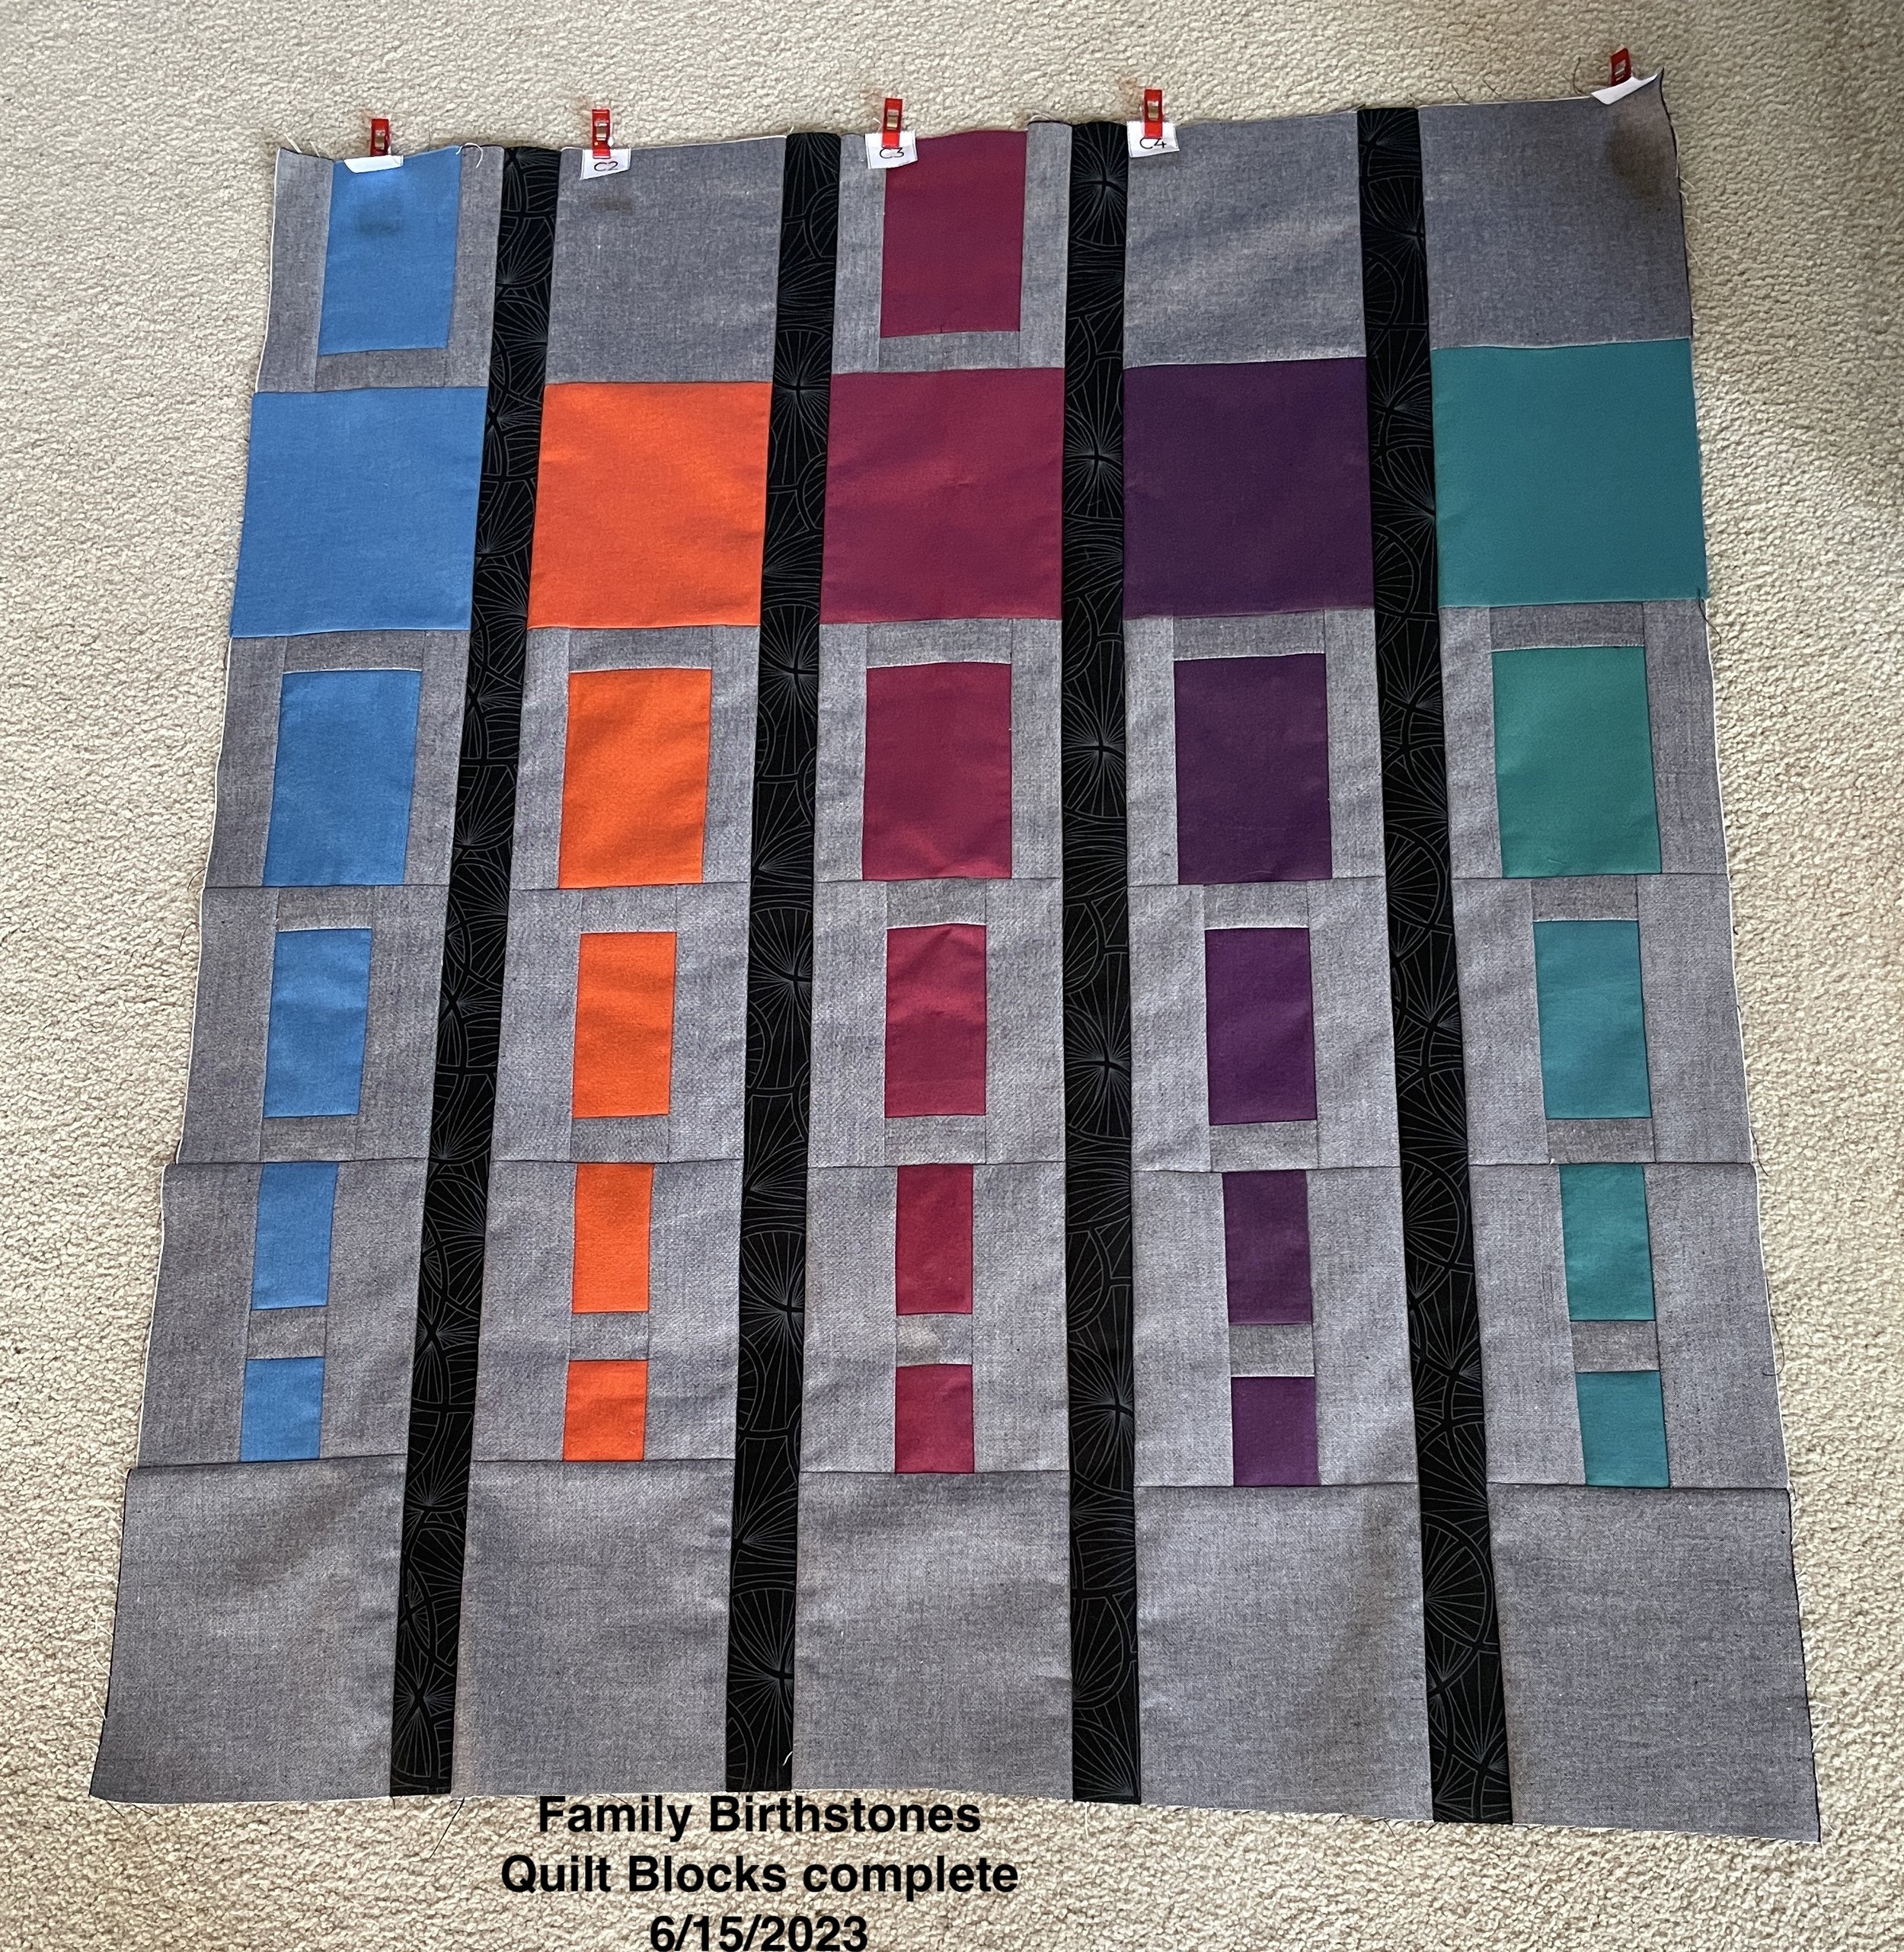
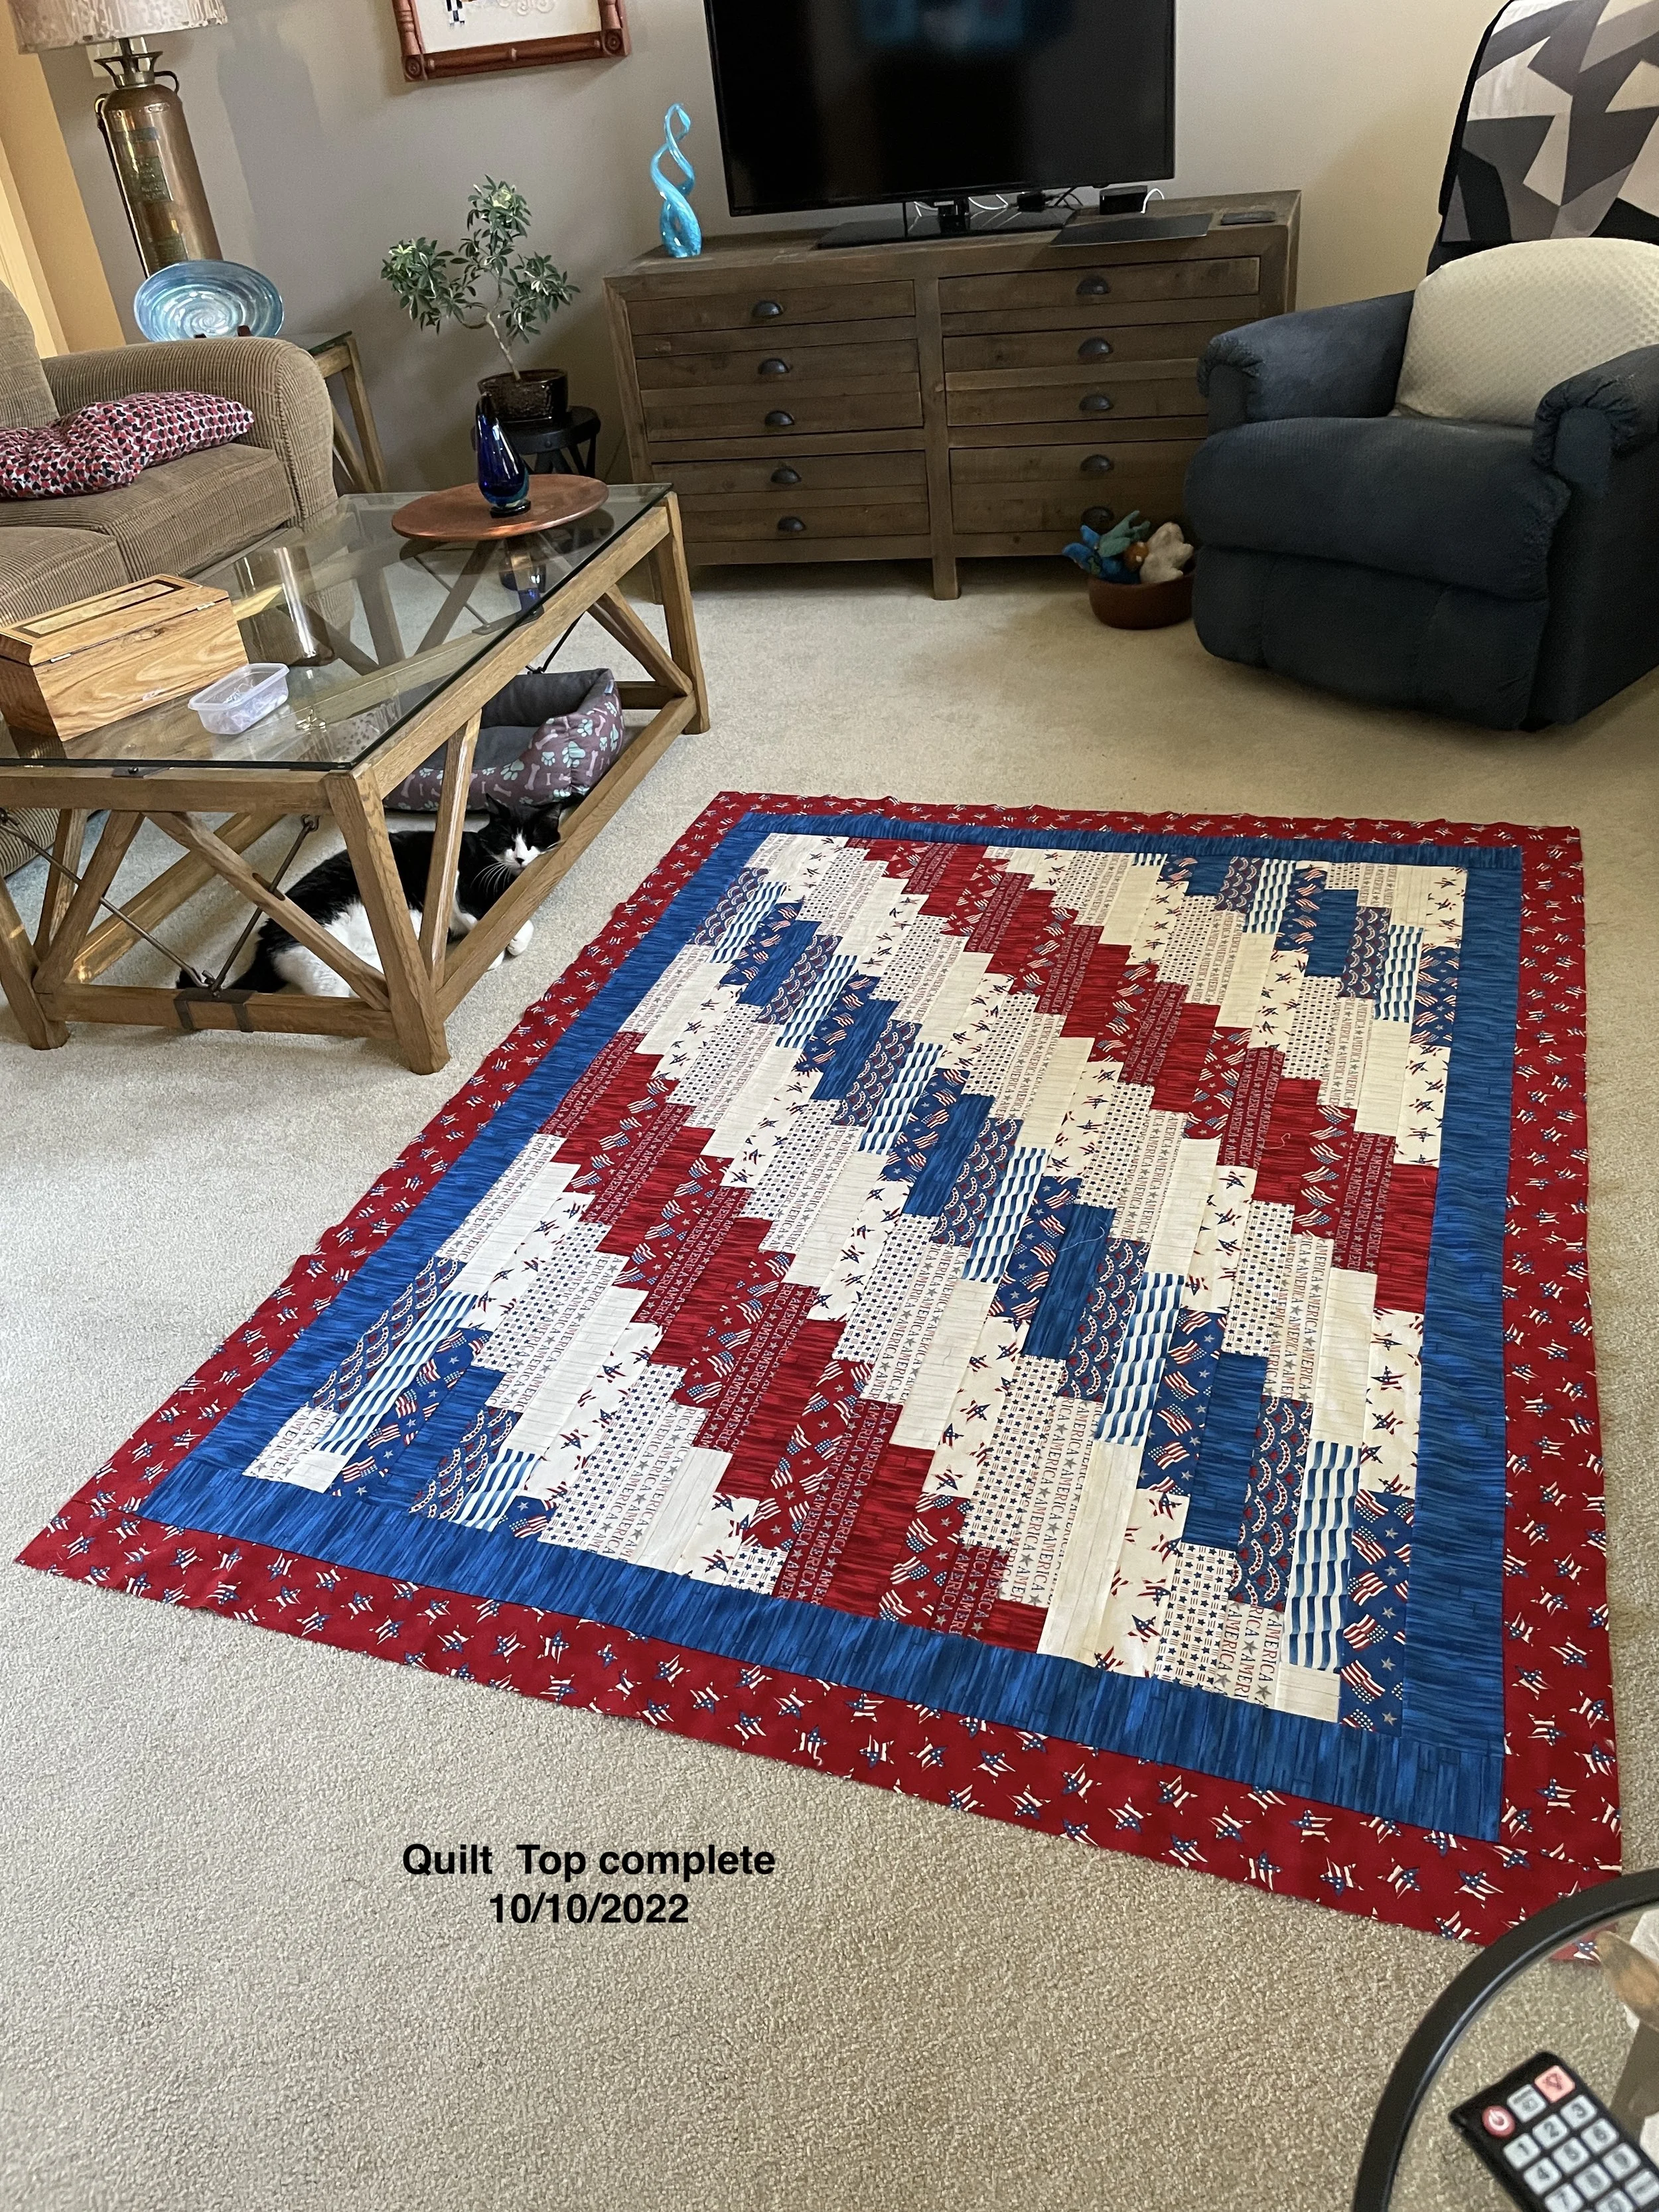
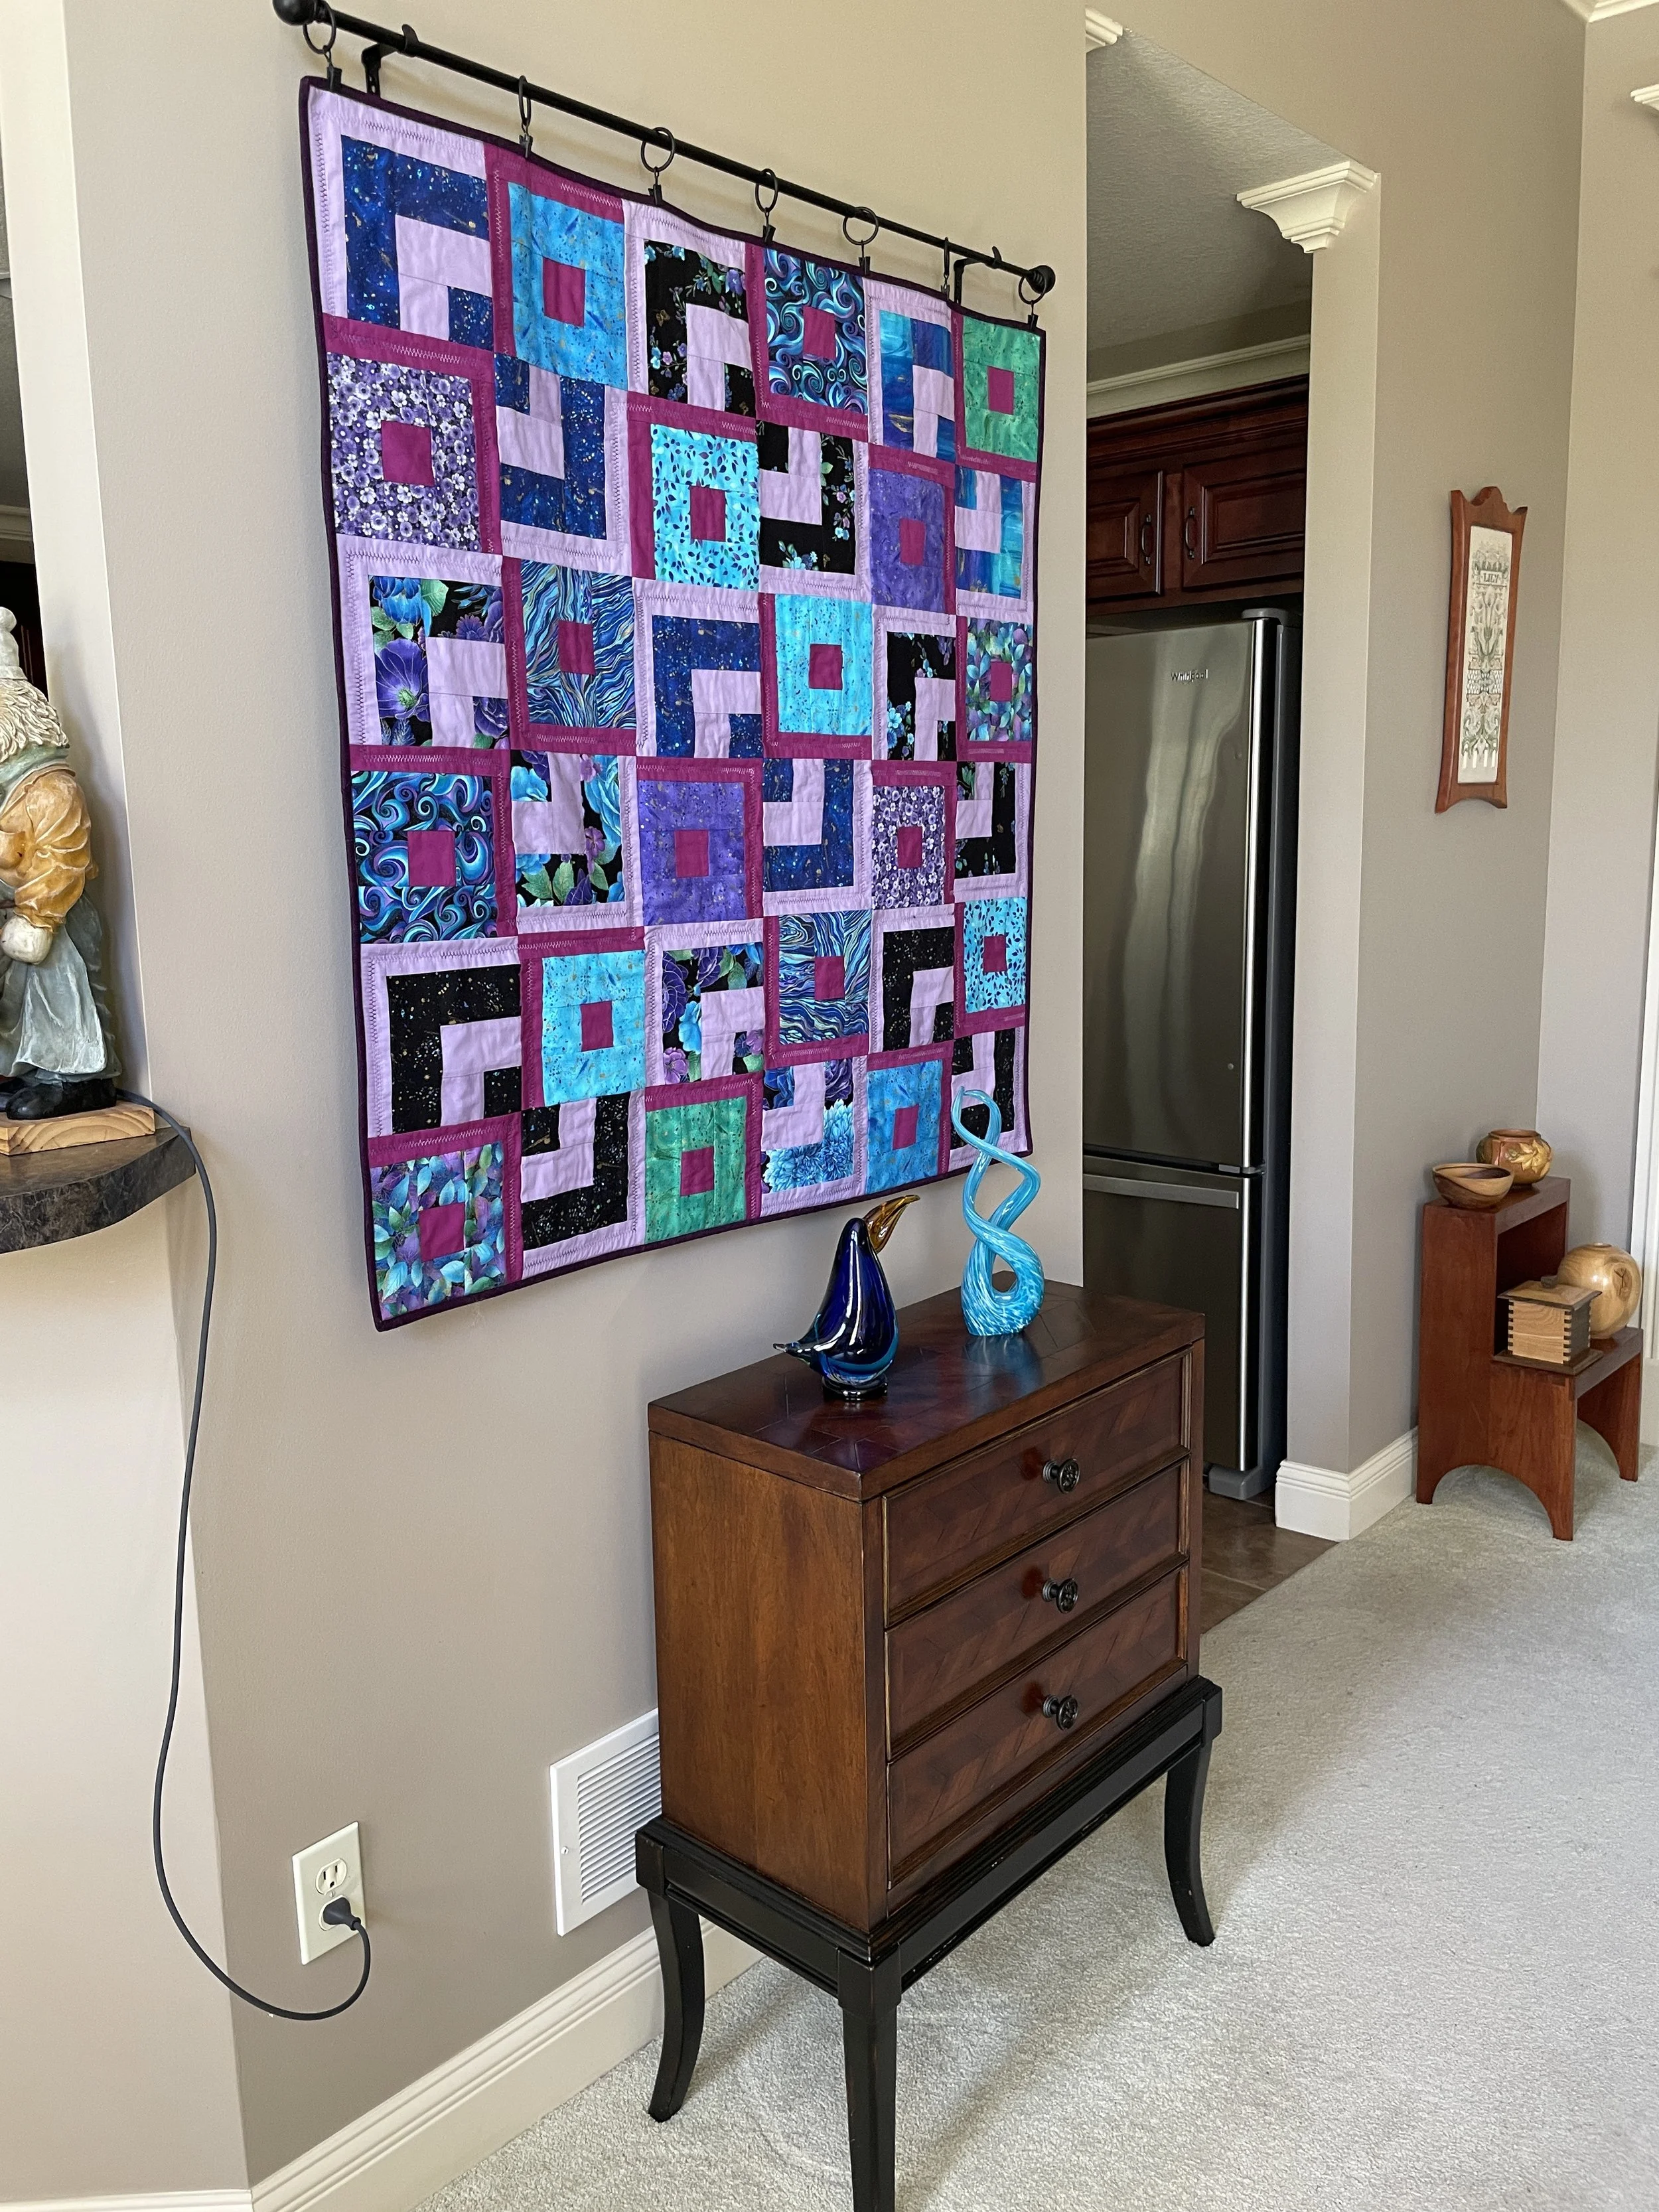
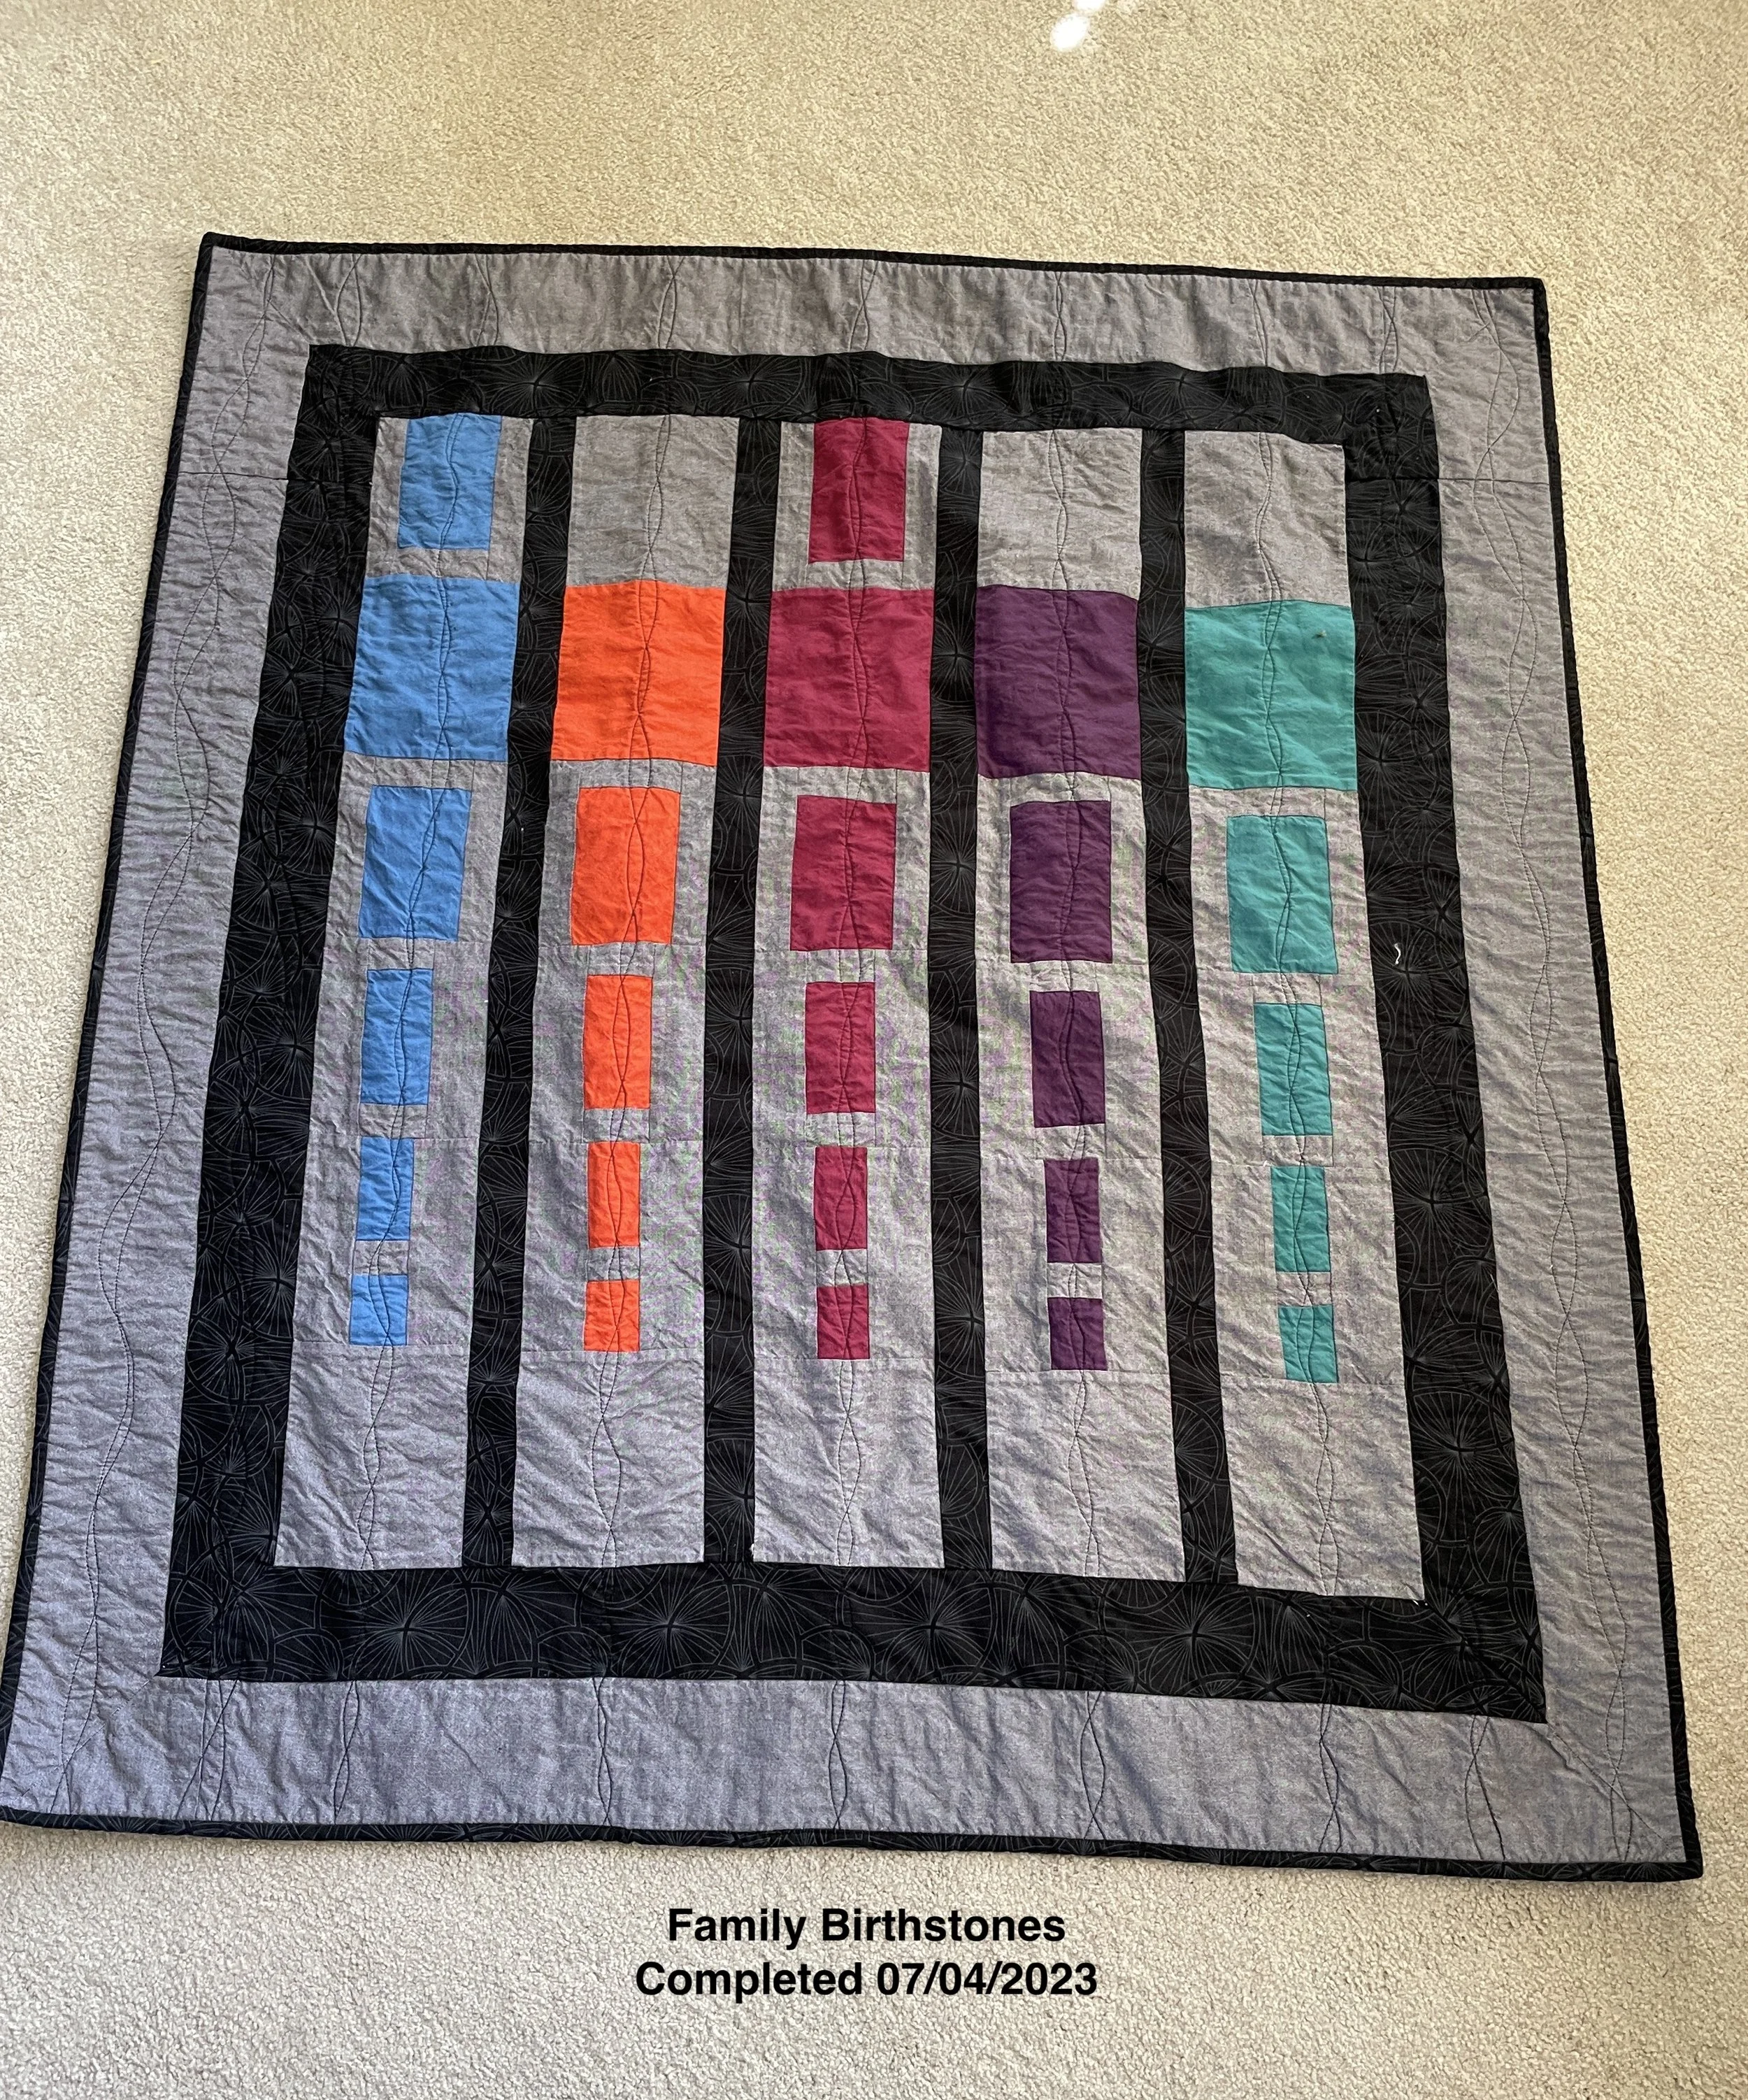
“Family Birthstones” (formally known as “Aftershock” designed by Wren Collective) is complete. This quilt commemorates my family by using their birthstones as the colors. I think the double borders with mitered corners is effective and I kept the quilting simple. Overall, I’m quite pleased.

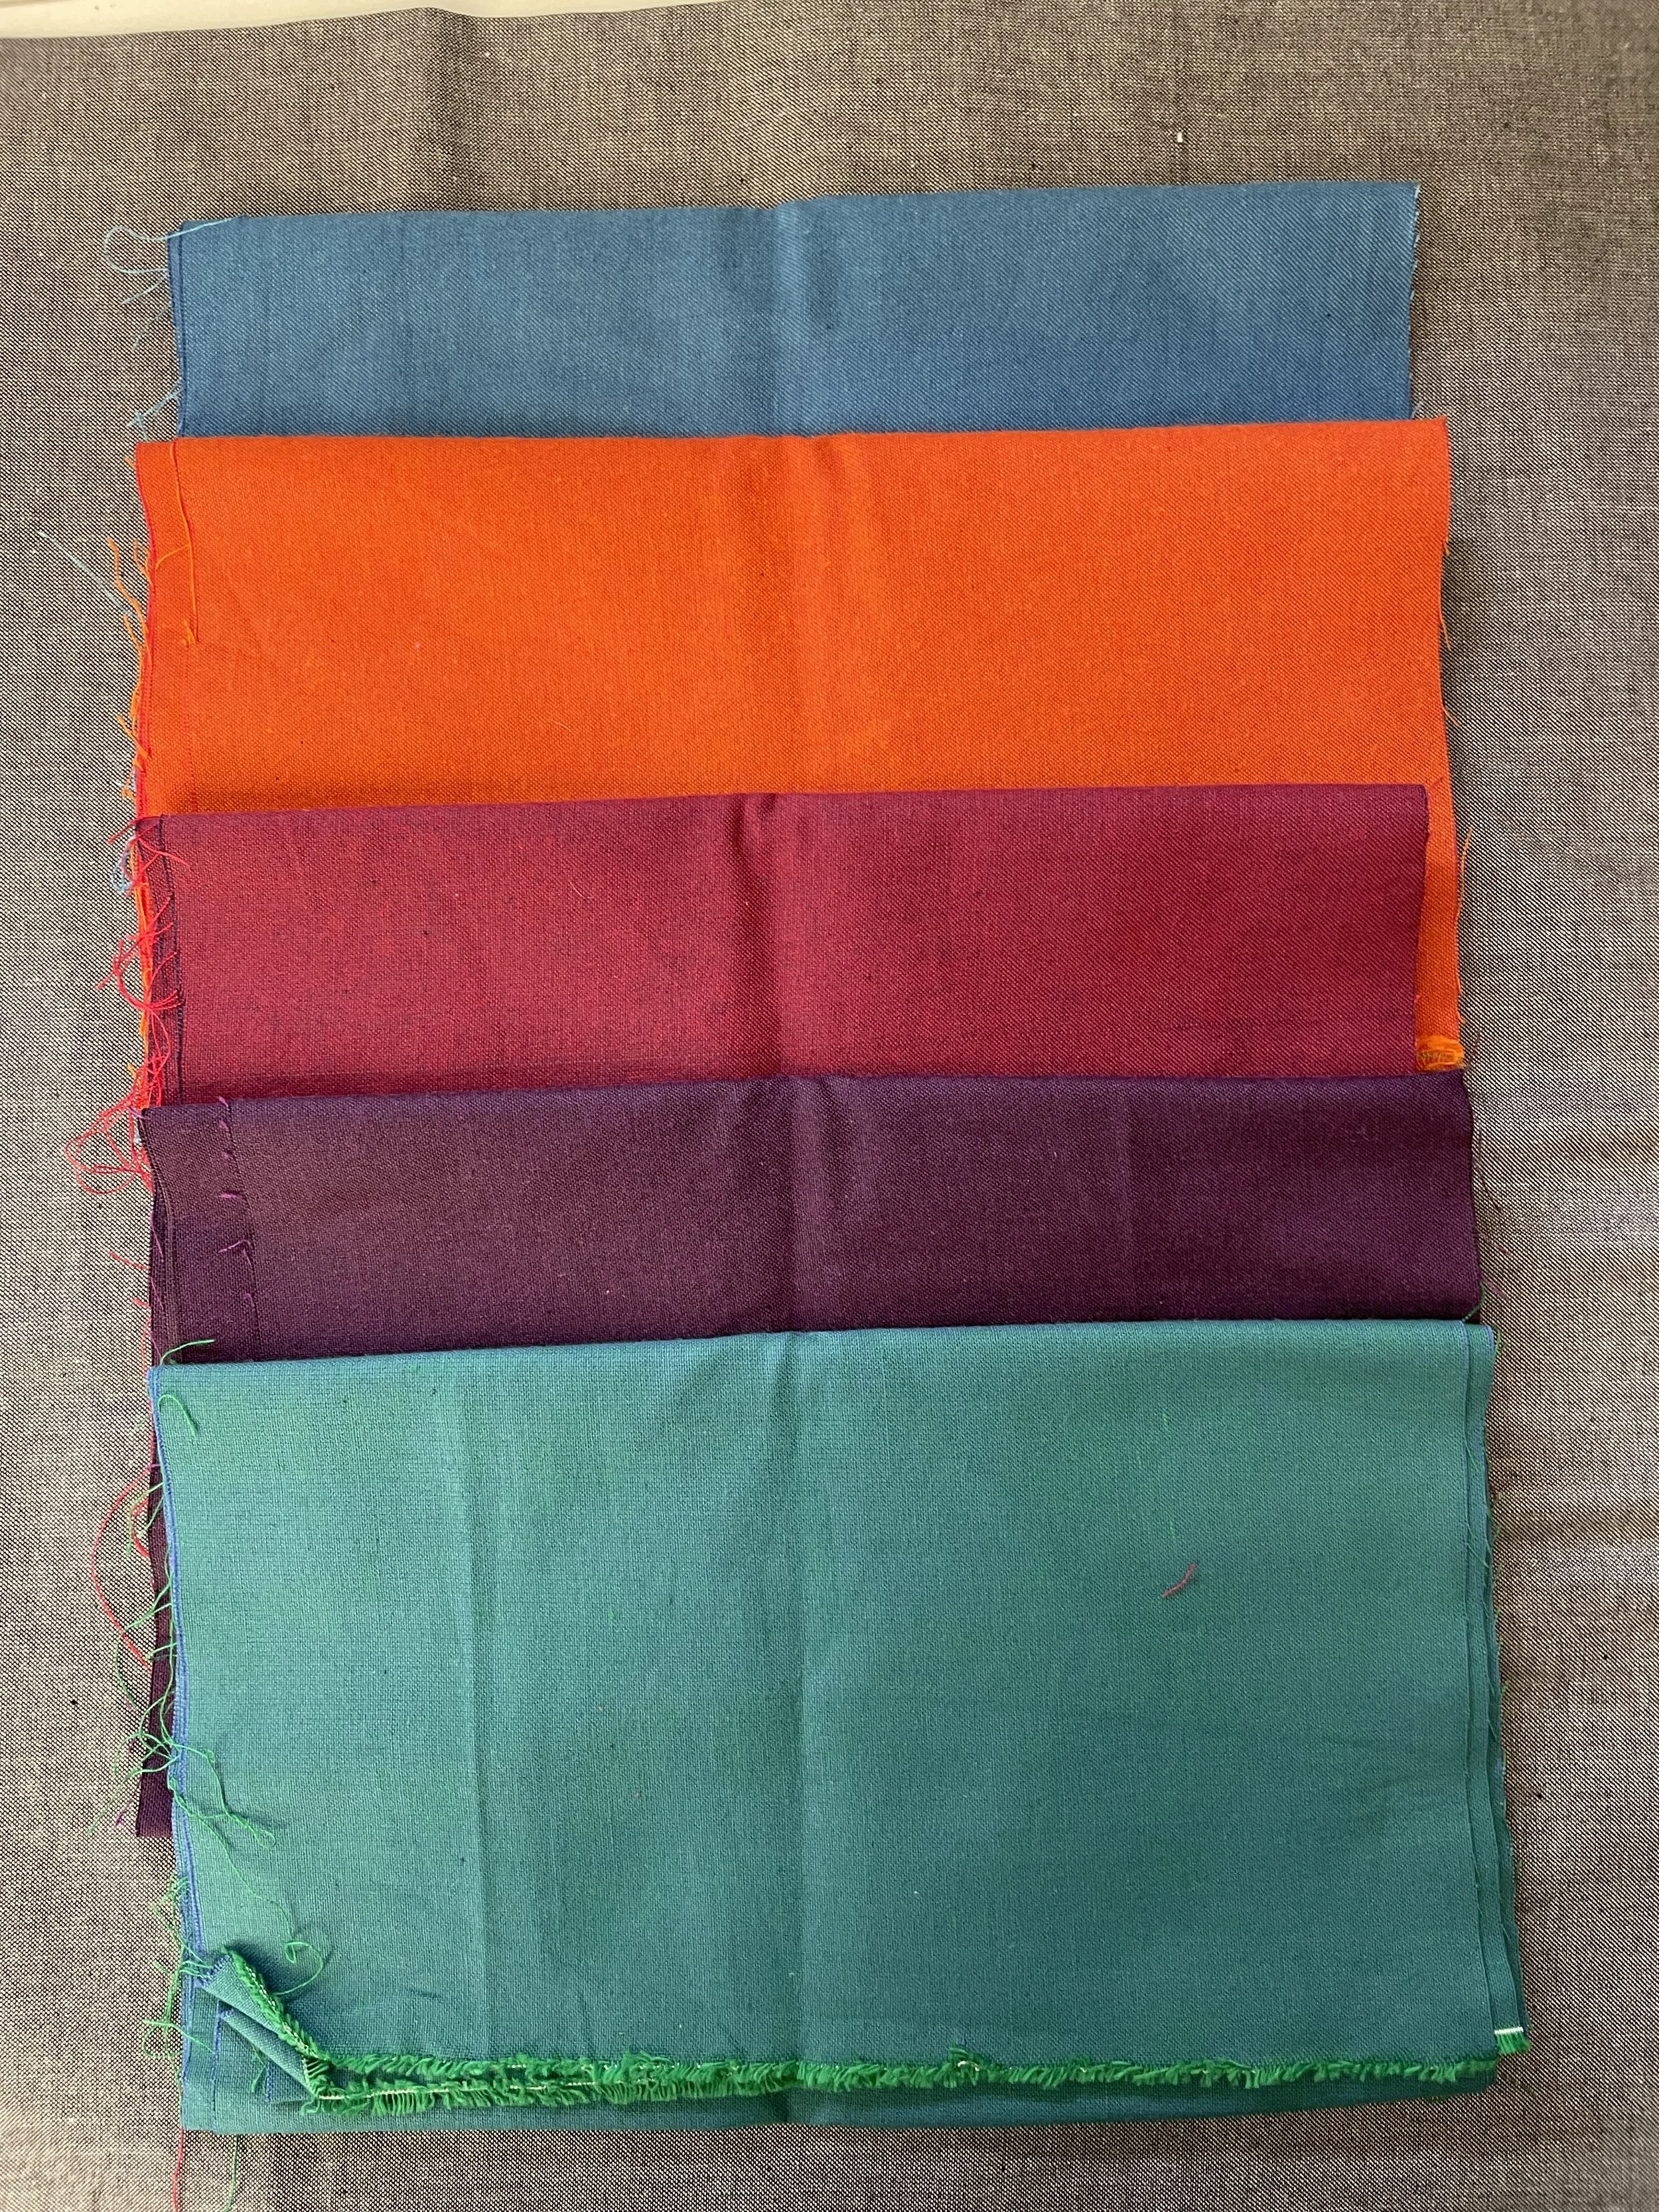
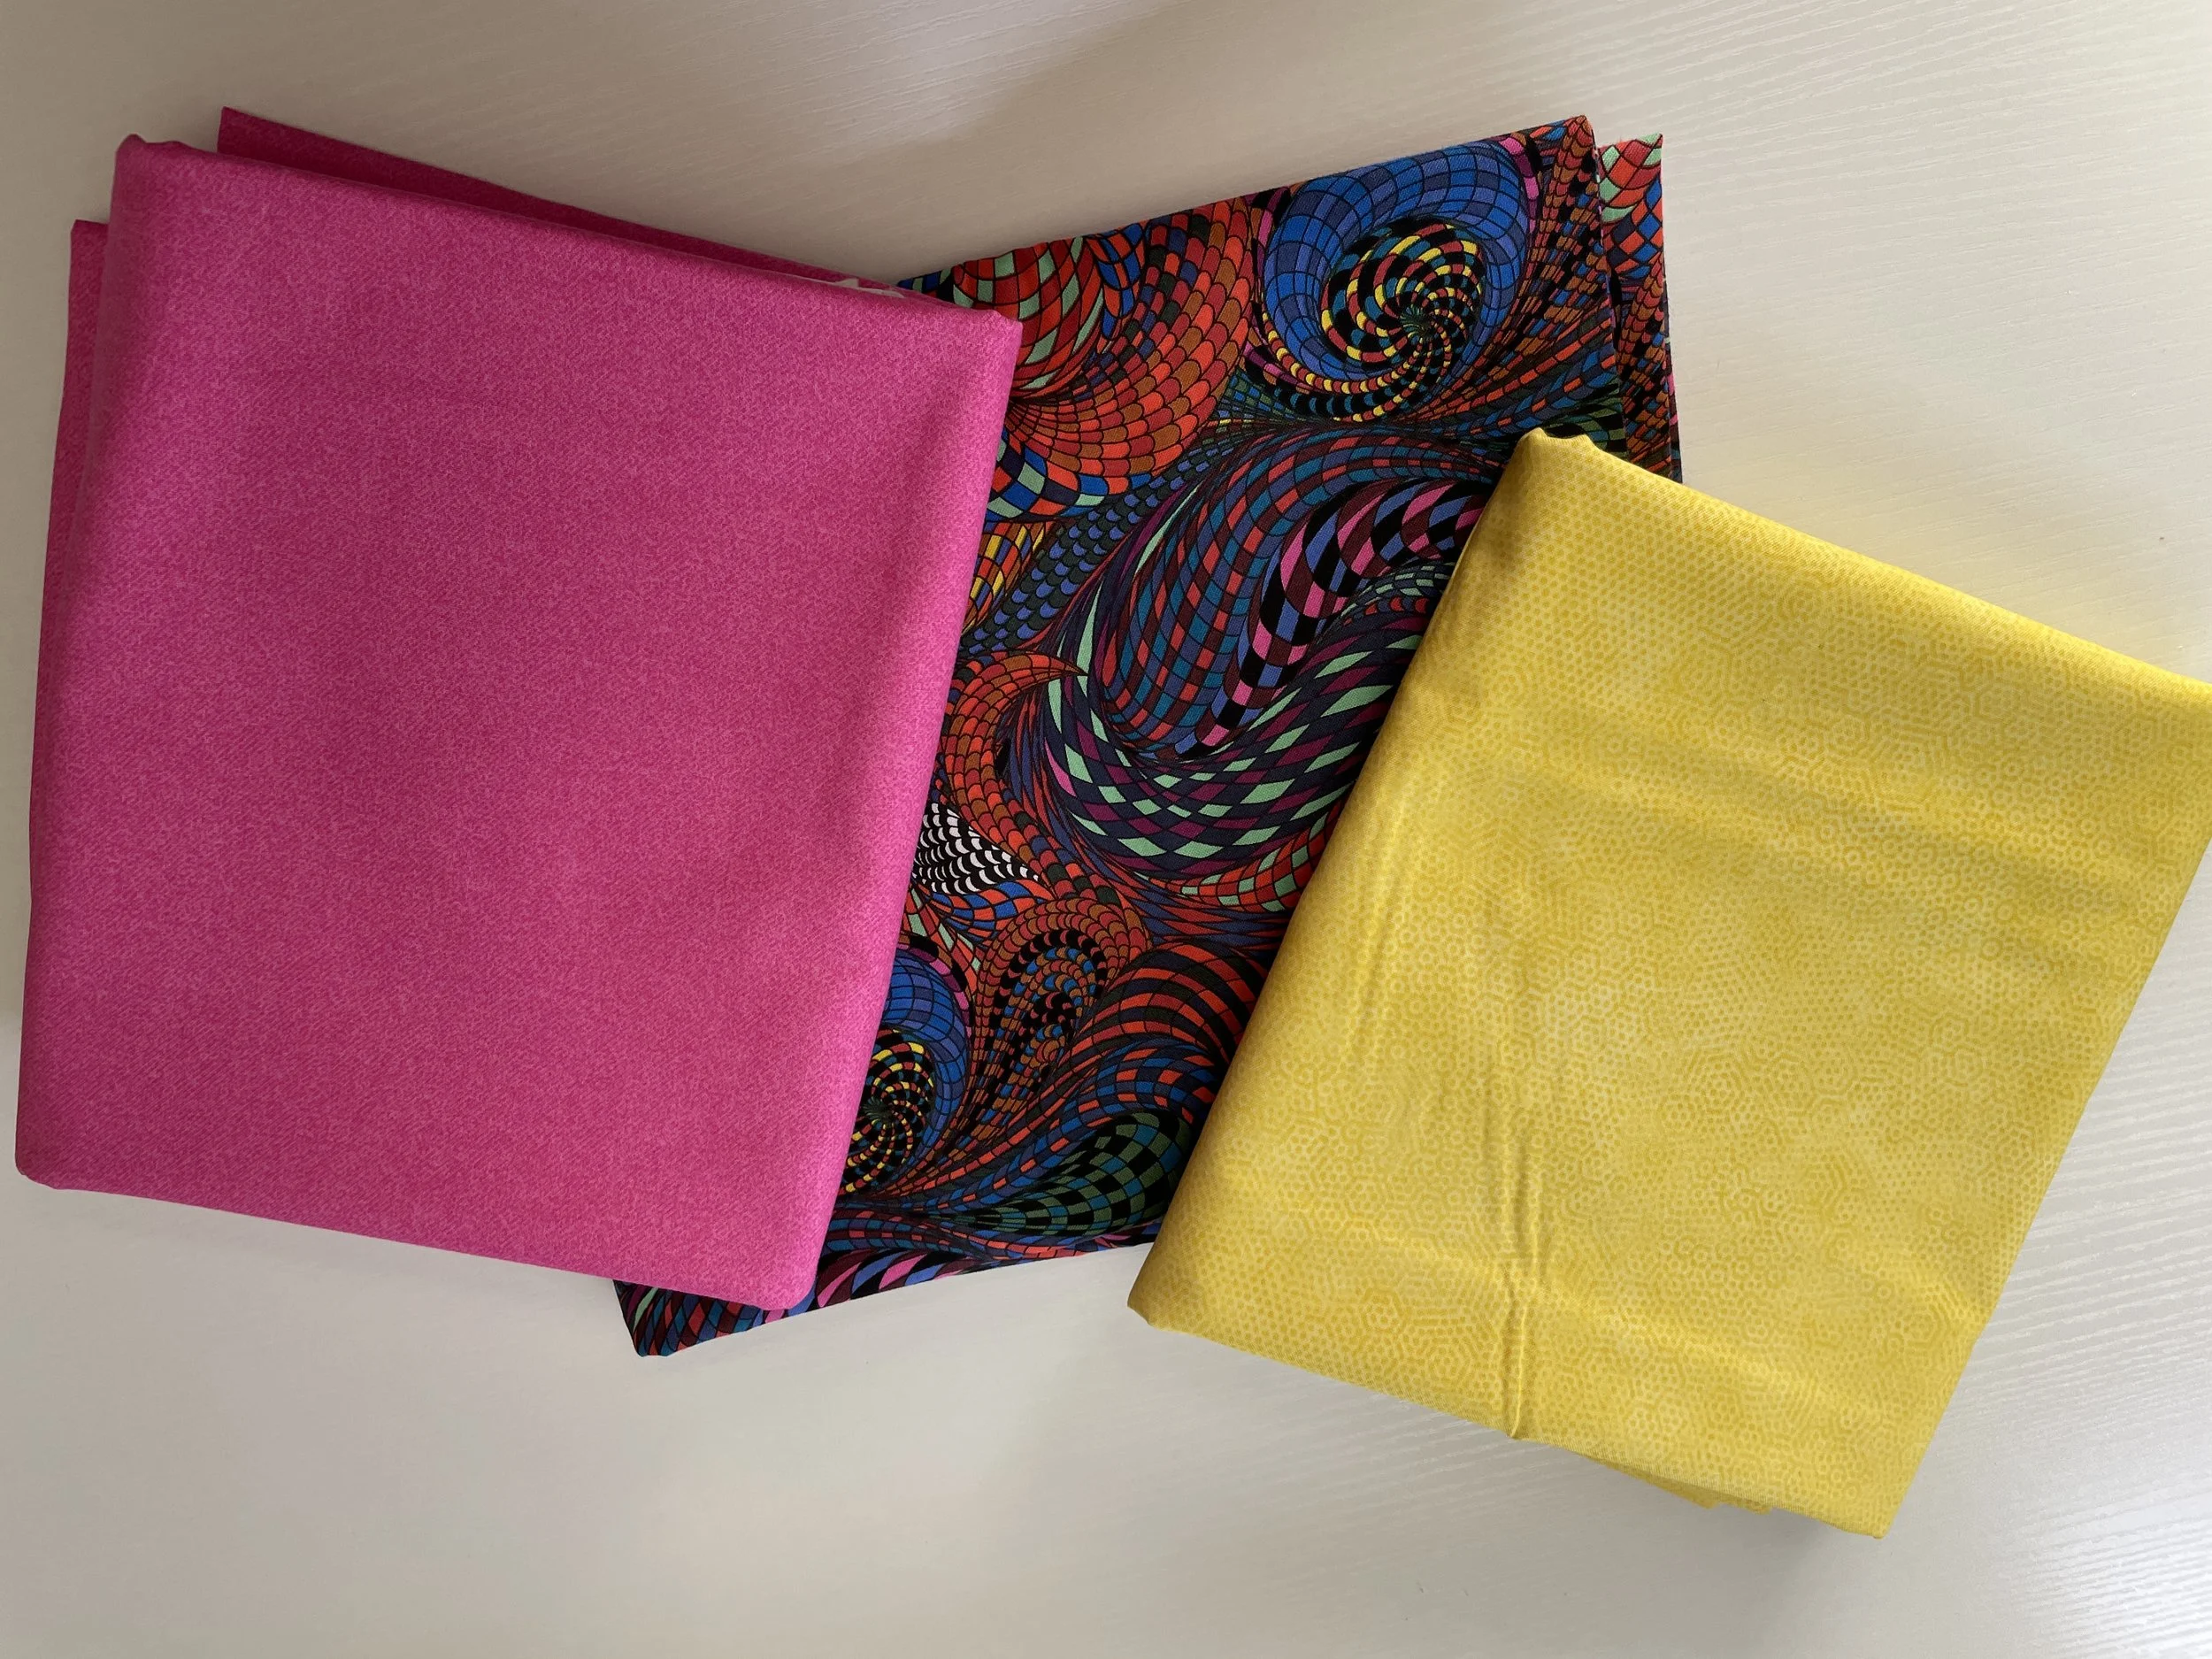
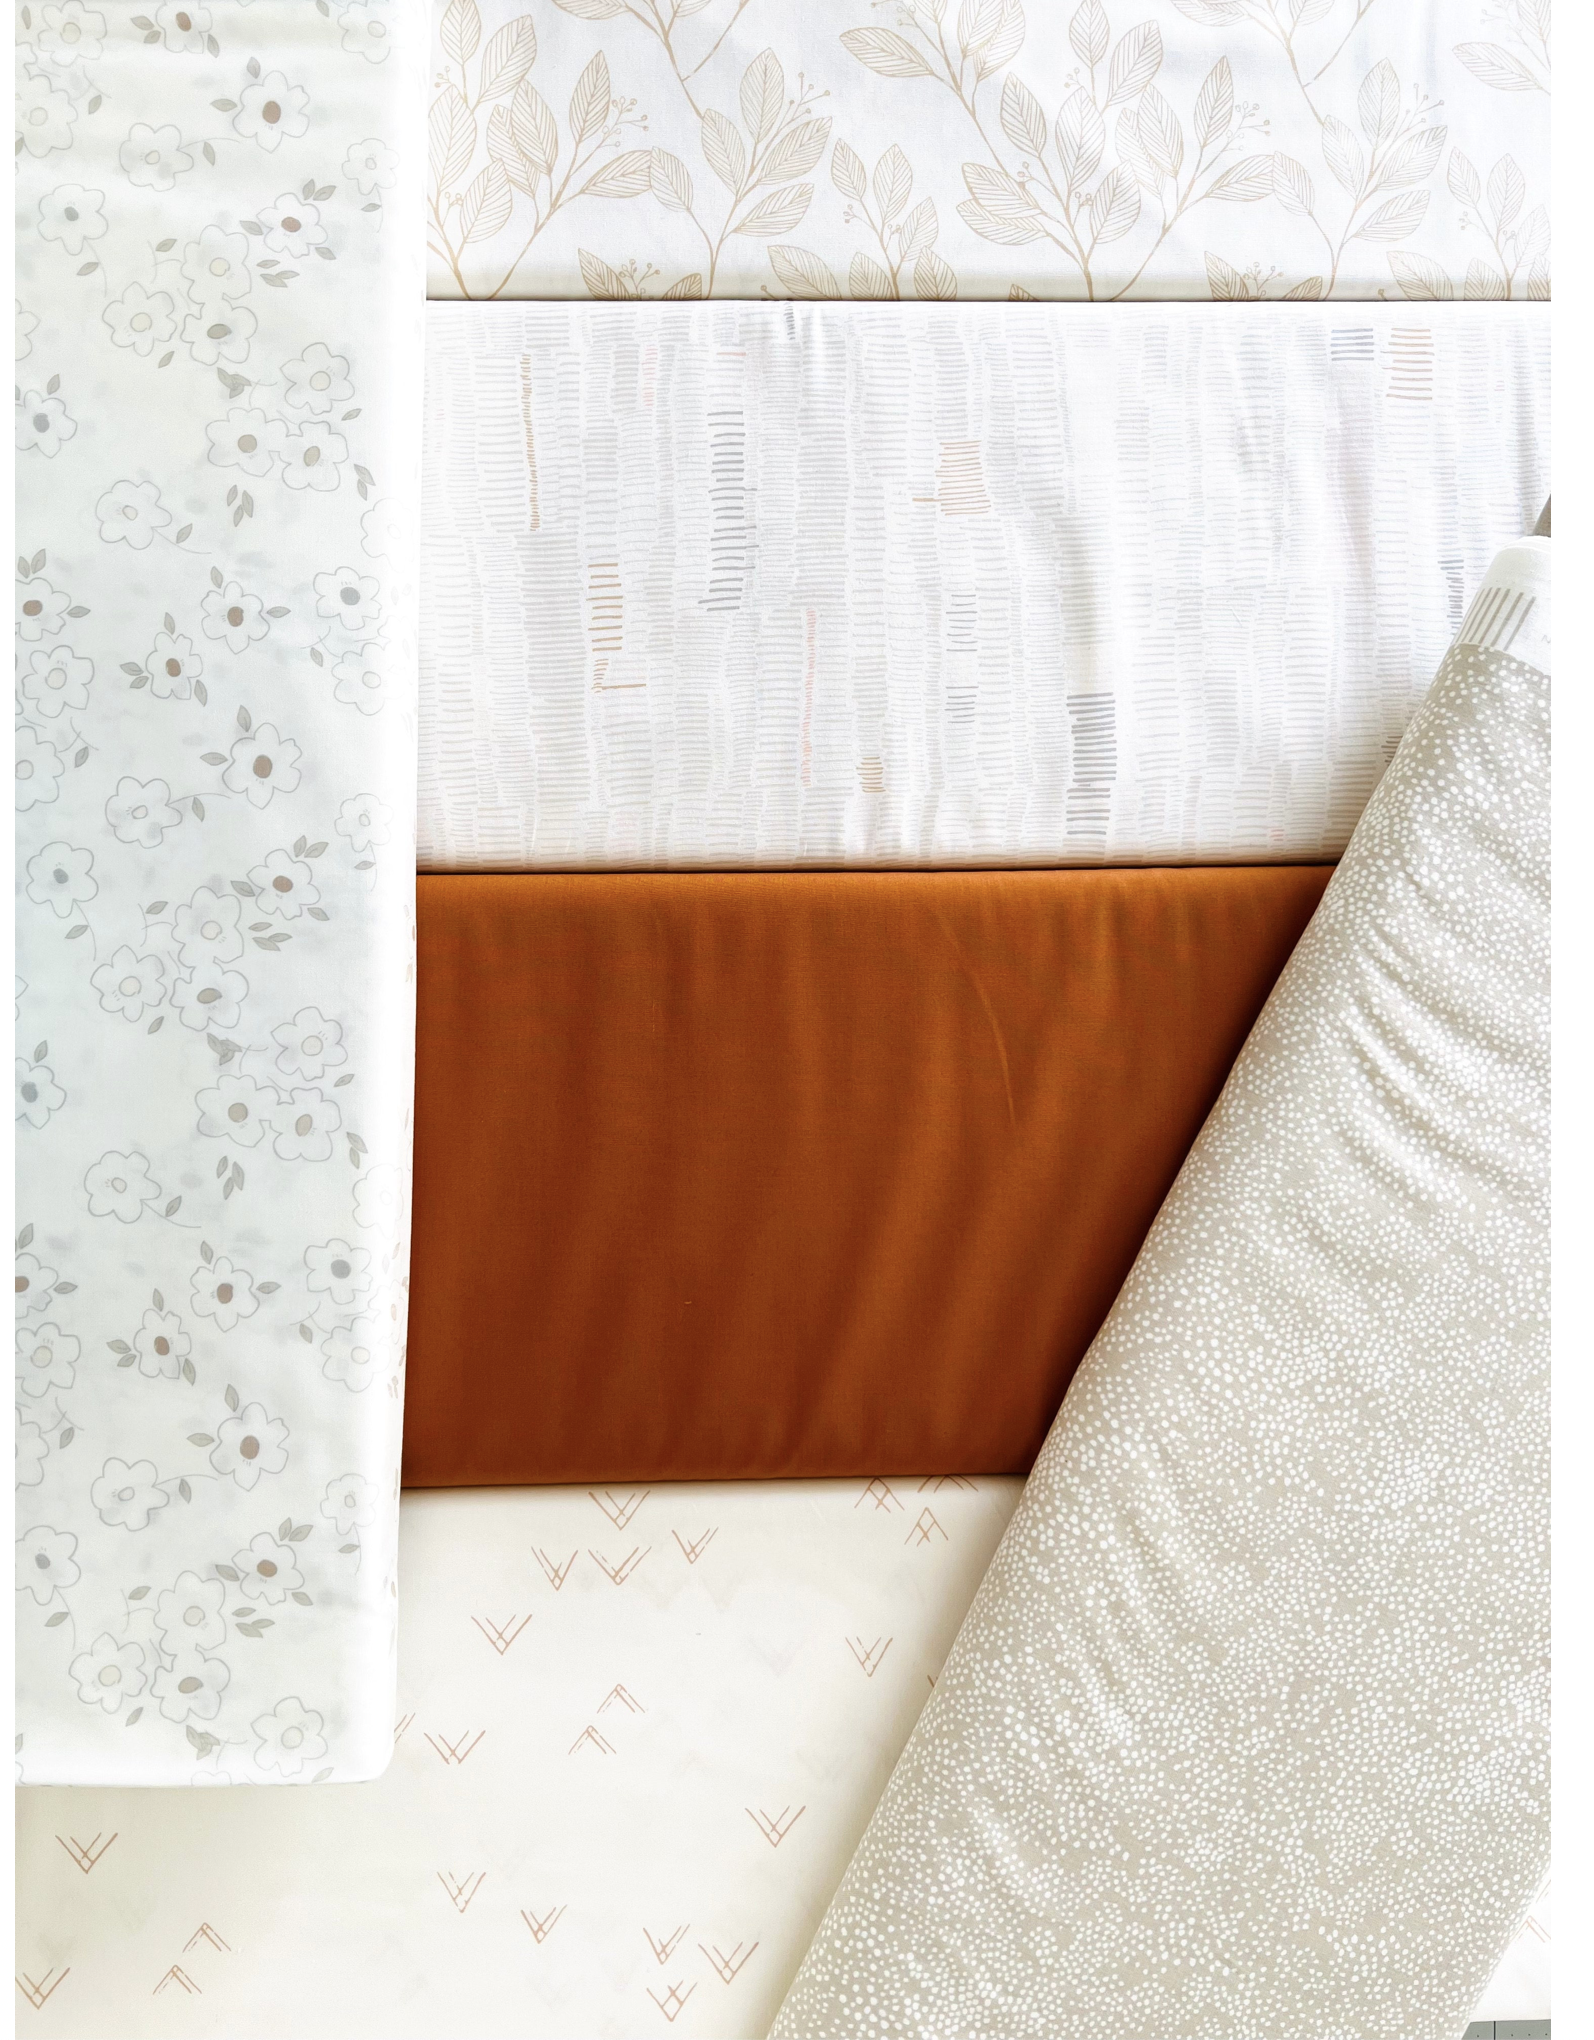
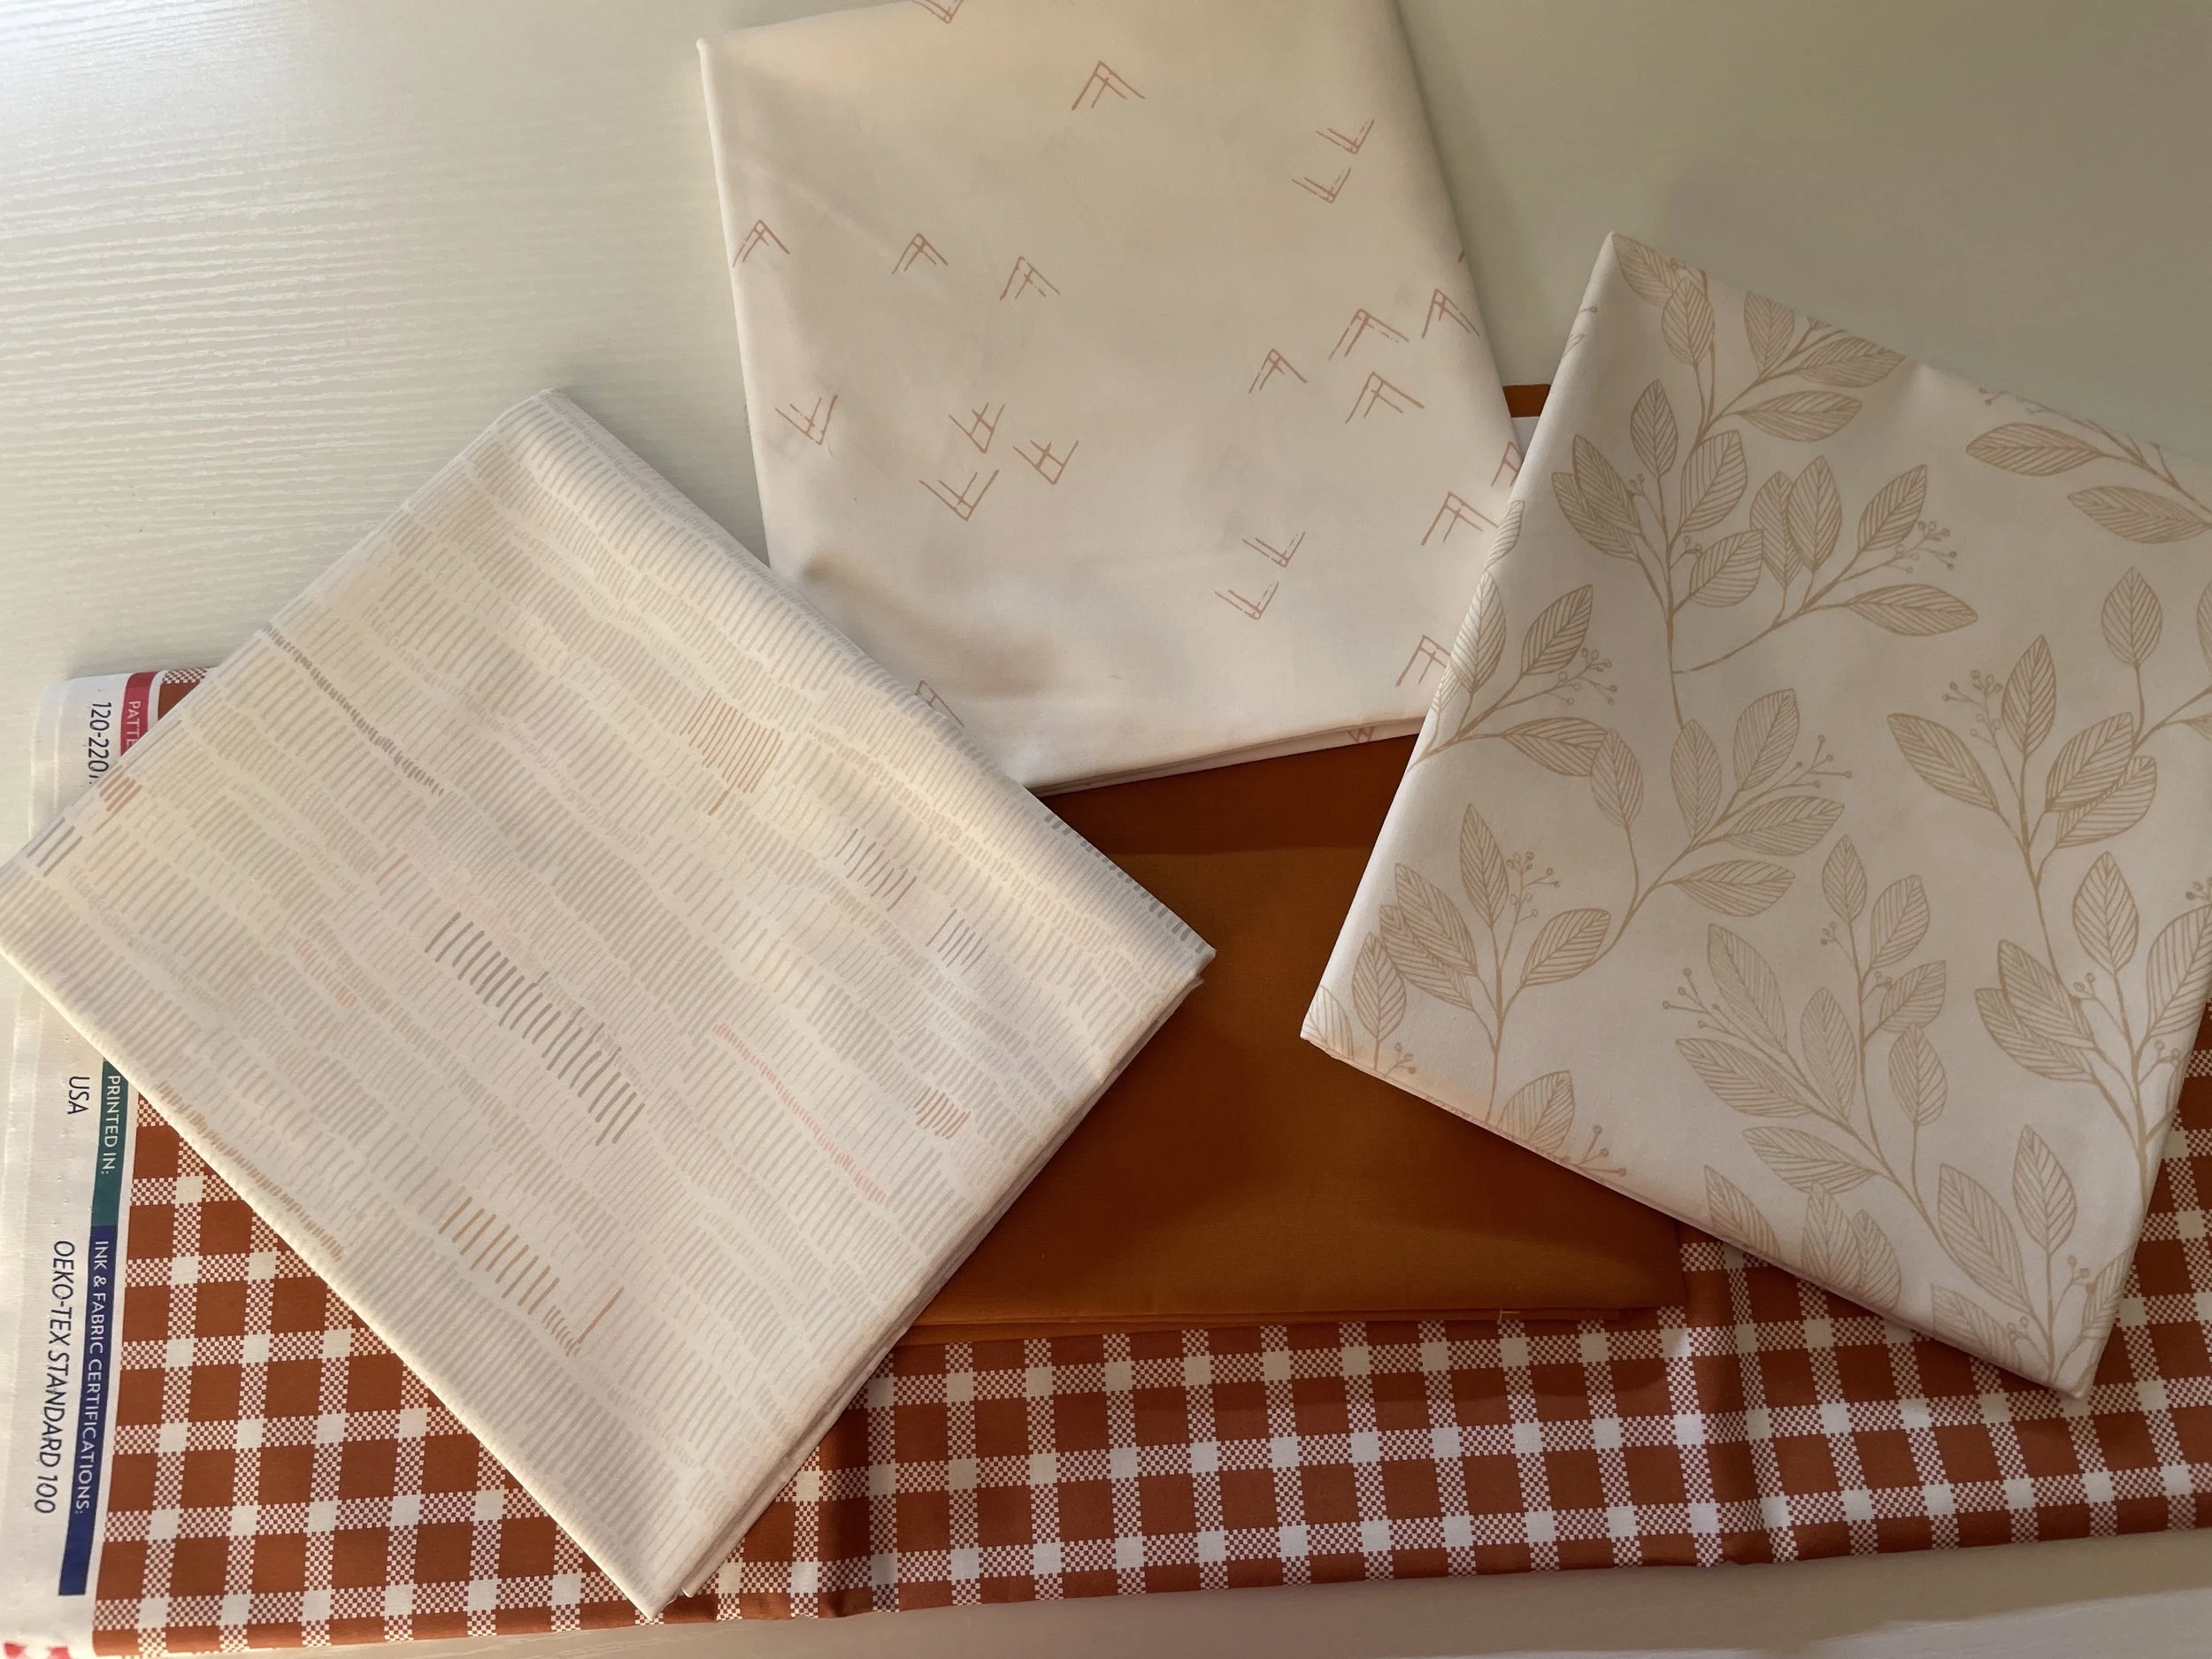
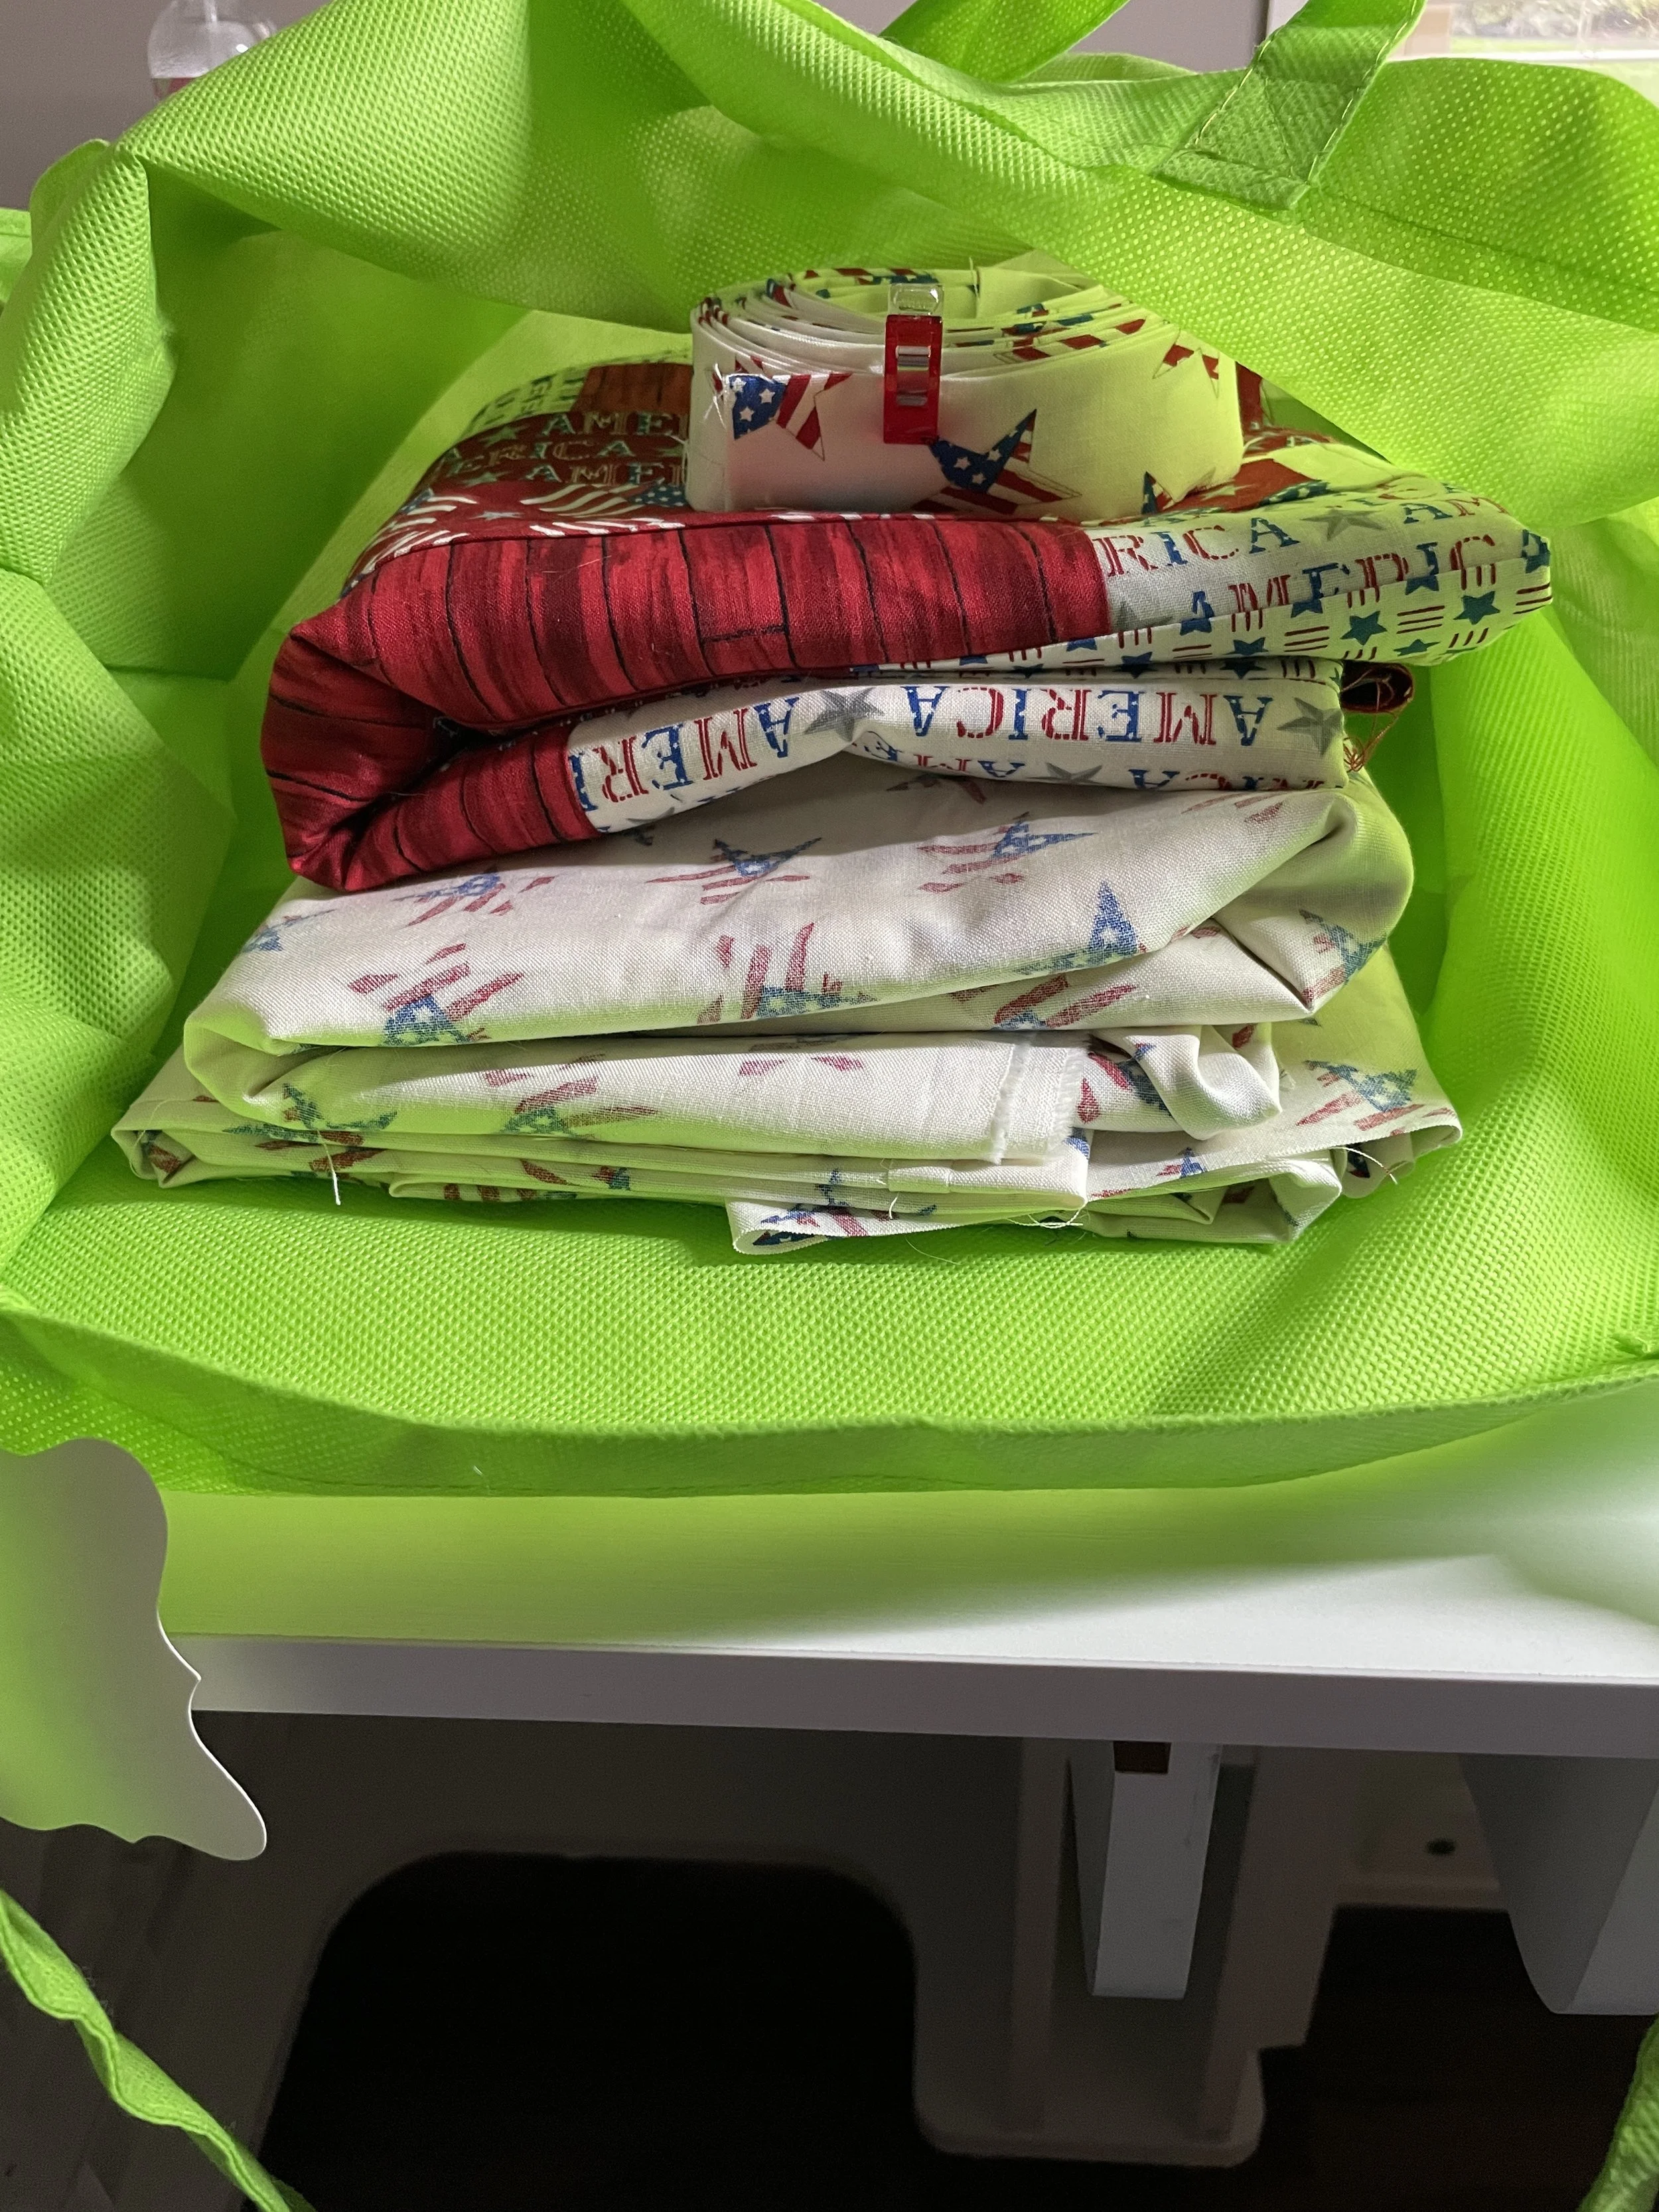
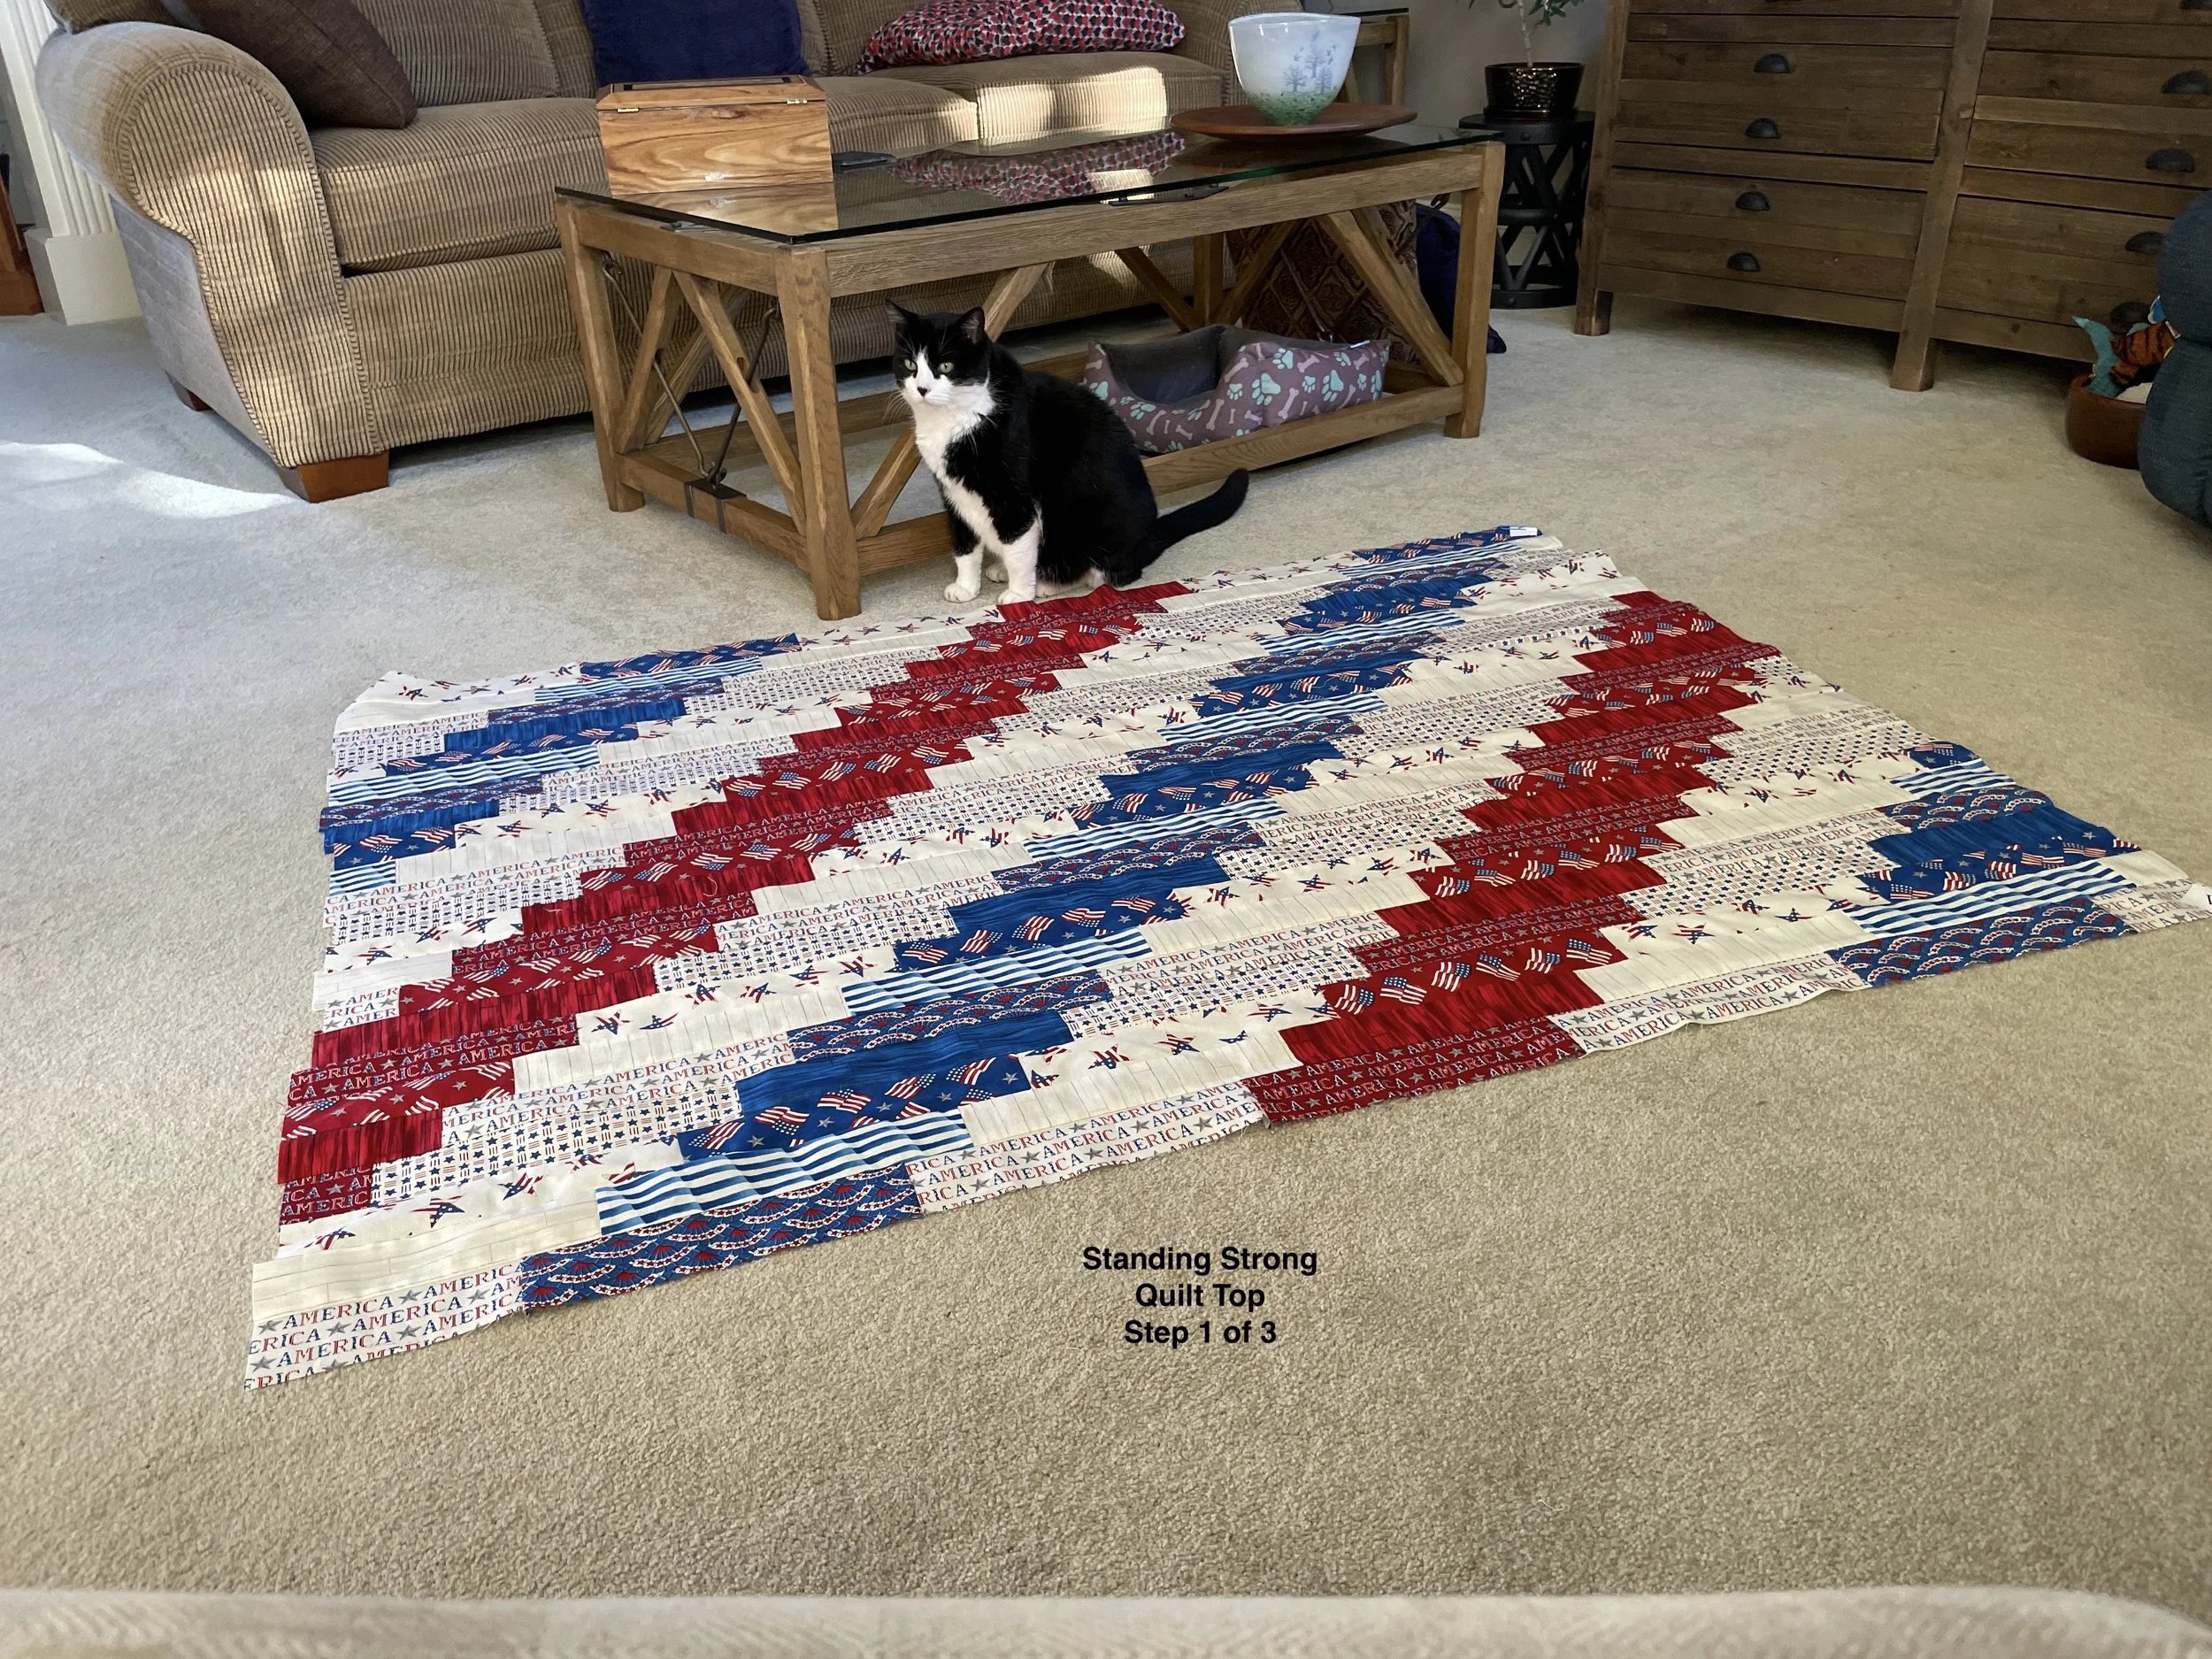
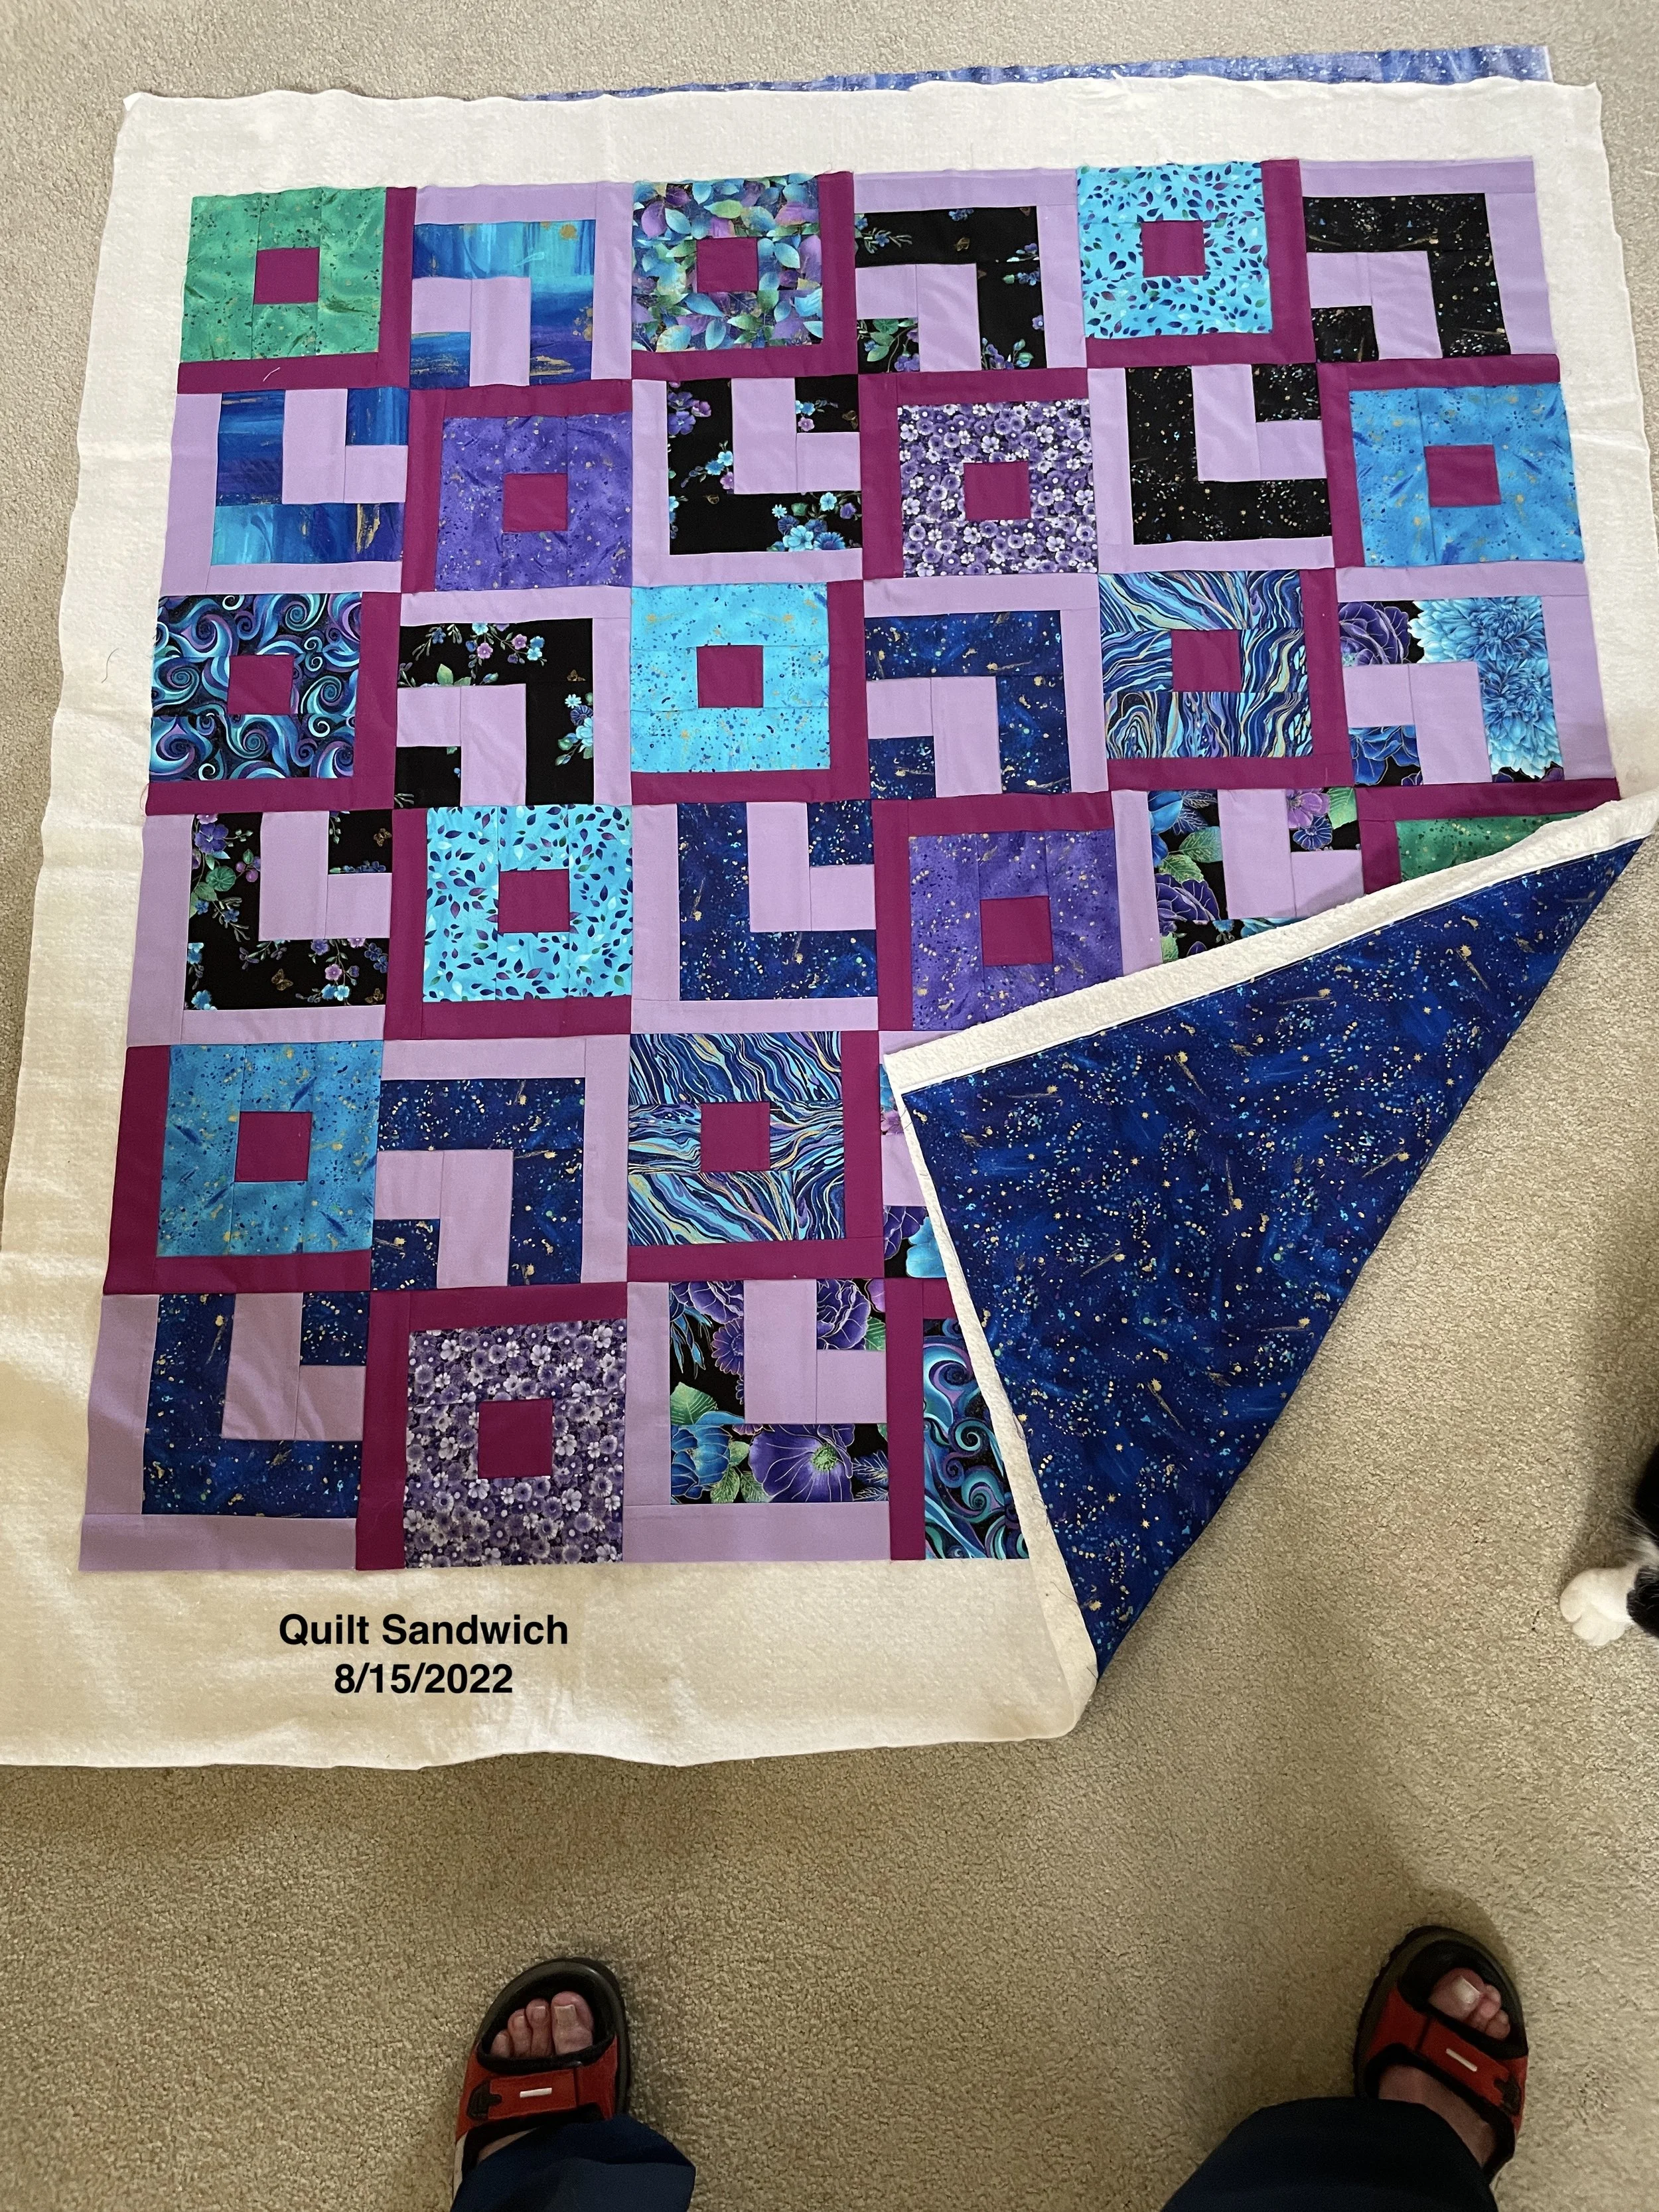
My next quilt is a “palate cleanser” - a simple quilt using a jelly roll (2 1/2” by width of fabric) of fabric I fell in love with - and I think you’ll be surprised by the fabric I chose:

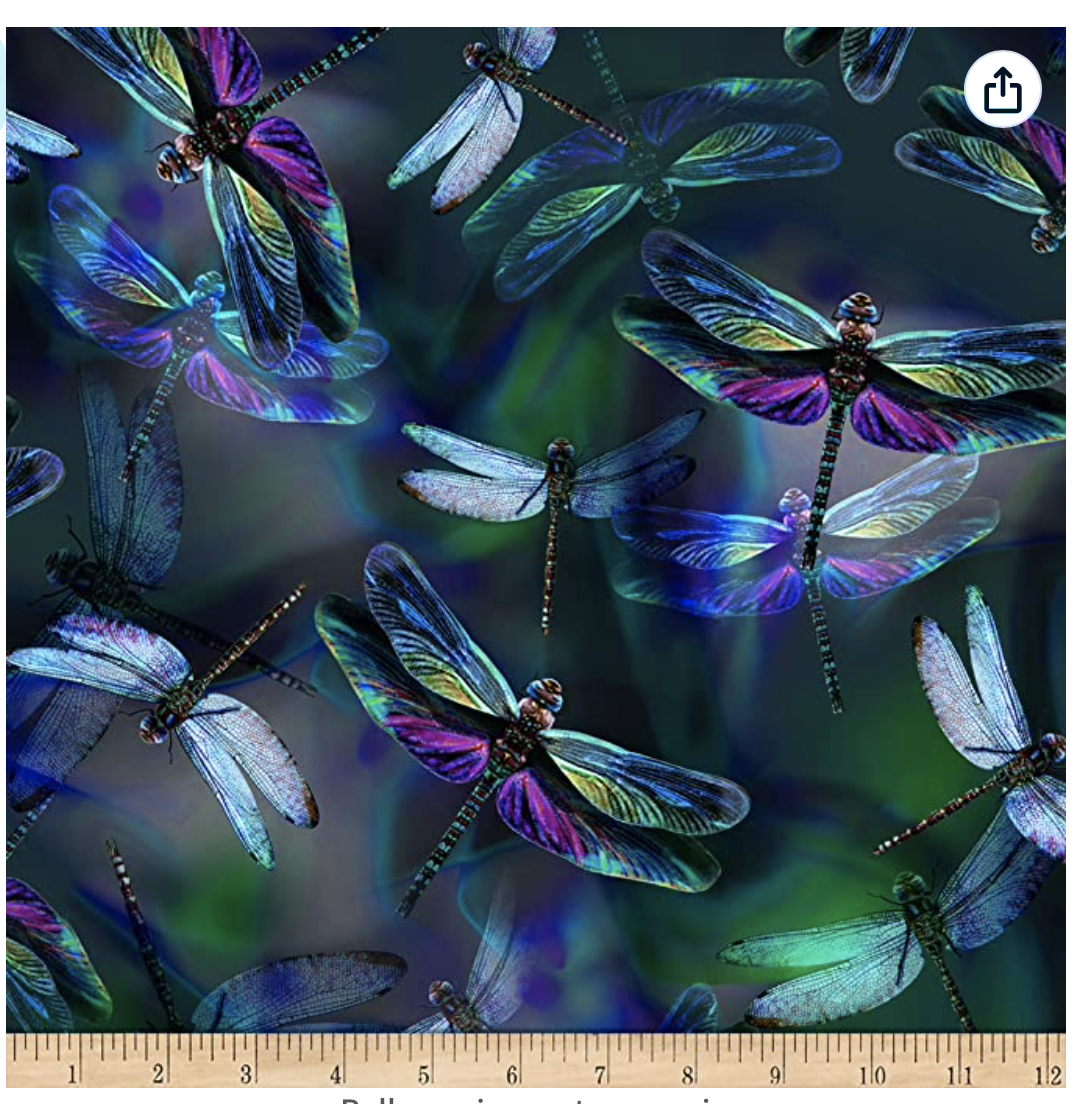
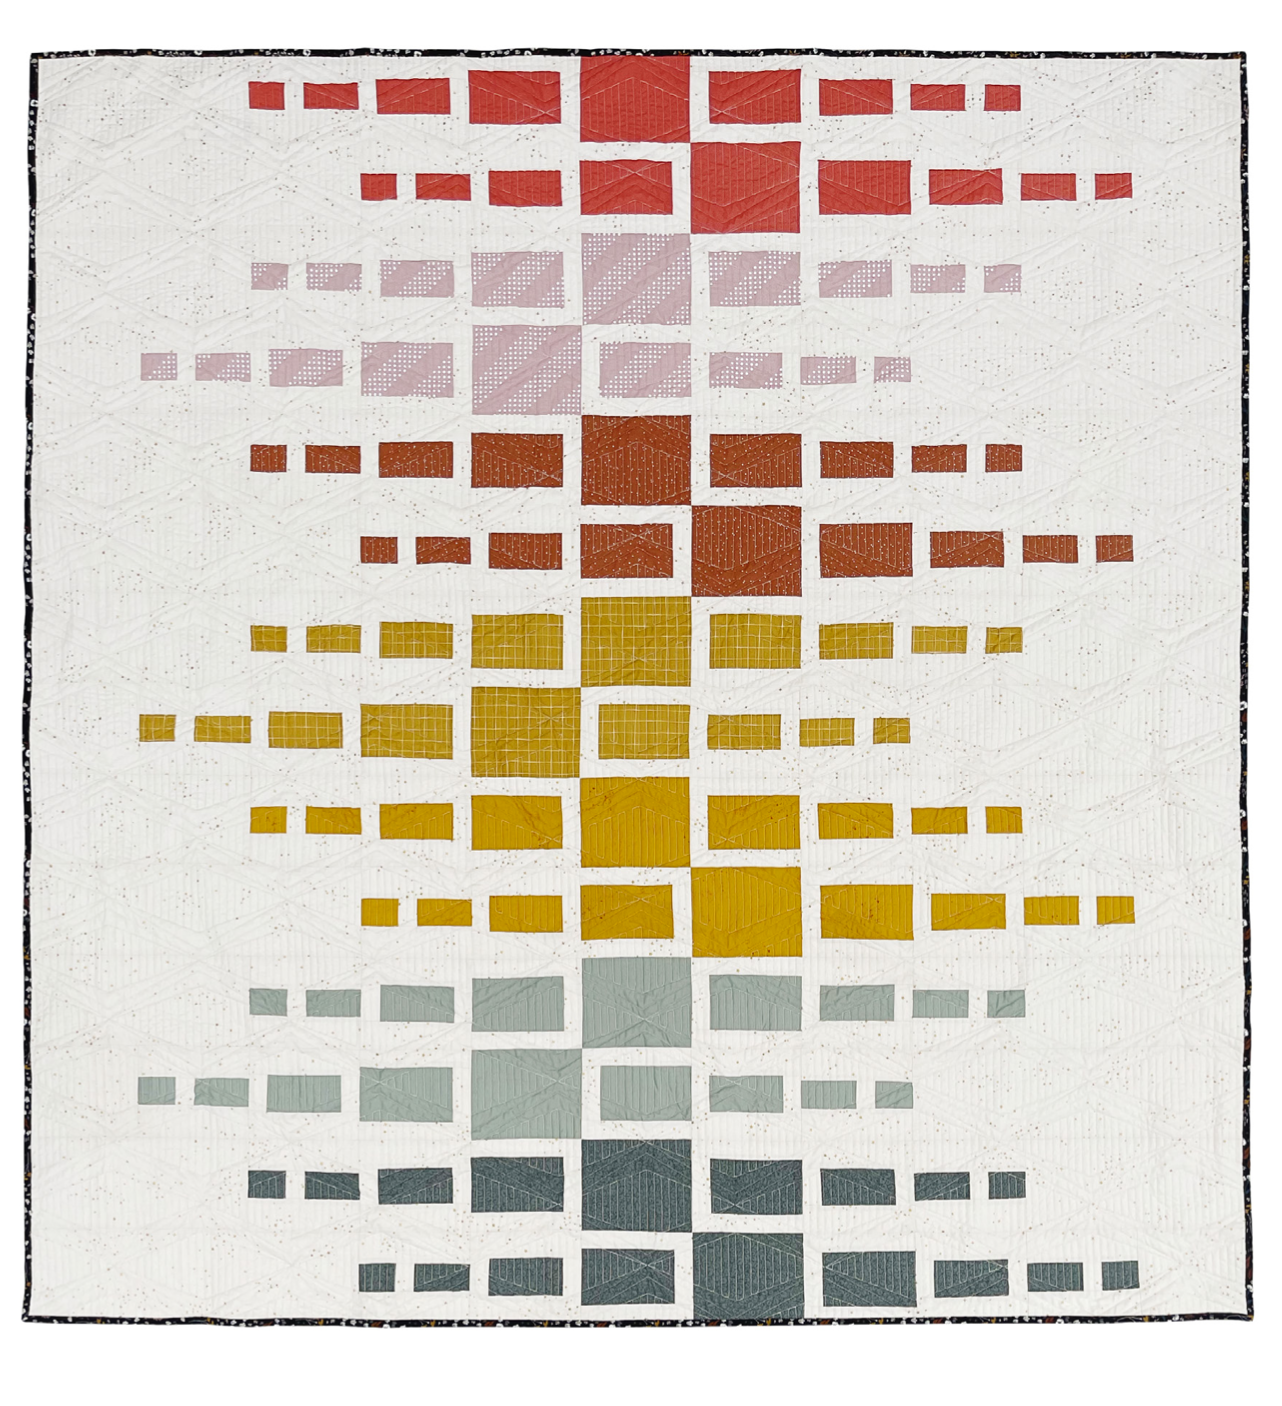
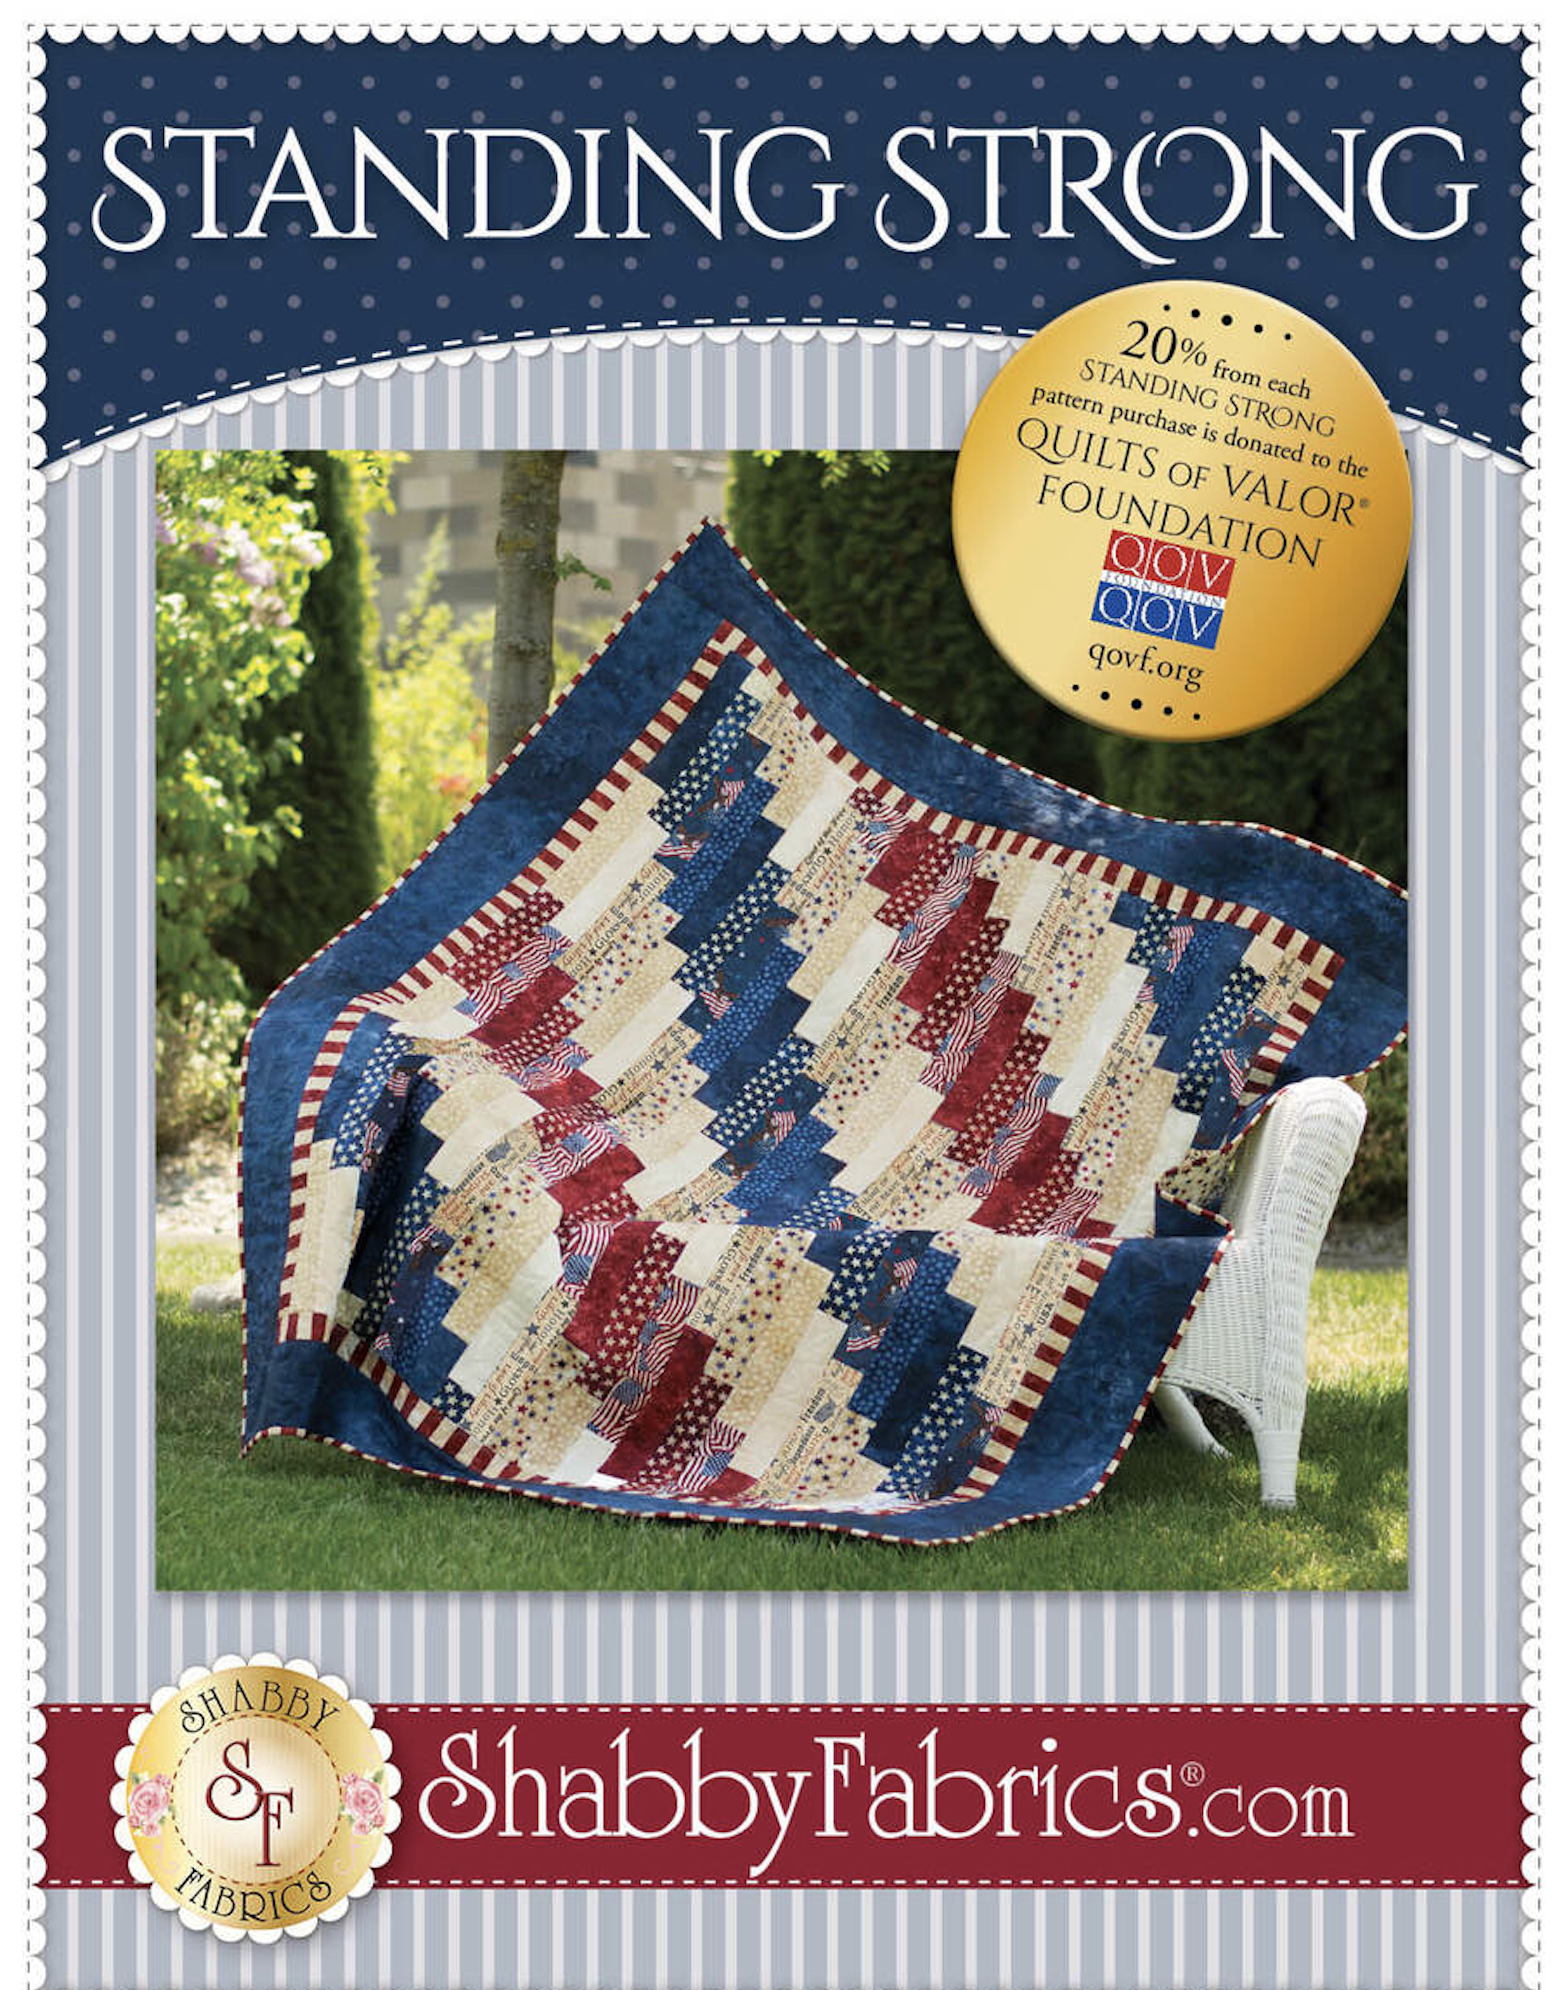
This fabric line is titled “Delilah” designed by Whistler Studios for Wyndham Fabrics. And here’s the inspiration quilt that I liked:

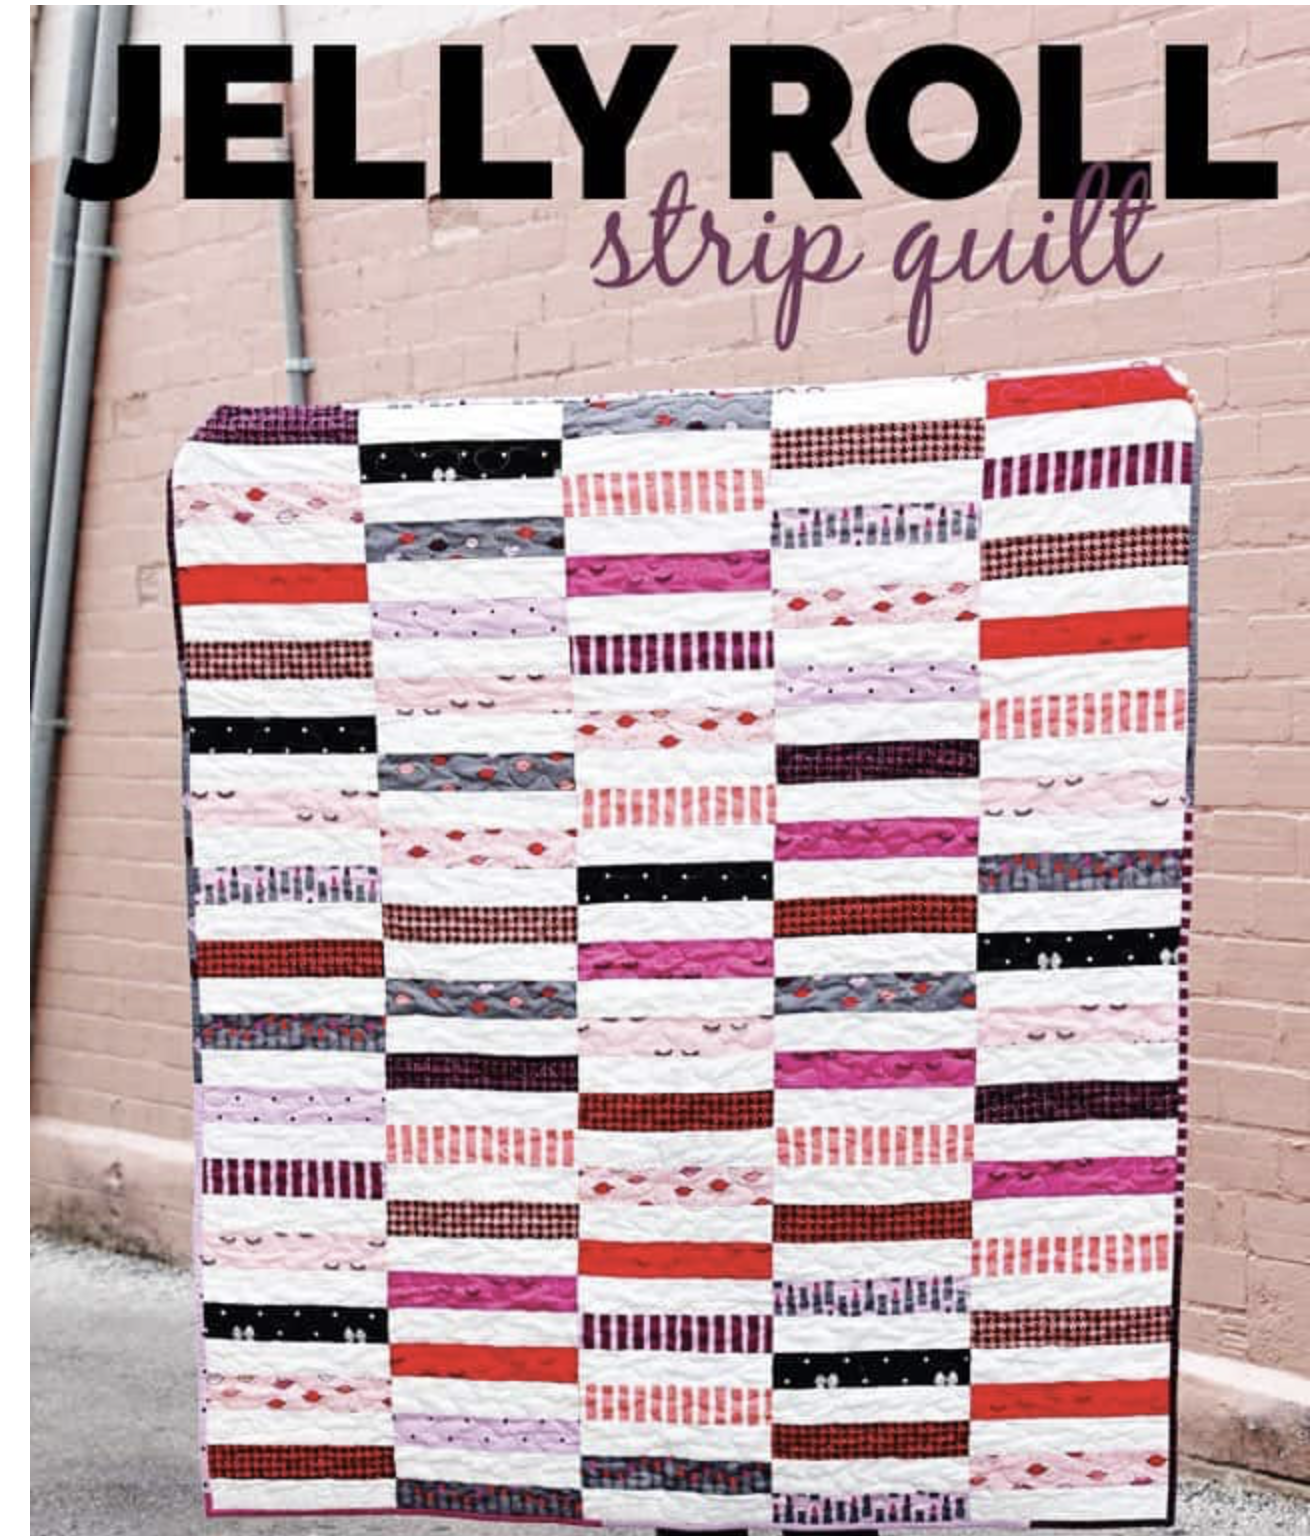
I think I’ll be using sky blue ombre as the background color (her background fabric above is white).

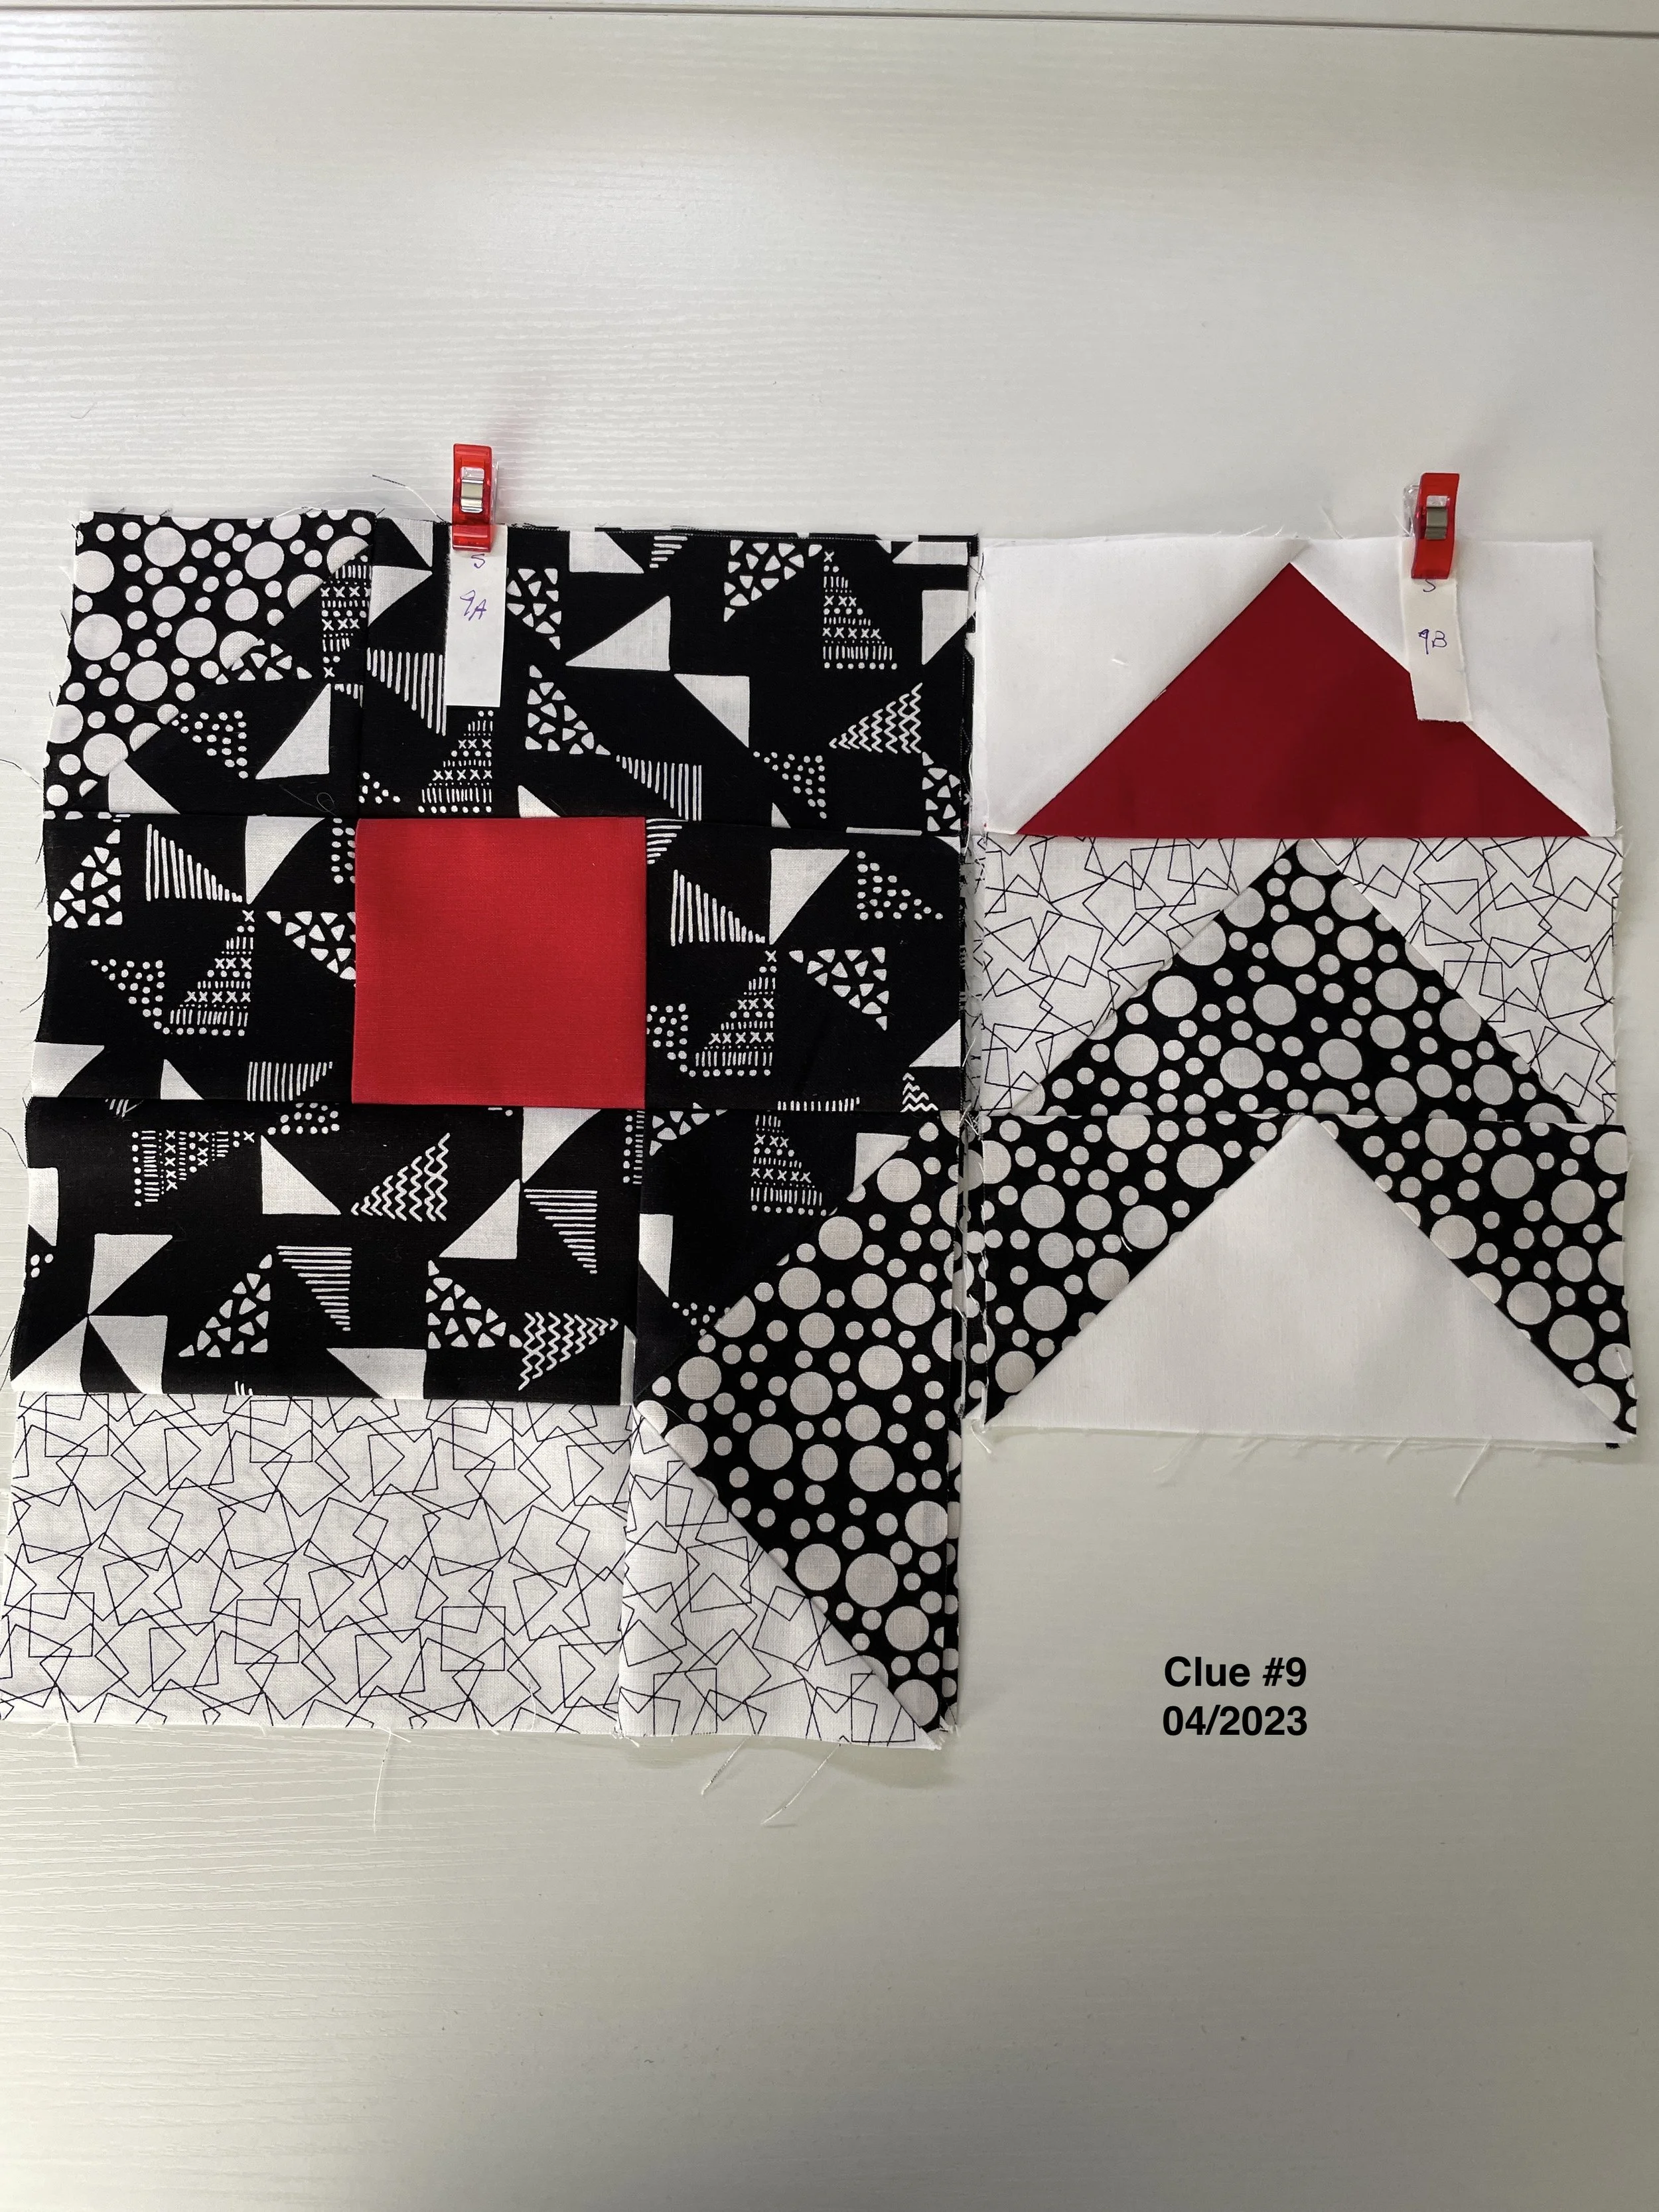
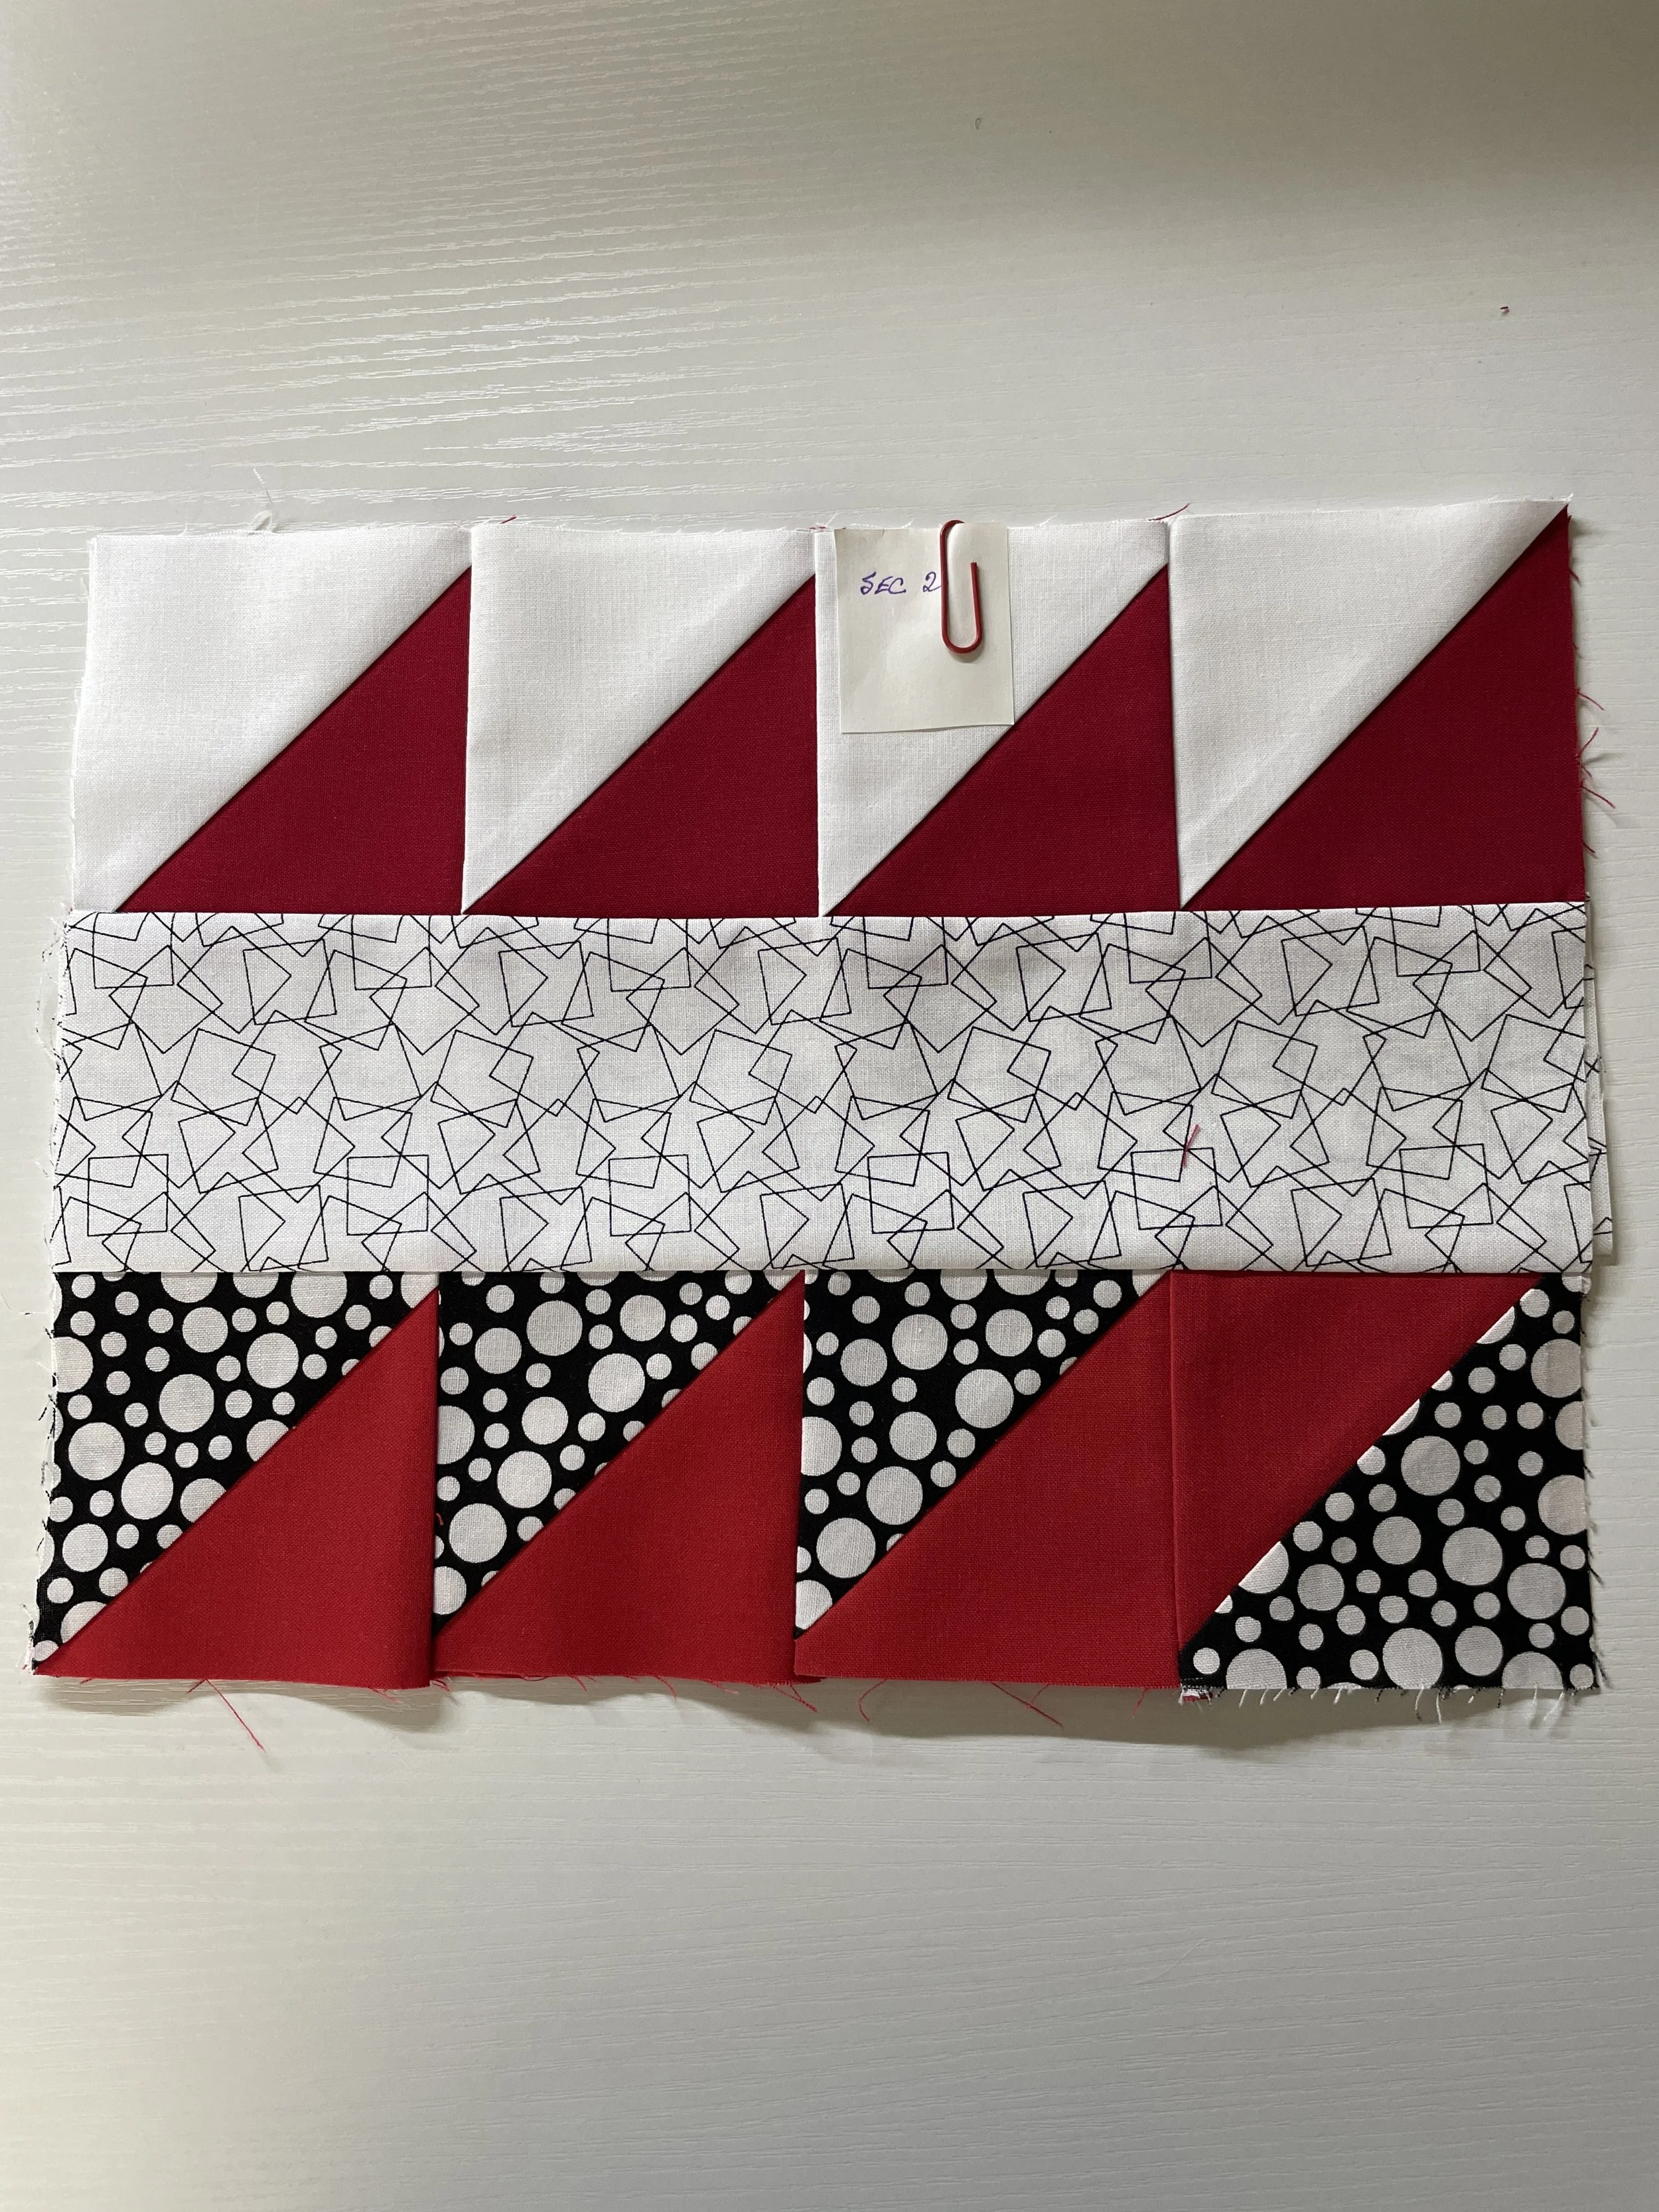
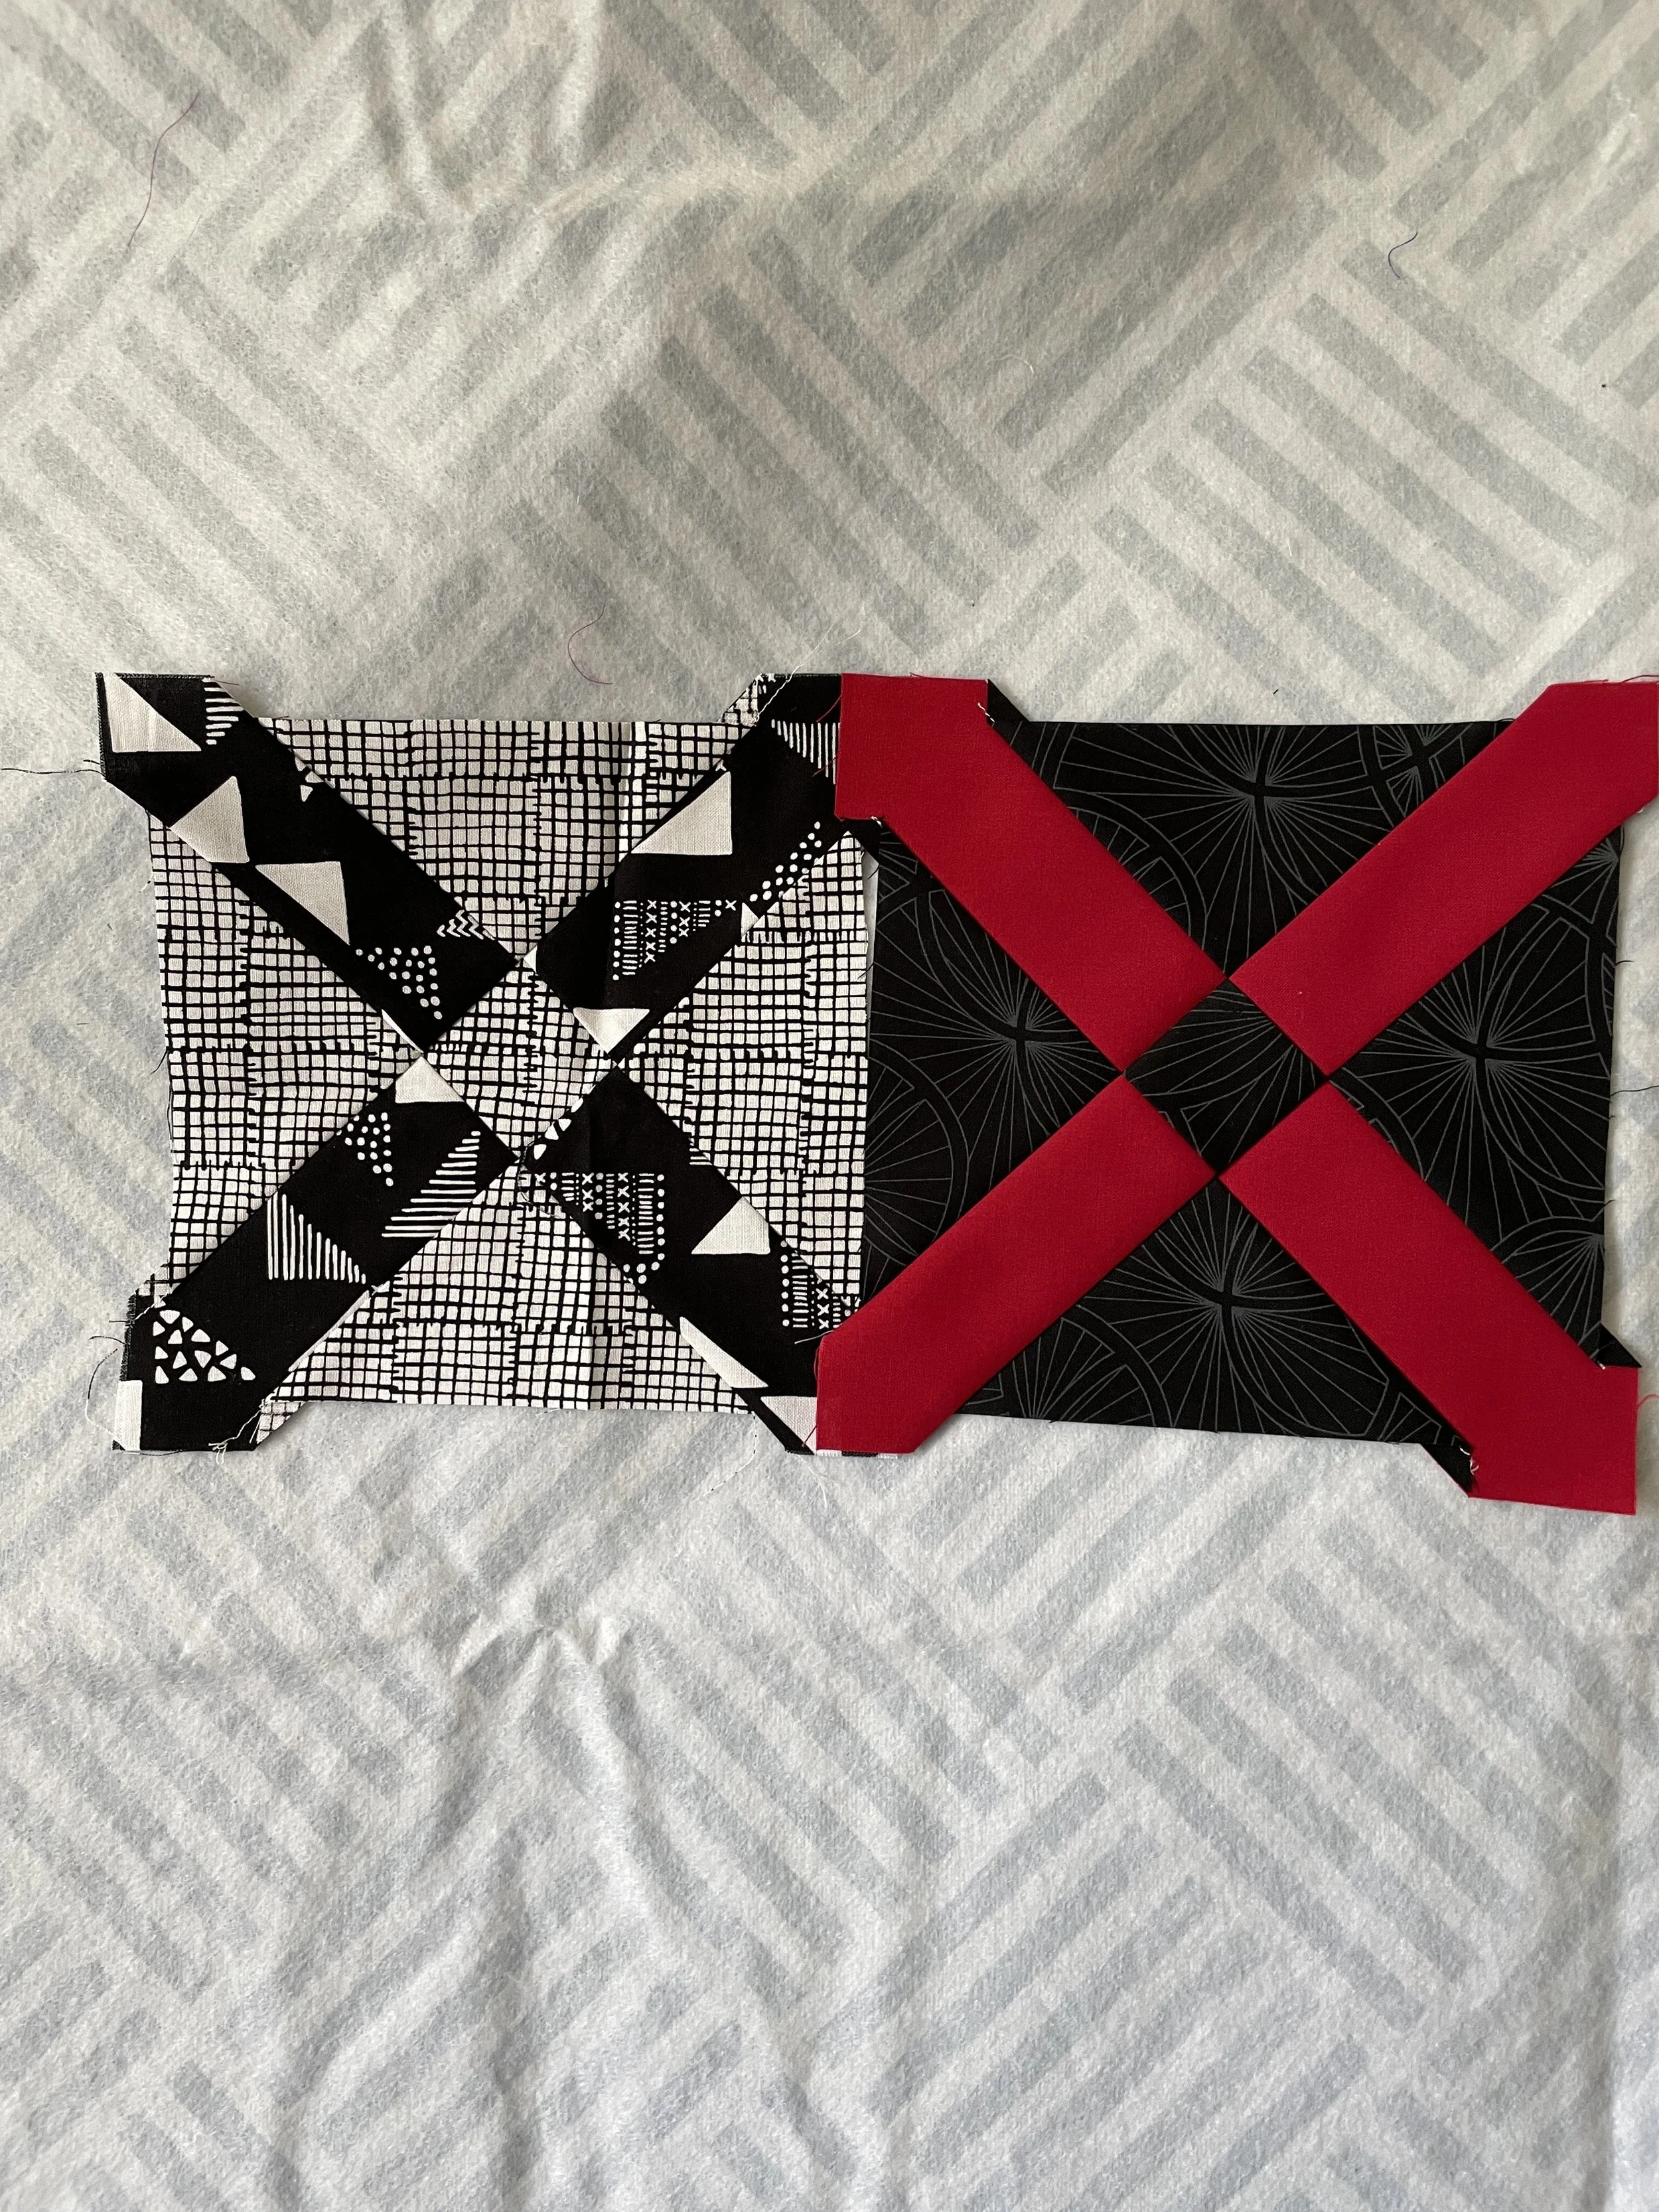
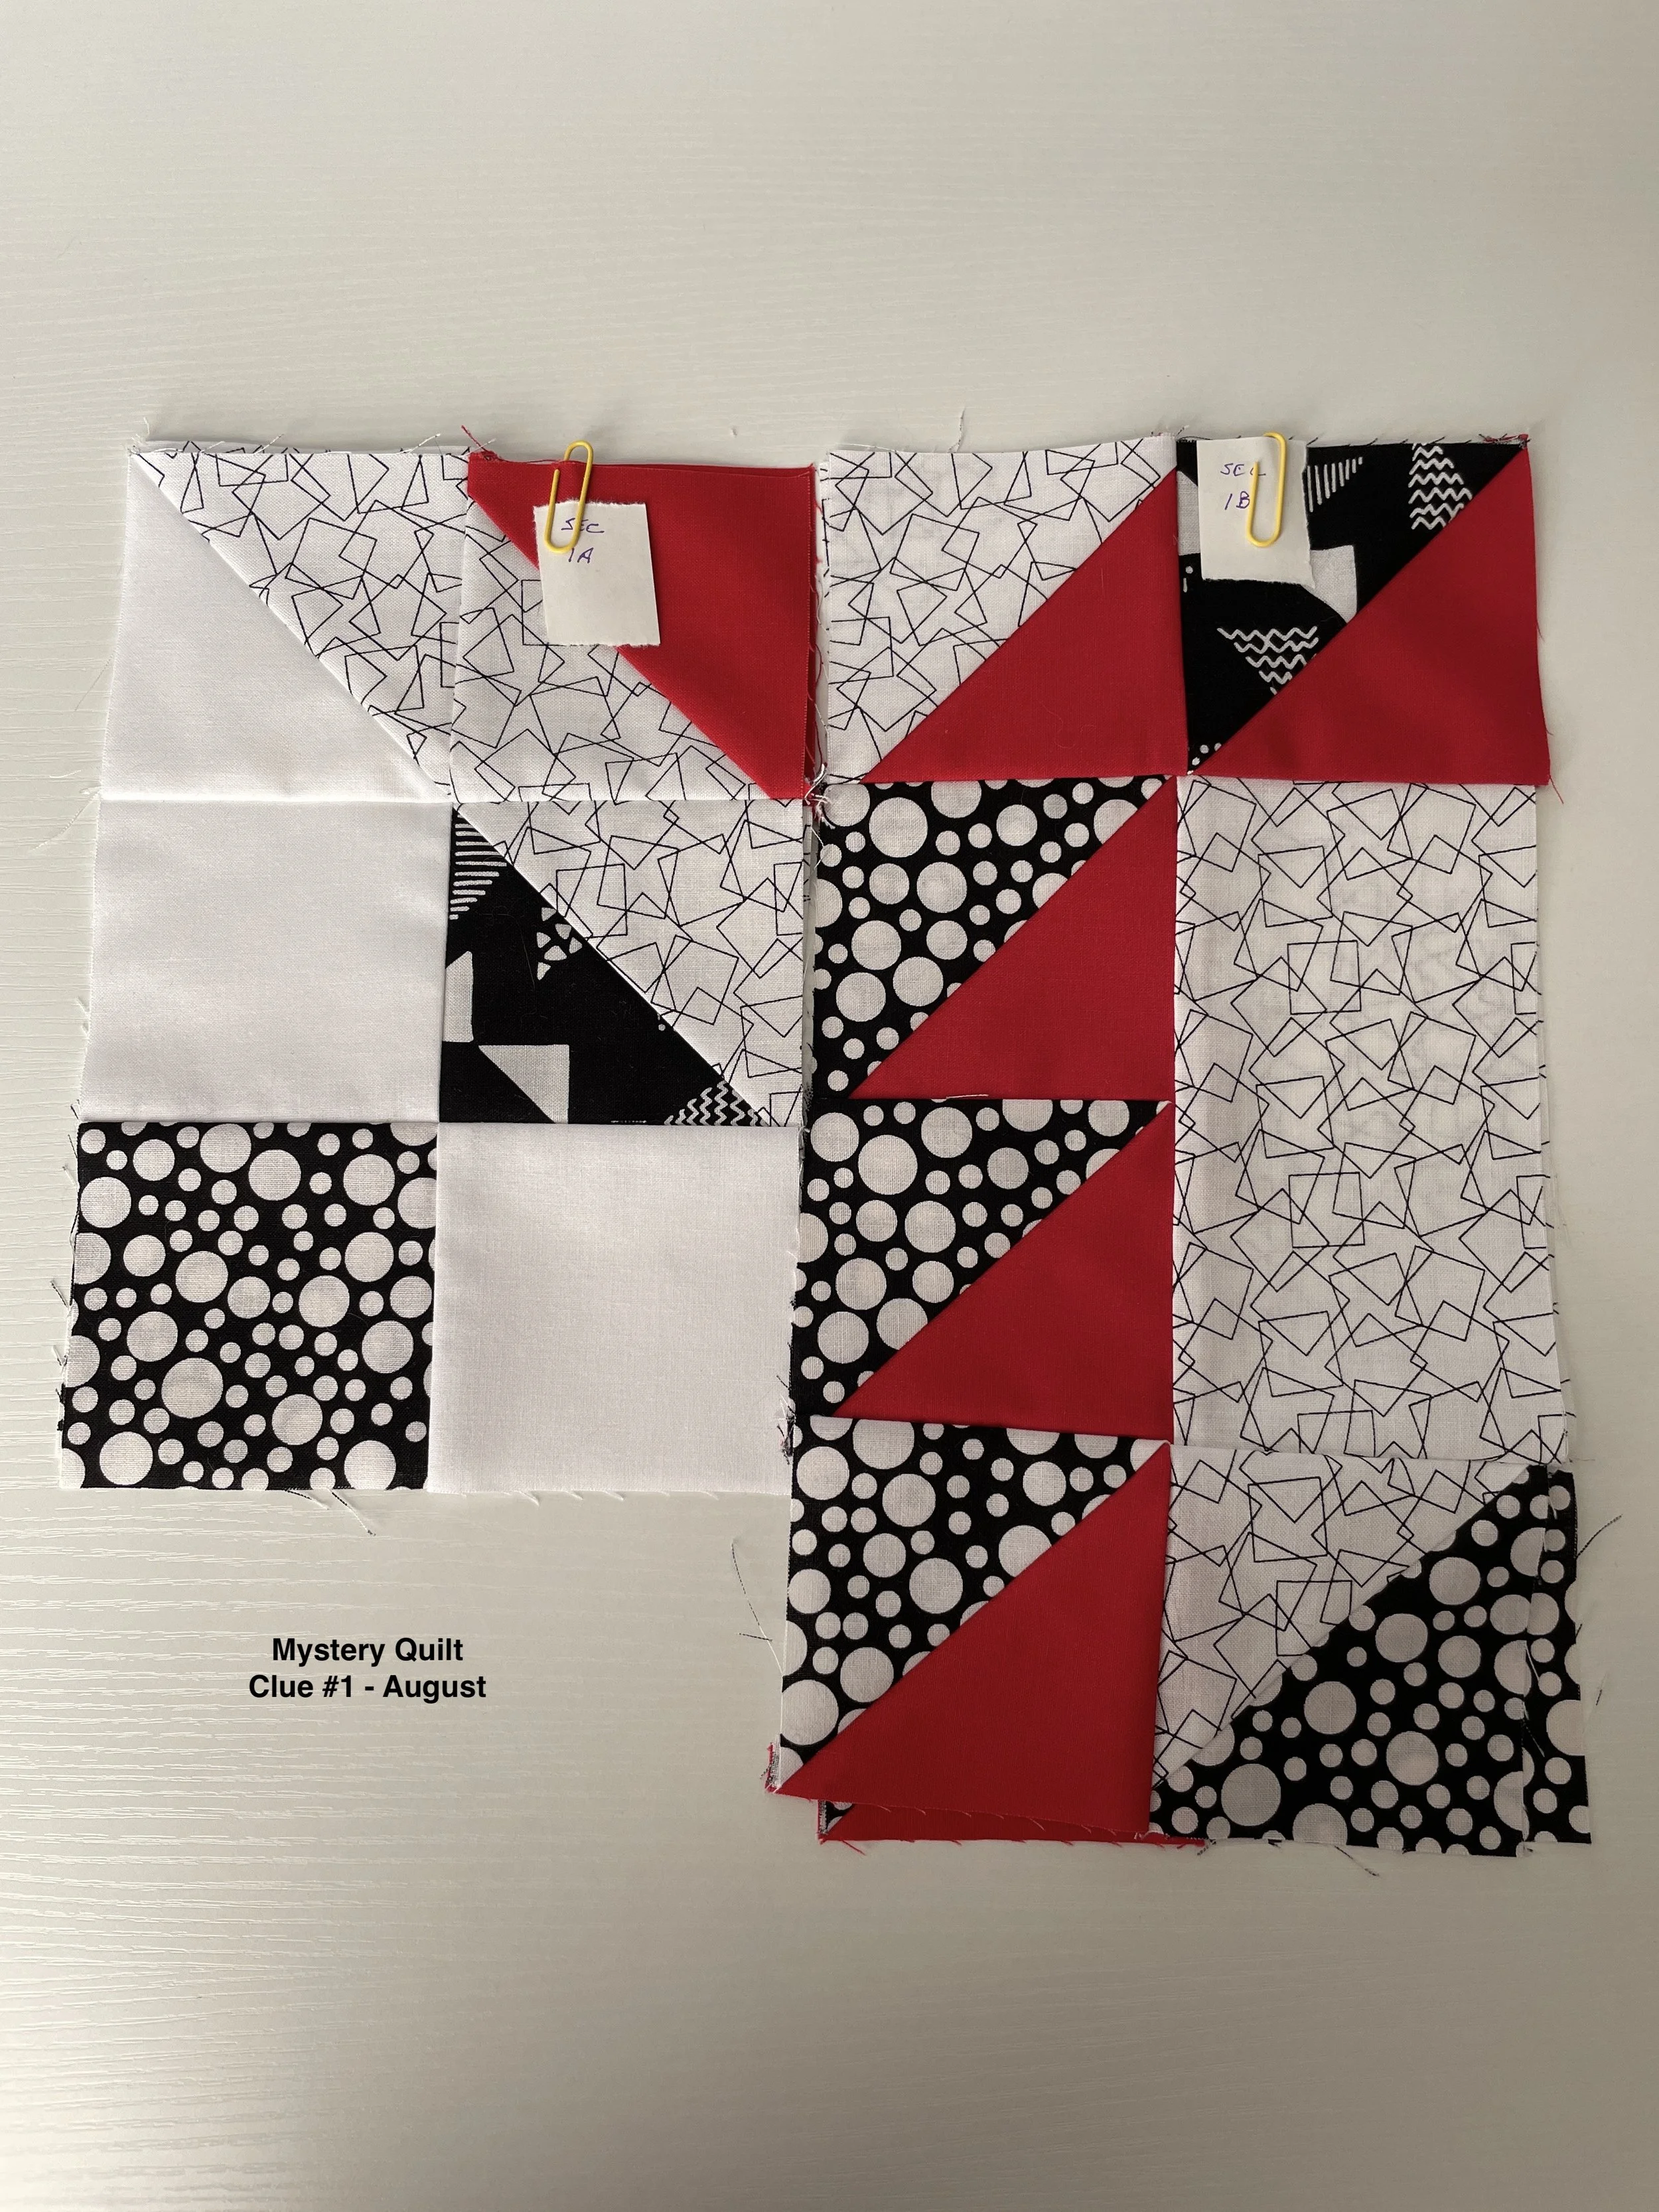
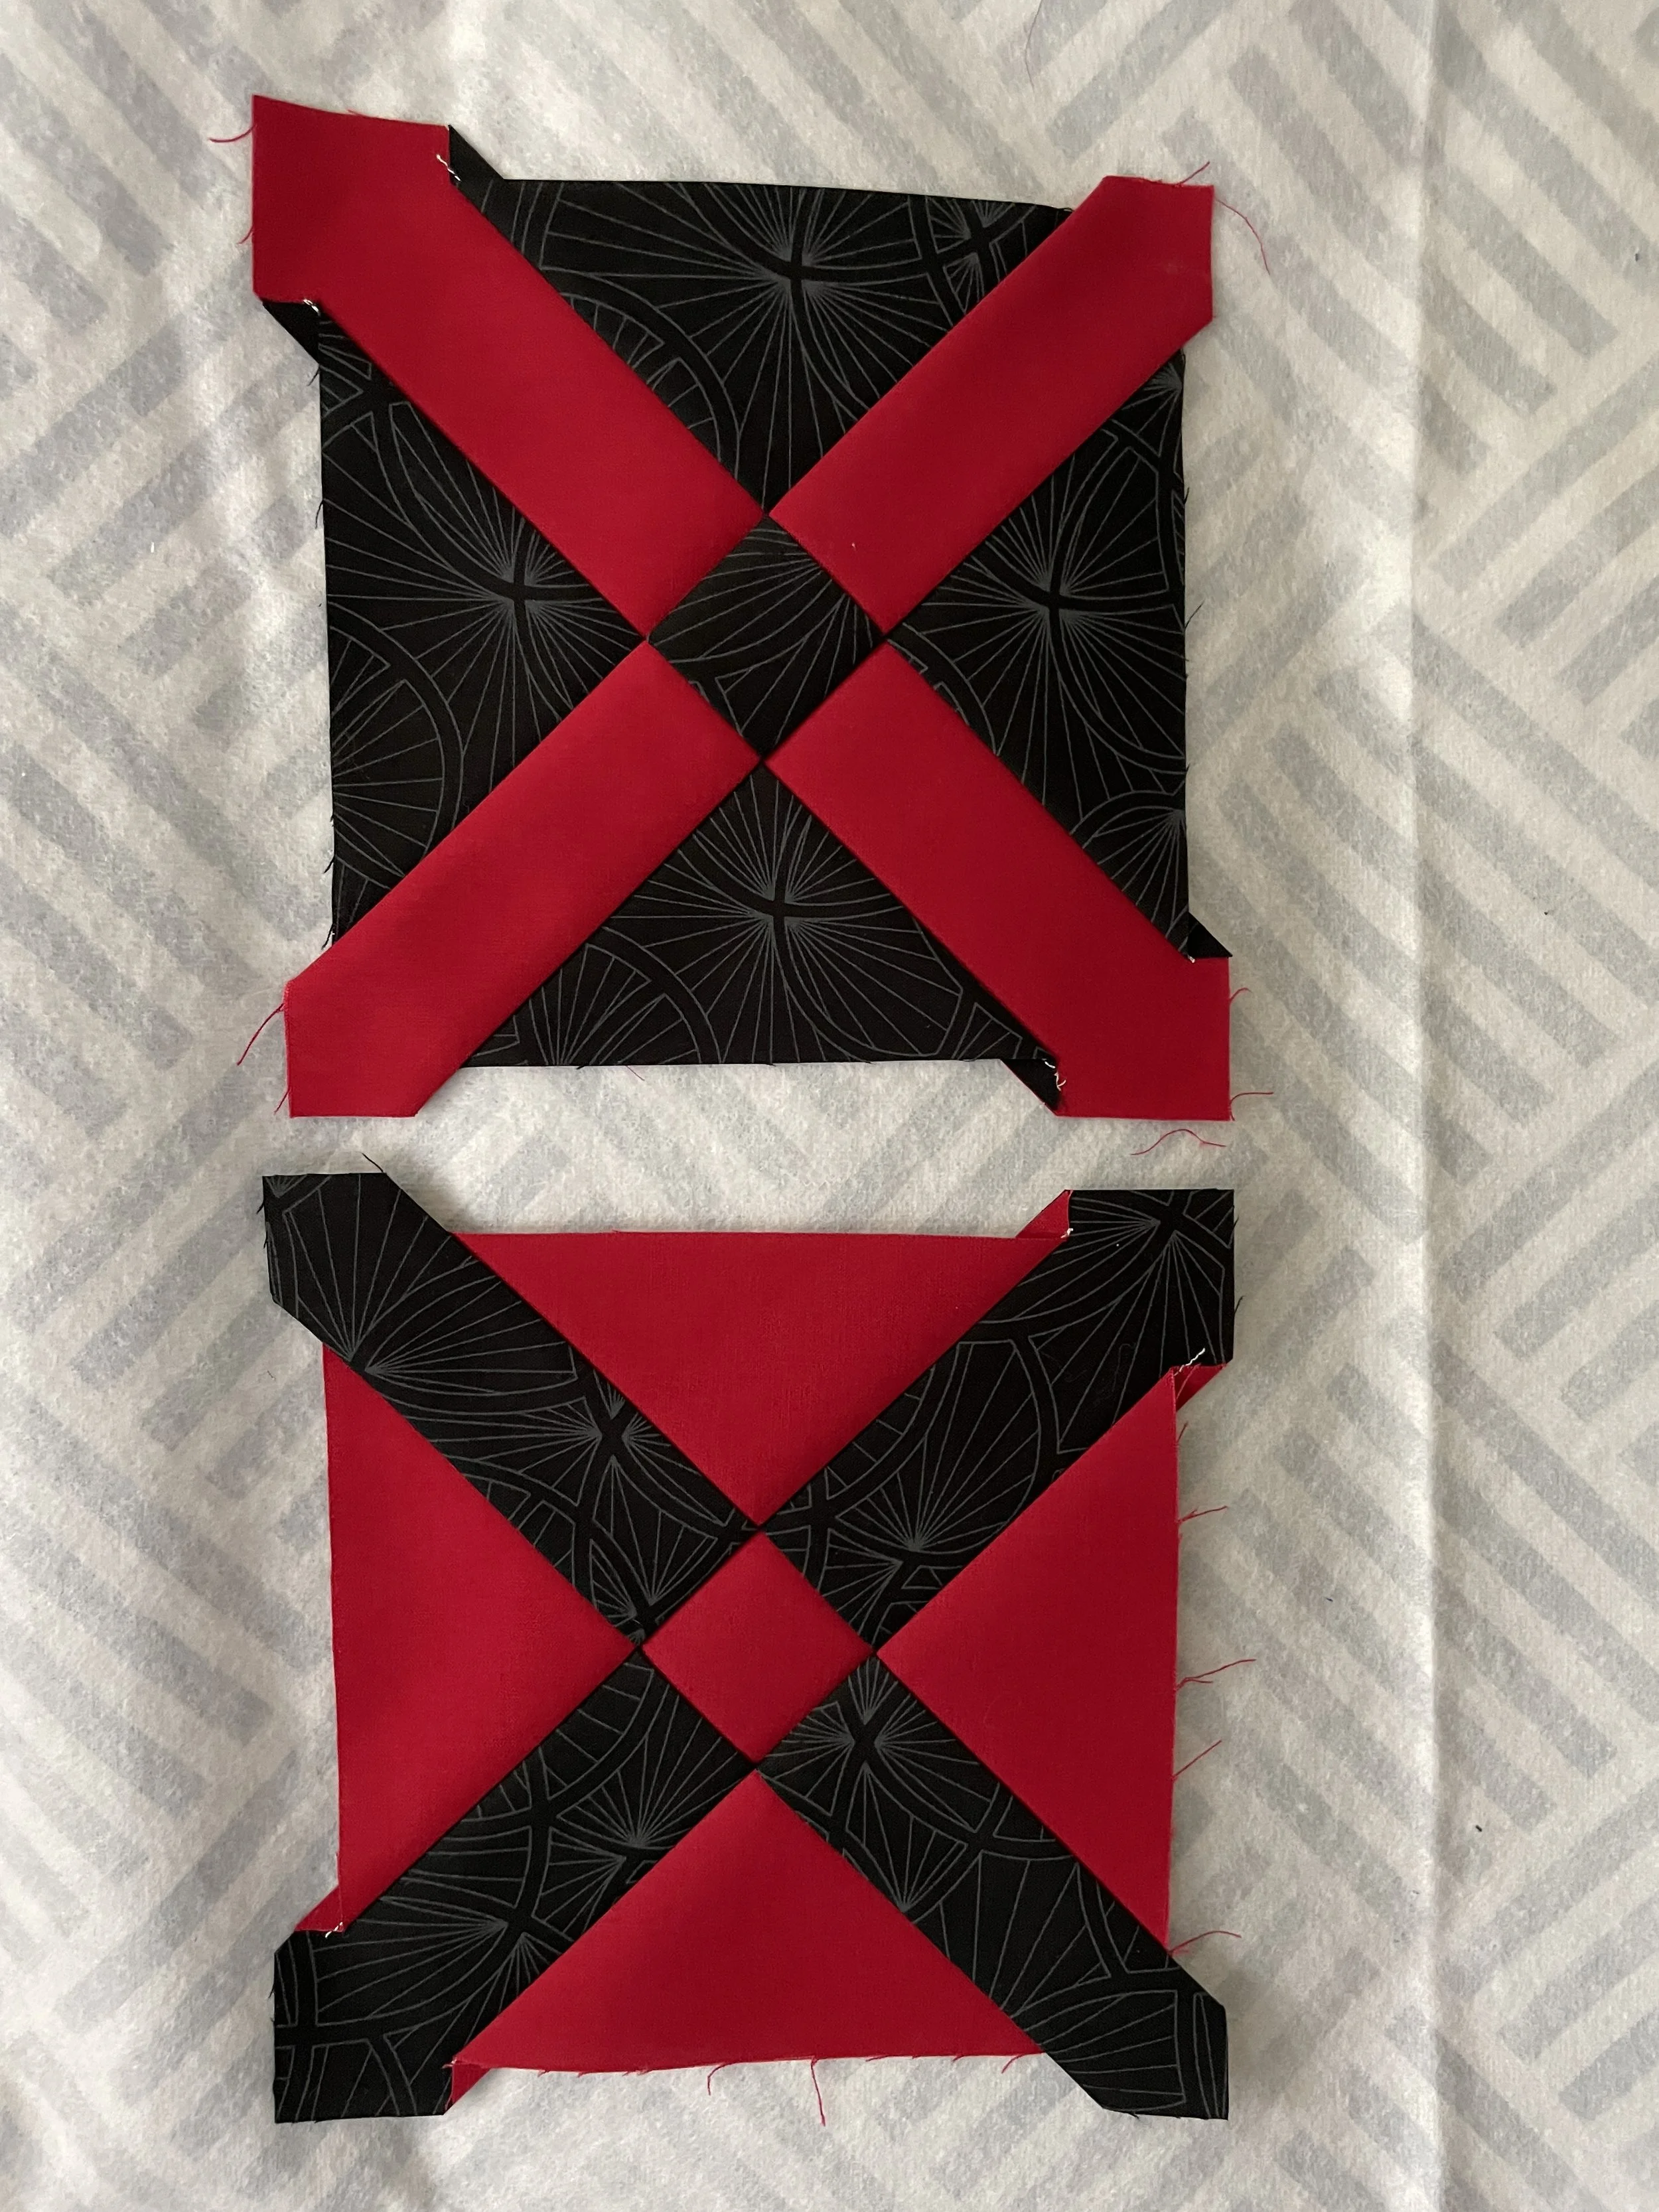
The first clue in my mystery quilt will be here in early August and I’ll talk about that soon. New York Beauty needs more practice and I need to settle on the fabric I’ll use for that. Right now my brain is exploding with ideas for the fabric — too many to keep straight.

Complete: Mystery Quilt + Family Birthstones

Whoo whooo. The mystery quilt came back from the longarmer and Mike & I were beside ourselves with delight. Amy (my go-to longarm quilter) chose a “bubble” quilting pattern using white thread and we think it’s outstanding. Zoom in a bit and you can see the bubbles dancing around the quilt.

I am so delighted with this quilt that I’ve signed on to do another (different) mystery quilt. I’ll tell you about it in August.

You’ll recall that I started paper piecing in my last update and I decided to use “Waiting for Rain” to practice mitered corners (see next entry). Mitered corners are a bit tricky and I wanted a double border. Here’s how my first attempt worked out.

The borders turned out pretty well for a first attempt but the whole thing is a bit funky and warped looking. I’ll be doing some more practice to see if I can get better at this process.

Some of you know that my brother died in January 2023; I am now the last living member of a family of six. I’ve had a memorial quilt in mind since then and in February I found the perfect pattern and some great new fabric I haven’t worked with called “shot cotton”. Shot cotton uses two different colors of thread for the warp and weft (horizontal and vertical threads) to create the fabric. I started cutting the fabric but laid it aside until a week or two ago. Here’s the quilt top with the blocks completed.

The official name of the pattern is “Aftershock” by Wren Collective. I call it “Family Birthstones” because I used birthstone colors to denote family members. The first is my dad Edwyn, then my sister Lydia, then my mom Dean, then sister Sue, then my brother Mike. My sisters and brother are indented to show family relationships.

I decided I wanted two borders for this quilt and I wanted mitered corners rather than butt corners hence the practice with mitered corners above.

A new technique I'm learning

When I first started learning the quilt process back in 2019 I flailed around trying all sorts of things. One of the techniques I tried was “foundation paper piecing” (FPP) aka paper piecing. I got nowhere with it and decided to stick to “patchwork” quilting (building blocks and rows and columns).

Recently I ran across (in a novel I was reading) the “New York Beauty” quilt and delved into the block. I ran searches and was blown away by the block and the quilts it could create. You can see some of them here One that particularly caught my eye was this one. One item I’ve had on list is curved piecing — this is the epitome of curves 😜

Guyon Grey - New York Beauty

I decided I wanted to make this or something very like it. So I started learning about FPP or paper piecing. I looked at many explainers, both blog pictorial and videos. Here’s a peek at my current design wall. I’ll explain. . .

At the upper top left is my first FPP project. There were only four elements to each block and I made two blocks, just to be sure I had the process down. FPP is very, very different from what I’ve been doing. FPP uses a paper pattern that I sew through to the fabric below so I’m building the block upside down. Brain freeze !! Now you see why I build two.


One of the very best video explanations (here if you want to see it) was “Waiting for Rain” — top row, two of the pattern. While I wasn’t all that enthralled by the pattern, she walked through each and every step of the process and that was invaluable. I think my current project will use a mitered border so the purple fabric draped over the railing will frame the tree and be the start of my learning mitered borders.

Third row, far let is “Tsuru” - origami crane. Another pattern that enthralled me. Perhaps I’ll make a table topper using this block.

I’ll explain the last two rows in my next post. . . .

Complete: Asian-Inspired quilt + Mystery Quilt reveal

It’s been a while, hasn’t it ! I completed the Asian-inspired quilt and here’s what it looks like. I’m not entirely sure about the orange-ish fabric - sometimes I like it and sometimes I wonder how in the world I decided to use it.

And here’s the backing fabric I used; it’s titled “Dragonfly Dreams” by Hoffman. I think it perfectly suits the quilt top.

The final month of the mystery quilt (you can see each month’s clues here) was the REVEAL month — and wow — here’s the finished quilt top. The quilt top is now at the longarmer who’ll be quilting it. I had a devil of a time getting this top put together — I ripped out more seams in this one quilt than I’ve done before. . . It fought me every inch of the way. So what did I learn and why am I going to do another:

  1. I need to pay close attention to the size of the sections they send; I did pay attention to the first couple and then I got lazy — which created problems when I tried to put it together. Sooooo — pay attention to each-and-every segment of each section.

  2. Because it was a mystery quilt, I didn’t know how it would come together; for all my other quilts, I had a vision of what it would look like. I didn’t for this one and I think that contributed to my problems. Also I was working along on another project (more about that next time) and my attention was partly focused on that project, not the mystery quilt. Once I got concentrated on the mystery quilt, things moved along better.

  3. I love the look of the quilt; my fabric selection was spot on. Some people were disappointed because their fabrics were too muted and didn’t show off the triangles. (there are 12 or so coordinated fabrics [called “colorways”] you can choose from). See the upcoming mystery quilts for colorways.

  4. I’m going to do another - I think it begins in late June. I enjoyed the process—this was my first experience with “flying geese” blocks which I’d been avoiding because they scared me. Turns out I put them together just fine.

WIP: Asian-inspired quilt + Mystery Quilt + Upcoming

The Asian-inspired fabric quilt is coming along well; I’ve completed the quilting. I decided to use “stitch in the ditch” technique since there’s a lot going on with the fabric. You’re seeing the quilt sandwich that hasn’t been squared up yet; I’ll square it up, create and apply the binding and it’ll be complete. A finished quilt display in my next update.

I’ve received Clue #9 in my mystery quilt project. This is the last fabric I’ll receive; the next clue will be how to put the sections together to create the quilt top. I’m eager to see what this will look like. . . 😁

I’m looking forward to more practice with paper piecing — generally known as Foundation Paper Piecing (FPP). I have several small and simple projects lined up (not necessarily in this order) shown in the pictures below. I’m not sure how many blocks I’ll make — maybe one, maybe more for a table topper, for example. I’m not sure a quilt is in the picture, except, perhaps, the origami crane.

“Waiting for Rain” by Jennifer Ofenstein


Origami crane (Tsuru) by Alyce Blyth for Blossom Heart Quilts (my taste for bright colors will come into play with this one — and might become a quilt)

Pinwheel Baby Quilt + Asian-Inspired + Paper Piecing

I wanted to point something out about the Pinwheel Baby Quilt. This quilt was too wide (about 45”) so I couldn’t just use yardage for the backing. So, for the first time, I pieced a backing with some leftover blocks and I was quite pleased with the outcome. Here’s the back and the front of the quilt.

I’ve been wanting to find some Asian-inspired fabric that knocks my socks off — and I found some. Take a look at this collection titled “Dragonfly Dance” by Kanvas Studio.

I found and bought a half-yard bundle of 10 of these fabrics and then went looking for a pattern that would showcase these gorgeous fabrics. I found “Three Step” by Annie of Annie’s Craft Store that would be ideal for my purpose. The blocks were easy to make and here’s the final layout that Mike and I agree with.

The project is on hold as I write this; I’m waiting for the big A to deliver a template so I can cut these to 9.5”. It’ll probably be complete the next time I post.

Back when I started quilting I tried a bunch of things and realized I needed to focus on building my sewing, cutting and ironing skills and creating simple quilts. Now I’m ready to add some skills — like the pieced backing at the top of this post.

One thing that has lingered in the back of my mind is “paper piecing”. There are two broad categories of paper piecing: English paper piecing and Foundation paper piecing. Very different techniques are used for each category. Foundation paper piecing (FPP) is where you slap fabric onto a paper pattern and sew through the pattern and the fabric. My first attempt was an “oops” (wrong cutting method left ONLY the 1/4” seam) but the second worked out. Here are the two pictures. I’ll be practicing this and a couple of other simple patterns and will have more for you next time.

Completed: Pinwheel Baby Quilt + Mystery Quilt Blocks + New Project

I’ve completed the pinwheel baby quilt and I’m very pleased with it. I decided to use wavy quilting, hoping this would make you think of a breeze turning the pinwheels.

The 8th clue instructions and fabric arrived in late February and here’s what the two sections look like. The 9th clue should arrive around the end of March and that will be the last clue with fabric. The 10th clue is how to put the sections together to create the quilt top.

And finally my next project will be what I call “Family Birthstones” formally titled “Aftershock” by Wren Collective. Here’s the fabric I’ll be using and what it will look like. More on this quilt in my next update.

Shot cotton fabric

My quilt will have fewer rows (5 rows representing my deceased family members)

WIP: Pinwheel Baby Quilt

I’m still working on the pinwheel quilt. My chief designer (aka the Hubs) helped me lay out a stunning change to the center of the quilt. You’ll see the giant pinwheel which makes a nice centerpiece.

It took me several days to figure out how to sew the centerpiece together and I was displeased with my first attempt. Fortunately I had extra blocks so I started over with fresh blocks and am happy with it now. Another lesson in “That which looks easy isn’t necessarily”.

I’m about to start the backing for this quilt — and for the first time, I’ll be creating a pieced backing. The quilt is 42” x 42” and quilt fabric is 40-42” depending on the manufacturer. I need an overhang of 4” on all sides of the backing and the batting. Hence the necessity of the pieced backing. You can see examples of pieced backings here. So, more learning the intricacies of the quilt process.

When I started the pinwheel quilt, I created a test block to learn the process. The first block (not surprisingly) was a no-go but the second was a winner. We liked it so much that I’m going to quilt it and we’ll use it on a side table. It’s 13” x 13” so a nice size.

More next time. . .

WIP: Pinwheel Baby Quilt

The Pinwheel quilt is coming along. I need 56 blocks and have around 45 completed. Here’s what they look like:

On the left are 6.5” blocks of fabric to be sewn right sides together; then cut the fabric in half diagonally twice which creates four half-square triangles (HSTs); then iron the HSTs open and sew the HSTs together. Finally, the block is a recognizable pinwheel.

I expect to have all the blocks complete by 2/18/2023 so that I can lay them out maybe in rainbow order, maybe not. More next time. . . .

Complete: Upland Star + Mystery Quilt + Next Project

The Upland Star quilt is complete and I couldn’t be happier with it !! 98% of my points are pointed and that’s a major victory for me. I attribute this to (1) more accurate cutting (2) more accurate sewing of that 1/4” seam and (3) learning how to “ease” the fabric when sewing two blocks together. Here’s a good, short video about easing.

The seventh clue for the mystery quilt arrived and I completed that section of this quilt. Still loving the colors, though I can’t make heads or tails of how the quilt will come together.

My next quilt will be the classic pinwheel quilt. I bought some lovely mini-polka dot fabric and found a swirly wine-colored fabric for the background. If you aren’t familiar with the pinwheel quilt, just search for “polka dot pinwheel quilt” and you’ll see many examples. These are classic baby quilts.

WIP: Upland Star + Mystery Quilt

I’m making good progress on the Upland Star quilt. I laid out the sections on the floor and instantly acquired two helpers: one helpful the other, not so much 😁

Upland Star Helpers

I’m very pleased with the colors and I’m delighted that my technical expertise is sufficient to accomplish this rather complicated quilt. Most of my points are right-on 👏

Clue #6 in the Mystery Quilt arrived in late December and I finished it in early January 2023. I’m loving the colors. I’ve set up a gallery on my home screen for the Mystery Quilt; you can view all the sections I’ve completed here.

WIP: Upland Star

I’m making good progress on the Upland Star quilt. I cut a boatload of fabric and started creating the HSTs (half square triangles) show below

Next the pattern calls for a stripe to be inserted into some of the HSTs as pictured below:

And then the quilt begins to come together. First come the corners; I’ve finished two with two more to come

When I started this quilt, I was 88% confident that the colors would look good and provide strong contrast. I couldn’t be more pleased with the way this is turning out so far. Fingers crossed that the center of the quilt will please me as well. . .

WIP: Upland Star

I’ve just begun a new quilt with some wild and crazy colors. Here’s the inspiration quilt that caught my eye and begged to be my next quilt:

So very modern and so attractive !

The colorful swirly fabric will replace the white in the inspiration photo above; the yellow and pink will be the thin stripes and offset the center medallion. There’s a lot of cutting to do and much piecing, including many half-square triangles (HSTs) using a technique that’s new to me.

More soon. . .

Complete: Maypole in Fall Colors

I’ve been silent for a while now (wow! a month to the day!) because I’m in the middle of cataract surgery. My left eye was the first one and the right eye is scheduled for mid-week this week. My distance vision is perfect in my left eye but blurry in my right. Close vision in my right eye, but blurry in the left. Chaos reigns 🤣 That makes it very difficult to quilt.

BUT I finished a Maypole quilt for our living room. We love the warm colors and it coordinates very nicely with our colors. . .

Complete: Standing Strong + Next Project: Church Window

I’m delighted to write that the Standing Strong quilt is complete. I’ve decided to gift it directly to my nephew, Billy, a career Army Sergeant.

I delivered it to Amy of Amy’s Beautiful Creations and gave her free rein to quilt it as she desired. The next picture is a closeup of the quilting pattern. Stars and loops really enhance my quilt top.

I decided to do a “quick and dirty” table topper project for our dining room table. I used the Old Italian Block pattern in batik fabric. Here’s the quilt sandwich; it’ll be complete in a couple of days. . .

My next project is a quilt for the house titled “Church Window”. Here’s the inspiration quilt:

We both fell in love with that wonderful bronze color and the beige and the black sashing !! I reached out to my favorite Etsy fabric person, Natalie of Everyday Fabric Shop and she put together a fabric pull based on the picture above.

I nixed the flowers at the left and the far right with an explanation to her and asked for replacements. She cheerfully complied and here’s her second pull plus a suggested backing. Sold !!, said I

Over the past couple of days, I’ve studied the pattern and, as I do quite often, I pulled some scrap fabric and cut out a couple of the trapezoids and right angles. I also cut some sashing (the stiped fabric). It doesn’t look like much yet, but I’ll sew those together and get a good feel for the block before I cut my actual fabric. More soon. ..

WIP: Standing Strong + Mystery Quilt

The Standing Strong quilt top is complete ! Although this isn’t exactly the same as the picture, I’m very pleased. I substituted some fabric for the border and switched the border fabric around. This is the biggest quilt I’ve created: 71” long x 56” wide. I sure don’t want to try to quilt this on my home machine, so. . .

the quilt and its backing will go off to the longarm quilter, Amy, who will add the batting, quilt the sandwich together and apply the binding. This is a vile green bag (she returned one of my earlier quilts in this bag), but you can see the package I’ve put together for her. She’ll return the quilt and any leftover fabric in this same bag.

This is the third month of the Cotton Cuts Mystery Quilt and I’ve finished Clue #3. I’m in love with the fabric, but have no clue how this will come together — we’ll have to wait for the reveal in the 10th month. . .

WIP: Standing Strong (donation to Quilts of Valor)

I’ve been working along on the Standing Strong quilt. I’ve finished part 1 of the quilt top: piecing together the quilt top (see picture below). Part 2 will be applying the first border (red stripe border in second picture) and Part 3 is the second border (blue in second picture). Then I’ll drop the quilt top, batting and backing to my longarm quilter who will quilt it and apply the binding.

Complete: Boxes of Colour + WIP: Mystery Quilt + Quilt of Valor

Boxes of Colour is complete !! This went from a quilt I actively disliked to one that I’m quite pleased with. Just goes to show that pushing on and correcting can pay off 😉

I received Clue #2 for the Cotton Cuts mystery quilt. Here it is. I really like the fabric but it will be some months before the final reveal. In the meantime I’m getting some experience with flying geese (the red and white in the first row).

I’m mostly finished with the cutting of “Standing Strong” the QoV quilt (Quilt of Valor). Here’s a picture from the front of the pattern.

WIP: Boxes of Colour + Mystery Quilt + Block Swap + Next Quilt

Well, it’s been a couple of weeks and the Boxes of Colour quilt isn’t finished 😞 My sewing machine — specifically the bobbin case — decided to go north for the summer season rather than continue the quilting process. The bobbin case wrenched itself out of its foundation, not once but twice. Mike was able to get it back into place the first time, but we decided the second time to get a new bobbin case. Amazon came through in a couple of days and I installed the new case — and the same thing happened with the new case. Razzlefracket !!!!

I found a sewing machine repair person with very good ratings (what did we do before the Internet?) and this past Wednesday I brought my machine to him. I expected to pull out my old machine, but lo and behold, the guy, Daniel, fixed it while I was standing there. A little stopper was slightly out of alignment. which allowed the bobbin case to leap out. He was a bundle of tips and tricks about the machine. He oiled some places I didn’t know about and now my machine runs as smooth as silk.

I’ll finish the Boxes of Colour very soon and show you a picture in my next post.

My block swap partner and I mailed each other our Old Italian block. On the left is her block and mine on the right. They complement each other very well and I assume they’ll be incorporated into the mystery quilt.

Speaking of the mystery quilt, the above are Clue #1 block. I’m loving the colors. . .

While my machine was out of commission, I started cutting fabric for my next quilt “Standing Strong” pictured below. This is a Quilts of Valor (QoV) quilt and I’ll be donating it to the Quilts of Valor organization. You can see more here. Since QoV are on the larger side (minimum of 55” x 65”; maximum of 72” x 90”) I’ll be sending this quilt to my longarm quilter.

This quilt checks a couple of boxes I’ve had on my list: a donation quilt to QoV and a bargello quilt. More about bargello here. This is the first quilt kit I’ve bought; based on my experience with counted cross stitch quilts, I was concerned that I wouldn’t have enough fabric in the kit and would have to purchase more. But so far I’ve had extra fabric when I’ve finished the cutting.

WIP: Boxes of Colour + Mystery Quilt + Block Swap

In my last update, I noted that were were a few problems with the quilt top and it was — frankly — ugly. Well, I’ve fixed that and here’s the quilt sandwich, complete with my toes and Bridges’s paw 😁 I’ve begun the quilting and this will likely be complete by the end of August.

I got the fabric for the first clue in the Cotton Cuts mystery quilt. I watched a couple of YouTube videos as a couple of bloggers put together their fabric. I also read up on “flying geese” blocks (this is the first time I’ve done flying geese) and here’s my first two sets of blocks. The flying geese are the left black and white dots in Sec. 1B. Flying geese can be difficult because you’re sewing on the bias which can stretch out of alignment. I’m pretty pleased with my technique on this.

I completed the Old Italian blocks for the Block Swap (Cotton Cuts is sponsoring this) and I have the name and address of the individual who I’ll exchange blocks with !! I might give that person a choice of the two blocks — or I might not. . .